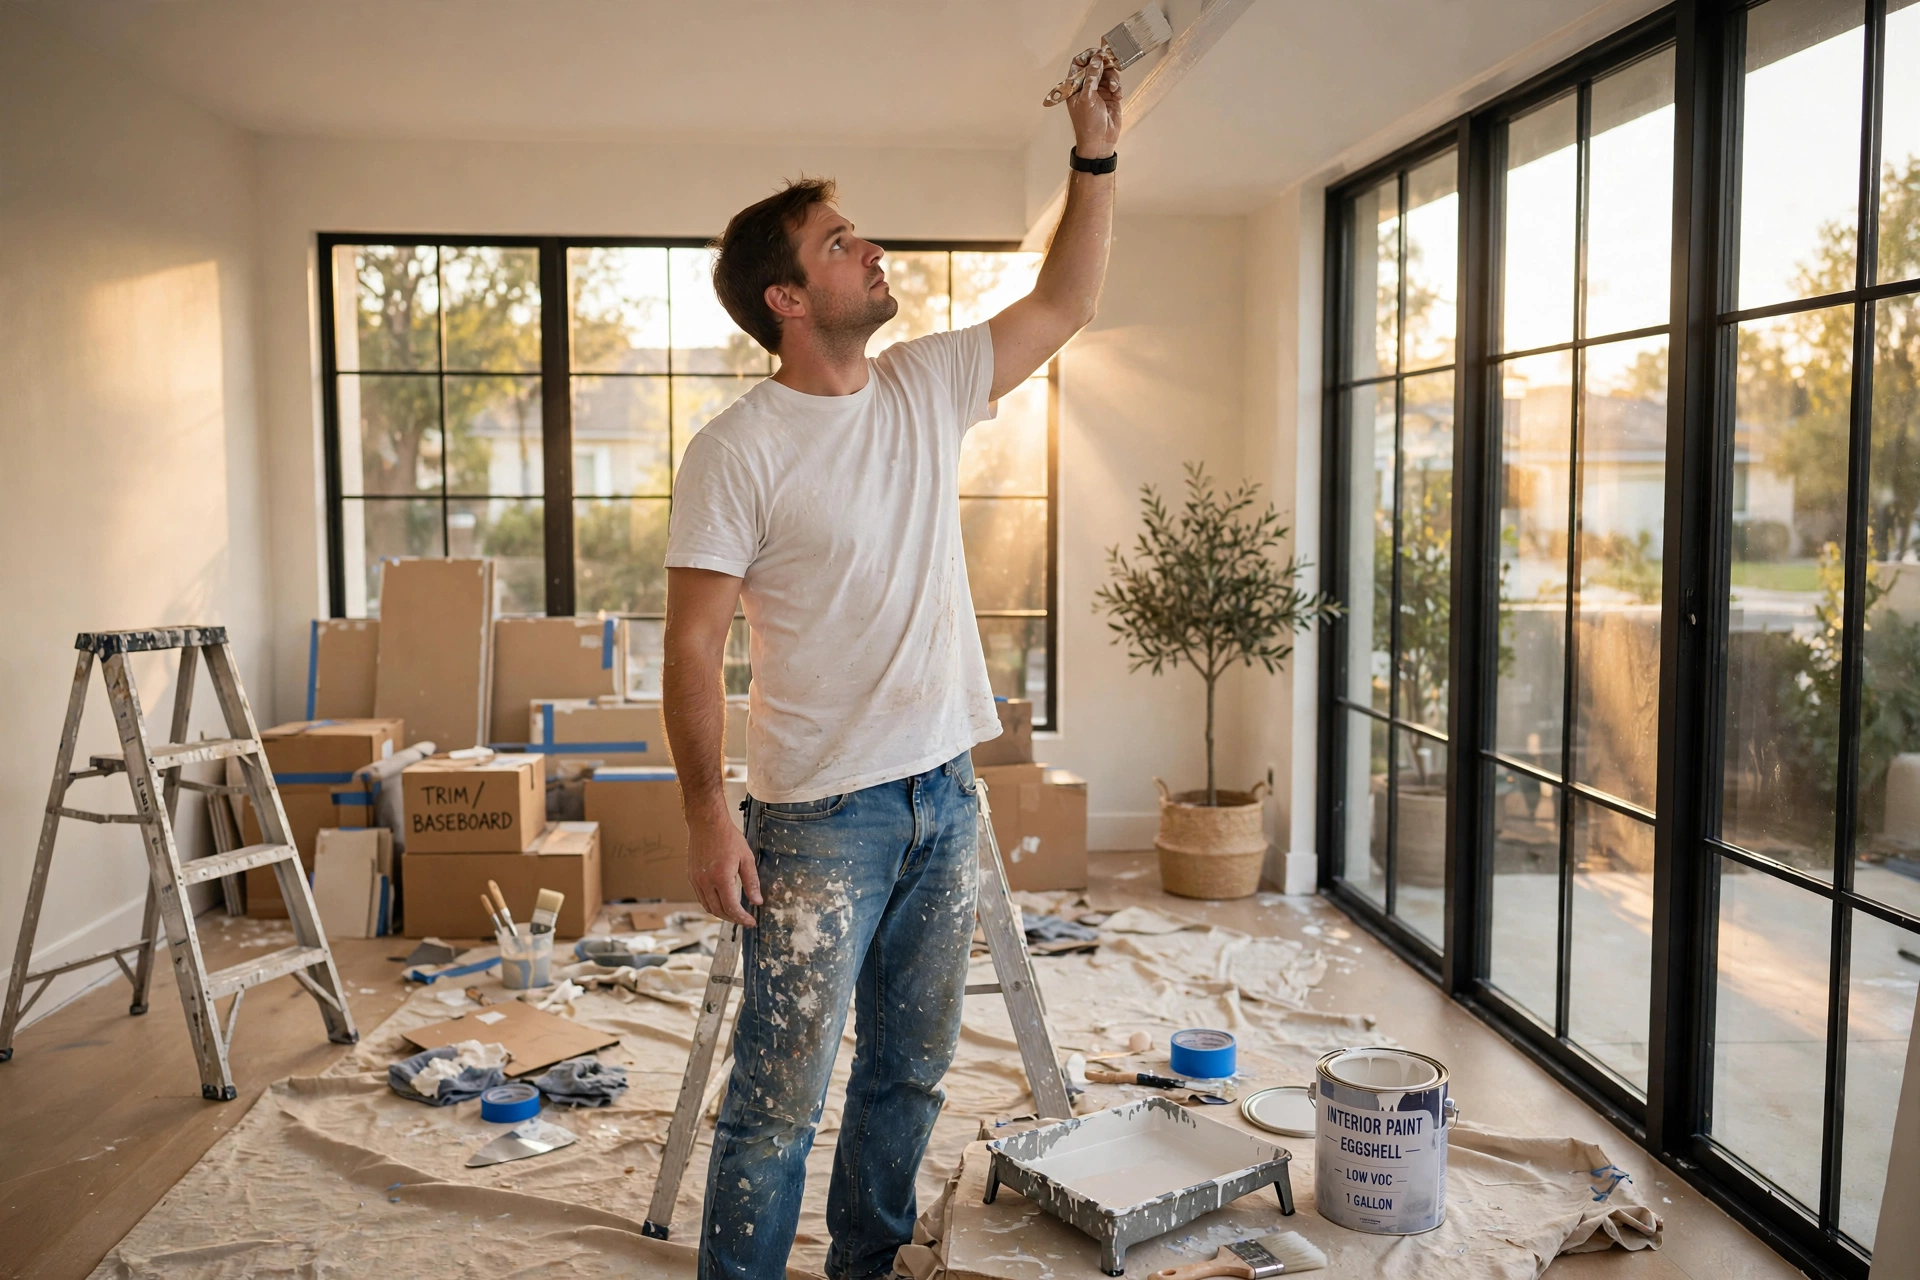
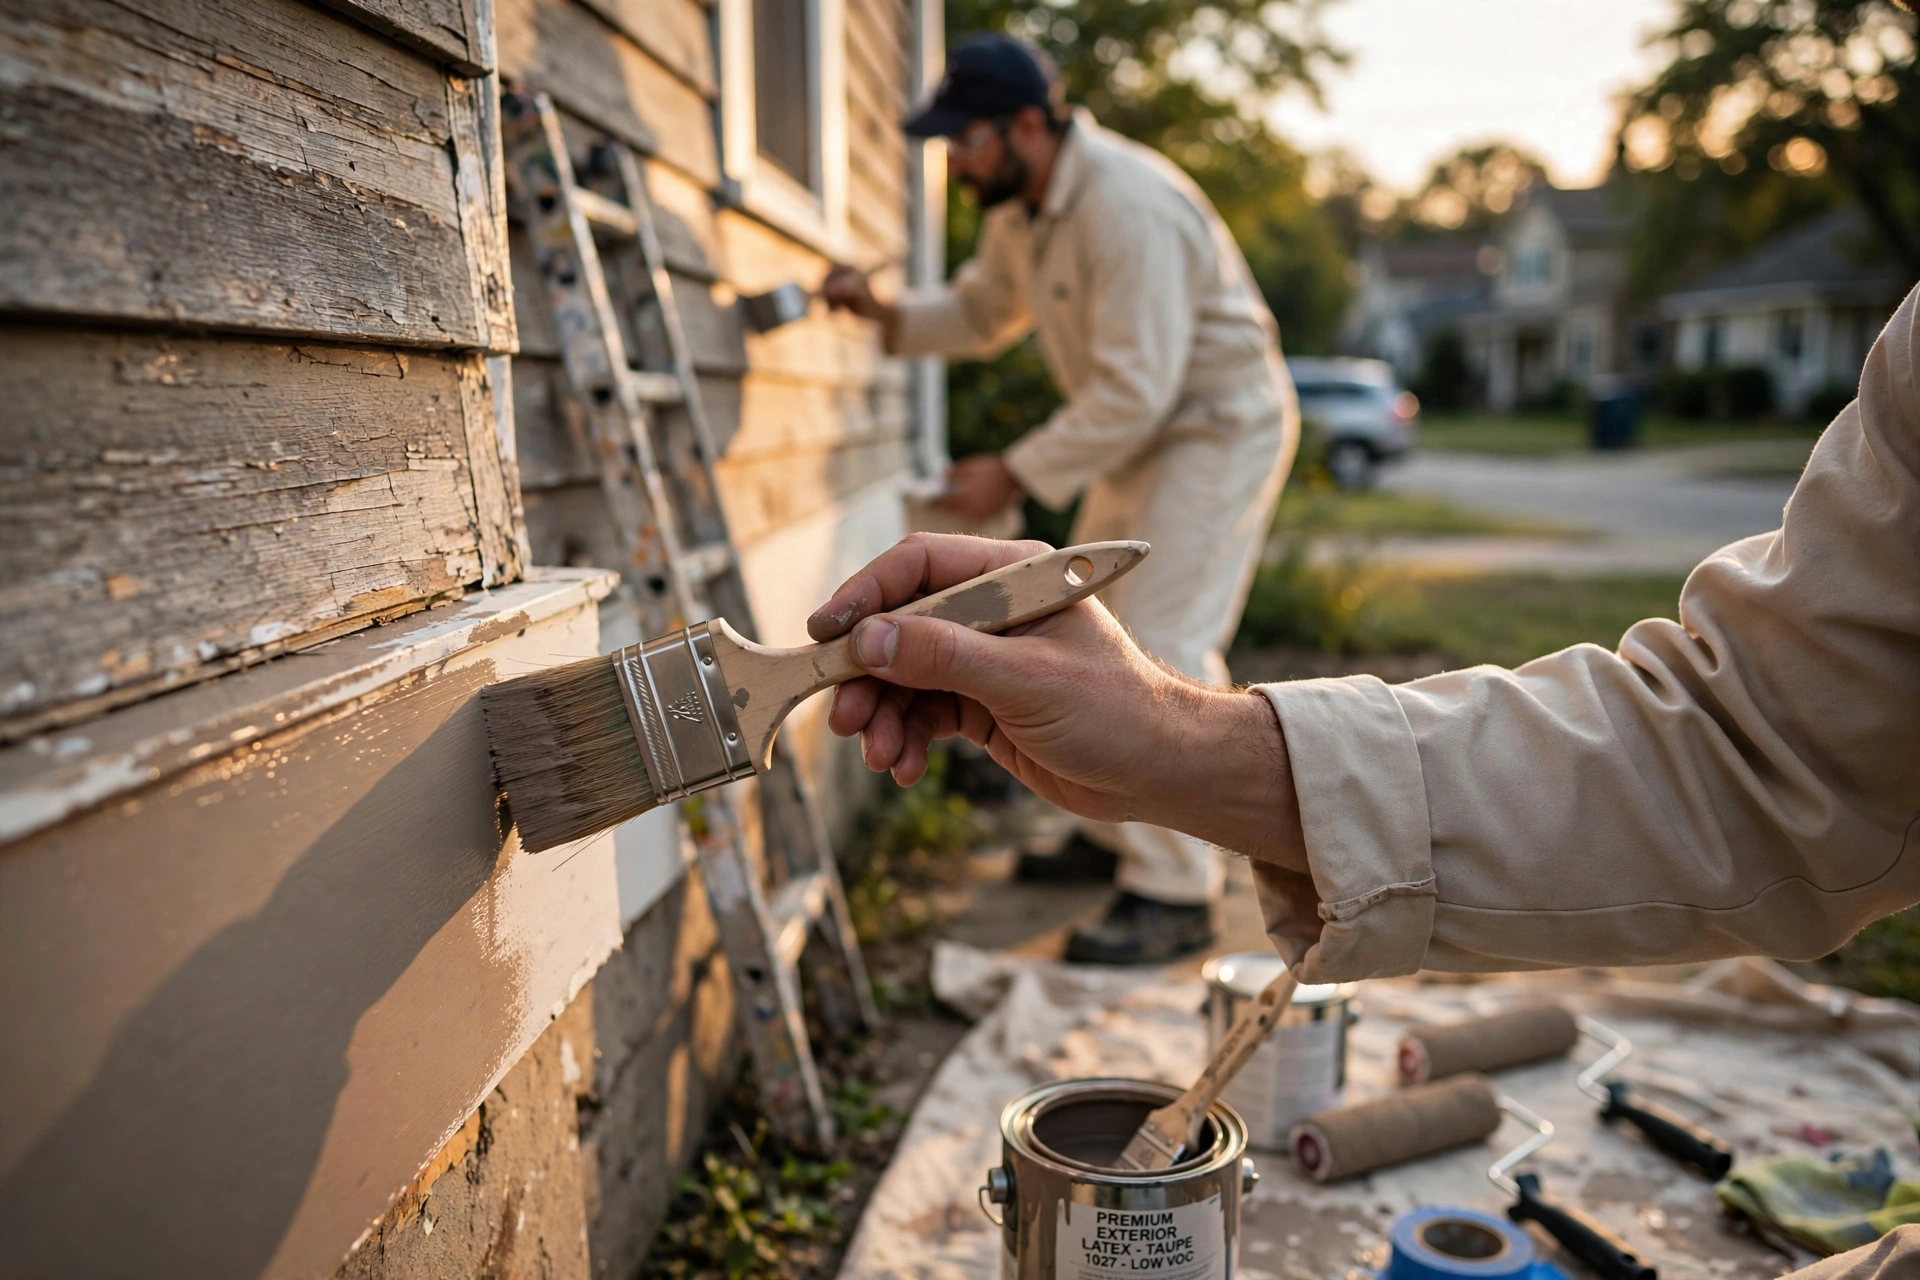
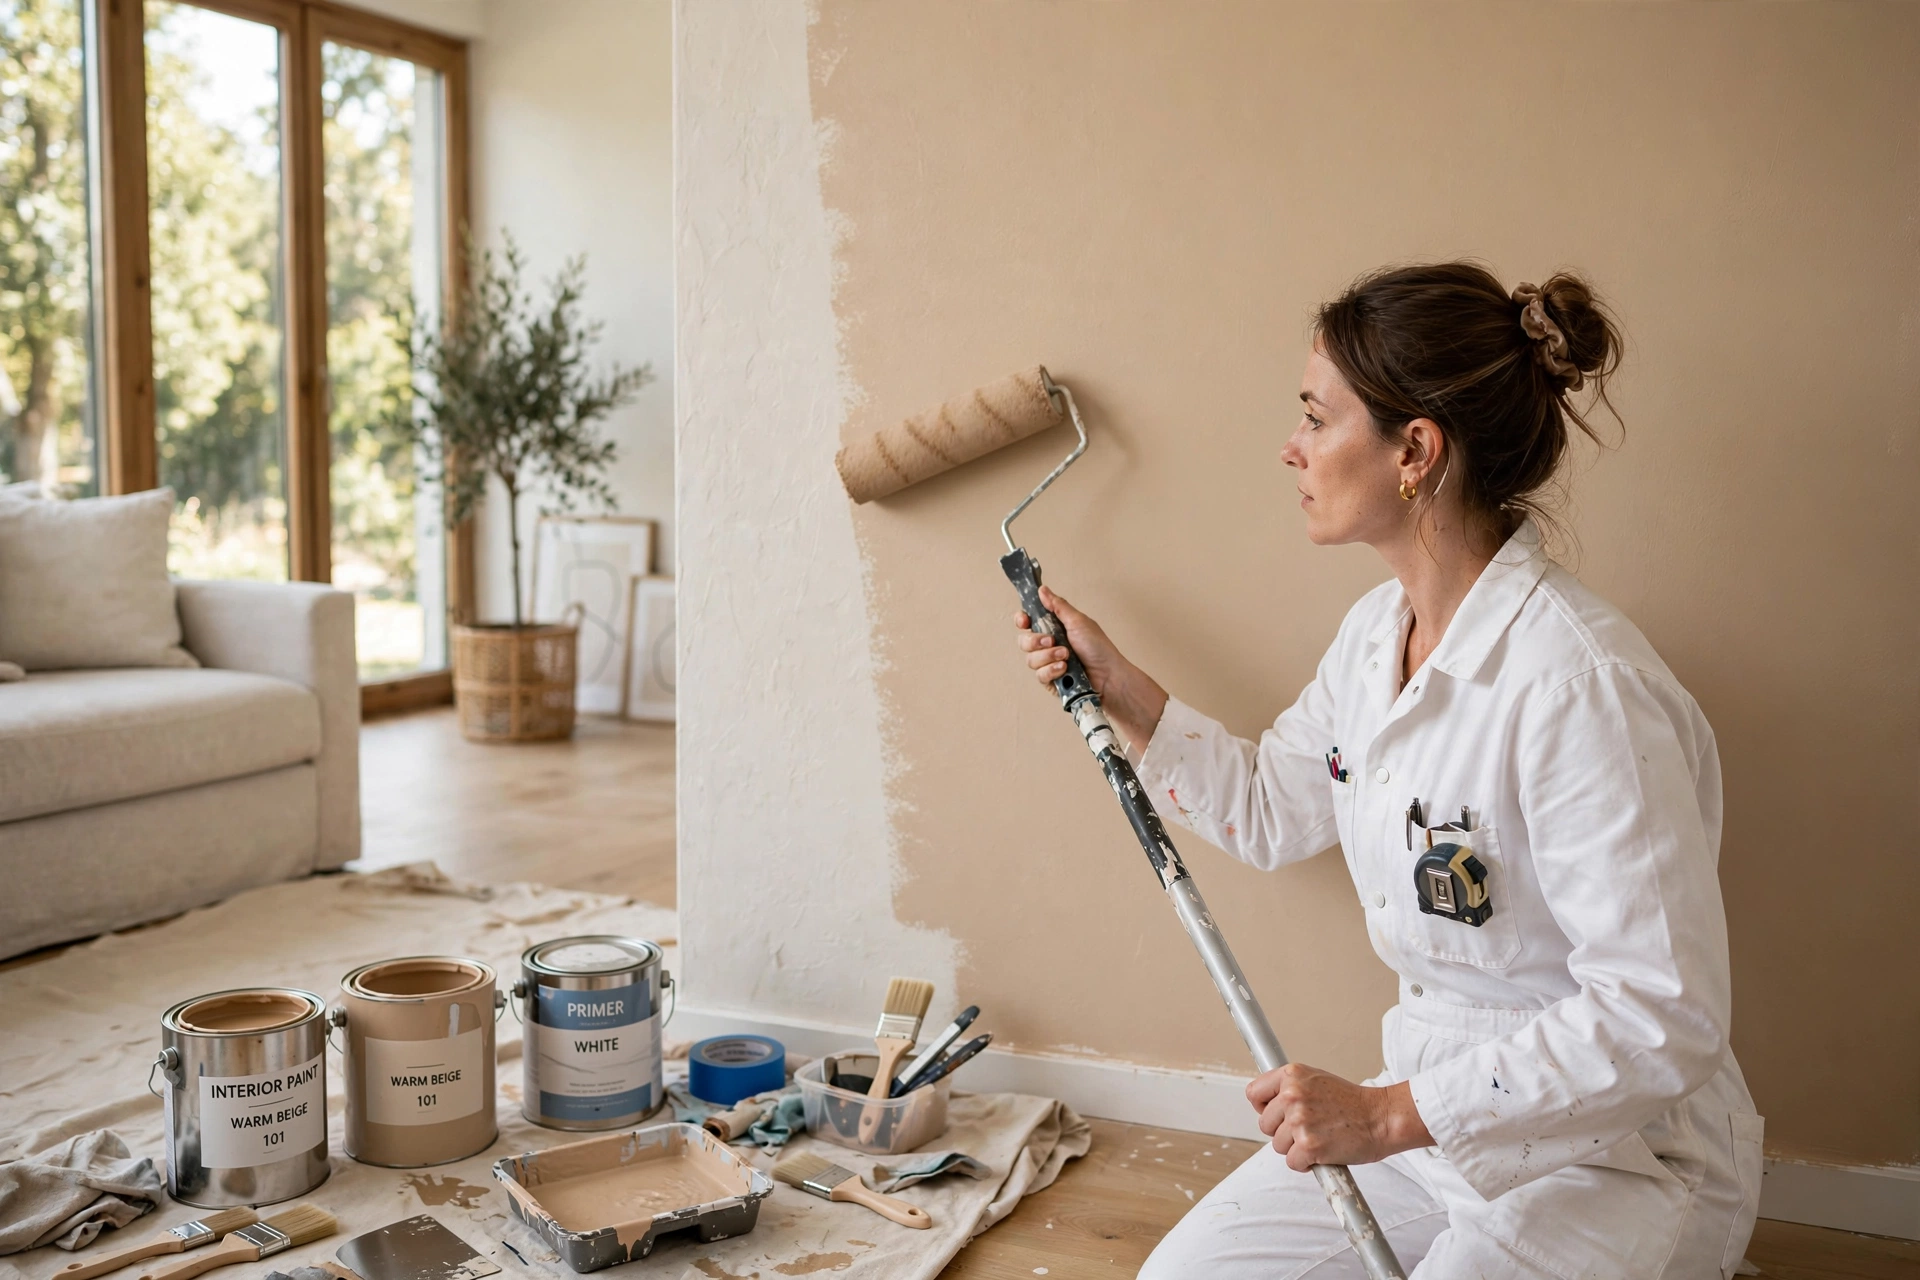
When it comes to maintaining the curb appeal and structural integrity of a homeowners association, few tasks are as impactful as a well-executed exterior painting project. In this fourth installment of our series on HOA painting best practices, we focus on the unique challenges of exterior maintenance—particularly stucco repair and preparation—that can make or break a multi-family painting project. From the foggy coastlines of San Francisco to the dry heat of the East Bay, the California Bay Area’s diverse microclimates demand specialized techniques and premium materials. Whether you're an HOA board member or a property manager, mastering these best practices will ensure your community’s facades remain beautiful and protected for years to come.
For comprehensive context, see our HOA Painting Best Practices Part 4 pillar guide.
What Are HOA Painting Best Practices?
📚Definition
HOA painting best practices are the proven methodologies, preparation steps, material selections, and project management approaches that ensure a durable, aesthetically consistent, and cost-effective paint finish across multi-family residential communities.
HOA painting is fundamentally different from painting a single-family home. With multiple units, common areas, and strict aesthetic guidelines, the stakes are higher. A poor paint job can lead to uneven appearance, premature failure, costly litigation, and diminished property values. In my experience working with dozens of HOAs across Alameda and Contra Costa counties, the most common failures stem from inadequate surface preparation—especially on stucco, which is prevalent in Bay Area architecture.
The best practices we outline here are distilled from over a decade of hands-on work with communities in Fremont, Pleasanton, San Ramon, and beyond. They cover everything from moisture testing to color consultation, ensuring your project runs smoothly and delivers a finish that lasts. According to a study by the Paint Quality Institute, proper surface preparation accounts for up to 80% of a paint job’s longevity (Paint Quality Institute, "Surface Preparation: The Key to Long-Lasting Paint," 2023). Yet many HOAs, pressured by budget constraints, skip essential steps like power washing, scraping, and priming.
Why Exterior Prep Determines Paint Longevity
One of the most critical lessons I’ve learned is that paint is only as good as the surface it adheres to. In the Bay Area, stucco exteriors are particularly vulnerable to moisture intrusion, cracking, and efflorescence. A report by Sherwin-Williams states that moisture-related failures are the leading cause of exterior paint failure in coastal climates (Sherwin-Williams Technical Bulletin, "Coastal Climate Considerations," 2024). The 5-step prep process we use at World Pro Painting directly addresses these vulnerabilities.
The 5-Step Prep Process That Extends Paint Life by 10+ Years
At World Pro Painting, we’ve refined a 5-step preparation process that addresses the unique challenges of Bay Area stucco:
- Power washing – Removes dirt, mildew, and loose paint. For stucco, we use low-pressure (under 1,200 PSI) to avoid water infiltration.
- Scraping – All loose or peeling paint is manually removed. This step is non-negotiable for adhesion.
- Sanding – Smooths rough edges and feathers transitions between bare and painted areas.
- Caulking – Seals cracks around windows, doors, and expansion joints with high-performance elastomeric caulk.
- Priming – A high-quality exterior primer, specific to stucco, ensures uniform absorption and blocks stains.
💡Key Takeaway
Proper stucco preparation prevents moisture damage, cracks, and peeling. Investing in prep now saves thousands in repainting costs later.
Learn more about the
Benefits of California Bay Area Painting to understand why quality preparation matters.
How to Manage HOA Color Consistency Across Multiple Buildings
Color consistency is one of the top pain points for HOAs. When painting a multi-building complex, even a slight variation in batch number or application technique can result in noticeable differences. The best practice is to order all paint from a single batch and apply it under consistent conditions. A 2022 article from Architectural Digest highlights that color variation is a common complaint in large-scale projects, emphasizing the need for strict quality control (Architectural Digest, "How to Avoid Paint Color Mismatch," 2022).
- Use premium brands exclusively: We only use Sherwin-Williams and Benjamin Moore paints, which offer superior color retention and batch consistency.
- Request color samples on actual substrate: Paint a 2x2 foot section of the actual stucco or siding and evaluate it in different lighting conditions over a full day.
- Maintain a color log: Document the exact product name, sheen, and batch number for future touch-ups.
- Apply paint within the same weather window: Temperature and humidity affect final color. Ideally, all buildings are painted within a 2-week period with similar weather.
Stucco Repair Best Practices Before Painting
Stucco is notoriously unforgiving. Cracks, bulges, and soft spots must be addressed before a single brush touches the wall. At World Pro Painting, we follow a rigorous stucco repair protocol:
- Inspect for moisture damage: Use a moisture meter to detect hidden dampness. Painting over wet stucco guarantees failure. According to the International Association of Certified Home Inspectors, moisture content above 15% in stucco requires remediation before painting (InterNACHI, "Moisture Detection in Stucco," 2023).
- Repair cracks with matching texture: For hairline cracks, apply a flexible patching compound. For larger cracks, cut out the damaged section, install metal lath, and reapply stucco in layers.
- Allow adequate curing time: New stucco patch must cure for at least 7 days before painting. Rushing this step leads to peeling.
- Apply a breathable primer: Stucco needs a primer that allows vapor to escape while blocking moisture intrusion. We recommend Sherwin-Williams Loxon Concrete & Masonry Primer.
Deep Dive: Moisture Testing Methods
Using a moisture meter is just the first step. In my experience, we also perform a "tape test": applying clear plastic sheeting to the wall for 24 hours. If condensation forms on the inside, the stucco is trapping moisture and must be addressed. Ignoring this leads to blistering and delamination within months.
Stucco Painting vs. Siding Painting: Which Is Better for HOAs?
| Feature | Stucco Painting | Siding Painting |
|---|
| Surface prep complexity | High (requires moisture testing, crack repair) | Moderate (requires cleaning, minor repairs) |
| Paint adhesion | Demands high-quality primer and elastomeric paint | Standard exterior paint works well |
| Durability | 10–15 years with proper prep | 7–12 years depending on material |
| Maintenance | Requires periodic caulking and crack inspection | Easier to spot-repair |
| Aesthetic appeal | Classic, smooth look popular in Bay Area | More varied (wood, vinyl, fiber cement) |
| Cost | Higher due to labor and materials | Moderate |
Both options can deliver excellent results, but stucco requires a specialist. For a deeper dive into investment considerations, see our
Investment in California Bay Area Painting.
Best Practices for HOA Painting Contracts and Vendor Selection
Choosing the right contractor is arguably the most important decision an HOA board will make. Here are the proven criteria we recommend:
- Verify licensing and insurance: In California, a valid CSLB license (like ours: #1142478) and liability/bonding are mandatory.
- Demand a detailed scope of work: The contract should specify surface preparation, number of coats, paint brand, color, sheen, and cleanup protocol.
- Insist on a 6-year guarantee: A reputable contractor stands behind their work. Our industry-leading 6-year guarantee ensures peace of mind.
- Check references from similar HOAs: Ask for at least three recent multi-family projects.
- Require a project timeline with milestones: This prevents scope creep and keeps the board informed.
💡Key Takeaway
A detailed contract prevents disputes. Ensure the contractor’s guarantee covers both materials and labor.
For a broader look at best practices, revisit the
Why California Bay Area Painting section of our main guide.
Implementation Guide: Executing a Successful HOA Exterior Paint Project
To implement these best practices, follow this step-by-step plan:
- Board Approval and Budgeting: Obtain board approval and allocate at least 30-40% of the budget for preparation and priming.
- Vendor Selection: Send requests for proposals to at least three licensed contractors, each required to include a detailed scope and timeline. Our HOA painting services in cities like Martinez and Alameda are designed to meet strict compliance.
- Pre-Project Meeting: Walk the property with the contractor to identify problem areas. Document existing conditions with photos.
- Preparation Phase: Expect 1-2 weeks of prep for a mid-size complex. This includes power washing, scraping, and repairs. Ensure the contractor uses dust containment methods to minimize debris.
- Painting Phase: Typically 2-3 weeks for a 50-unit complex, assuming good weather. Prime earlier in the day to allow maximum drying time before dusk.
- Final Inspection: Walk the property with the contractor to ensure all areas are covered, drips and overspray are cleaned, and color matches. Our guarantee includes a follow-up inspection at 30 days.
Project Scheduling Tips
- Schedule painting during late spring or early fall when temperatures are between 50°F and 85°F.
- Avoid painting during fog or rain. Bay Area microclimates can change quickly; have a contingency plan for unexpected weather.
- Post notices to residents at least 2 weeks in advance. Provide parking alternatives and window coverings if needed.
For HOA-specific services, see our
HOA Painting Services in Alameda, CA.
Common Mistakes in HOA Exterior Painting and How to Avoid Them
After witnessing hundreds of projects, I’ve identified the most common mistakes:
- Skipping moisture testing: Leads to paint failure within months. Always use a moisture meter.
- Using cheap paint: Economy paints lack UV resistance and flexibility. Premium acrylic paints like those from Sherwin-Williams last 3x longer.
- Ignoring caulking: Cracks around windows and doors allow water intrusion. Re-caulk every 5-7 years.
- Rushing drying times: Applying second coats too soon causes bubbling. Follow manufacturer's recoat times.
- Neglecting color matching: Even with the same formula, different batches can vary. Always order extra paint from the same batch for future touch-ups.
💡Key Takeaway
Avoid these pitfalls by following proven preparation and application protocols. Your HOA’s investment will last longer and look better.
For more on common pitfalls, check our guide on
Kitchen Painting in Alvarado – Union City, CA which highlights similar principles for interior prep.
Frequently Asked Questions
What is the most important step in HOA exterior painting?
Surface preparation is the single most critical step. Without proper power washing, scraping, sanding, caulking, and priming, even the most expensive paint will fail prematurely. In my experience, HOAs that skimp on prep end up repainting within 3–4 years, whereas those that invest in thorough preparation enjoy 10–15 year finishes. At World Pro Painting, we devote 30–40% of project time to prep alone. This is where we outlast competitors by years.
How often should an HOA repaint its exterior?
In the Bay Area, exterior paint typically lasts 7–10 years on stucco and 5–8 years on wood siding, depending on weather exposure and maintenance. The foggy coastal microclimate (e.g., Half Moon Bay, Pacifica) accelerates degradation due to constant moisture and salt. East Bay areas like Livermore and Dublin, with dry heat, allow longer intervals. HOAs should schedule annual inspections to identify peeling, fading, or cracking. Touch-ups can extend the life of a paint job by 2–3 years. For communities with severe exposure, consider more frequent inspections and maintenance painting.
Can HOA boards negotiate painting costs?
While we never quote specific prices in this article (every project requires an on-site evaluation), boards can negotiate value by asking about material tiers, prep scope, and warranty terms. The lowest bid often omits critical steps like power washing or priming. Instead of focusing on raw cost, ask for a transparent estimate that details every line item. World Pro Painting offers binding, zero-hidden-fee estimates. Ultimately, paying for quality prep and premium paint is an investment that protects property values. For example, a contract that includes full caulking and a 6-year guarantee may cost more upfront but saves thousands in early repainting.
What paint brand do professional HOA painters recommend?
For Bay Area stucco, we exclusively use Sherwin-Williams Duration or Benjamin Moore Aura exterior lines. These are 100% acrylic, elastomeric paints that resist cracking, fading, and moisture. They carry 25-year fade warranties. Avoid store brands or discount paints—they lack the flexibility and UV resistance needed in our climate. The right paint costs more upfront but delivers a 15-year finish vs. 3–5 years from economy products. Always request a data sheet to confirm the paint’s expansion/contraction rating, especially for stucco.
How long does a typical HOA painting project take?
A mid-size HOA complex (50–100 units) typically takes 4–8 weeks, depending on weather, building size, and scope. Prep and drying time account for roughly half the schedule. For example, stucco repairs may require 7-day curing before painting. Professional contractors like World Pro Painting use detailed project management to minimize disruption—completing buildings in phases so residents remain comfortable. Always ask for a timeline with milestones before signing a contract. Unforeseen issues like moisture damage can extend the timeline, so build in 1–2 weeks of buffer.
What is the best way to prepare stucco for painting?
The best way is a five-step process: power wash at low pressure, scrape all loose paint, sand rough edges, caulk all cracks and joints, and prime with a high-quality masonry primer. Moisture testing is essential before starting. If moisture content exceeds 15%, the cause must be repaired first. At World Pro Painting, we also apply a mildewcide wash to prevent future growth. This meticulous approach ensures paint adhesion and longevity.
How do I choose a contractor for HOA painting?
Start by verifying the contractor’s CSLB license, insurance, and bonding. Request at least three references from HOAs of similar size. Ask about their surface preparation process—any contractor that downplays prep is a red flag. Ensure the contract includes a detailed scope, timeline, and guarantee. World Pro Painting offers a 6-year guarantee on both materials and labor. It’s also wise to visit a current or past project site to see workmanship firsthand.
Conclusion
HOA painting best practices for exterior maintenance in the Bay Area revolve around three pillars: meticulous surface preparation, premium materials, and a proven contractor with a strong guarantee. By following the steps outlined here—especially for stucco repair and color consistency—you can ensure your community’s facades remain beautiful and durable for over a decade. Remember, the cost of cutting corners far exceeds the investment in quality.
For a complete overview of all our best practices, refer back to the HOA Painting Best Practices Part 4 pillar guide.
Ready to protect your HOA’s value with a flawless exterior paint job? Our team at World Pro Painting serves 42 Bay Area cities, from Fremont to San Mateo to Livermore. We back every project with a 6-Year Guarantee and a 100% satisfaction promise. Schedule your free on-site estimate today and experience the World Pro difference.
Recommended Readings
To deepen your understanding of these topics, we recommend reading the following articles:
About the Author
World Pro Team is the (Painting Experts) at
World Pro Painting. With over a decade of experience serving HOAs across the Bay Area, they specialize in exterior painting and stucco repair, ensuring durable and aesthetically pleasing finishes that protect property values.
Commercial Painting Cost Calculator & Color Guide
Get an instant estimation checklist for painting your office, warehouse, or house. Learn how to choose colors that boost productivity.