

How Do You Achieve a Factory-Finish Kitchen with Cabinet Refinishing?
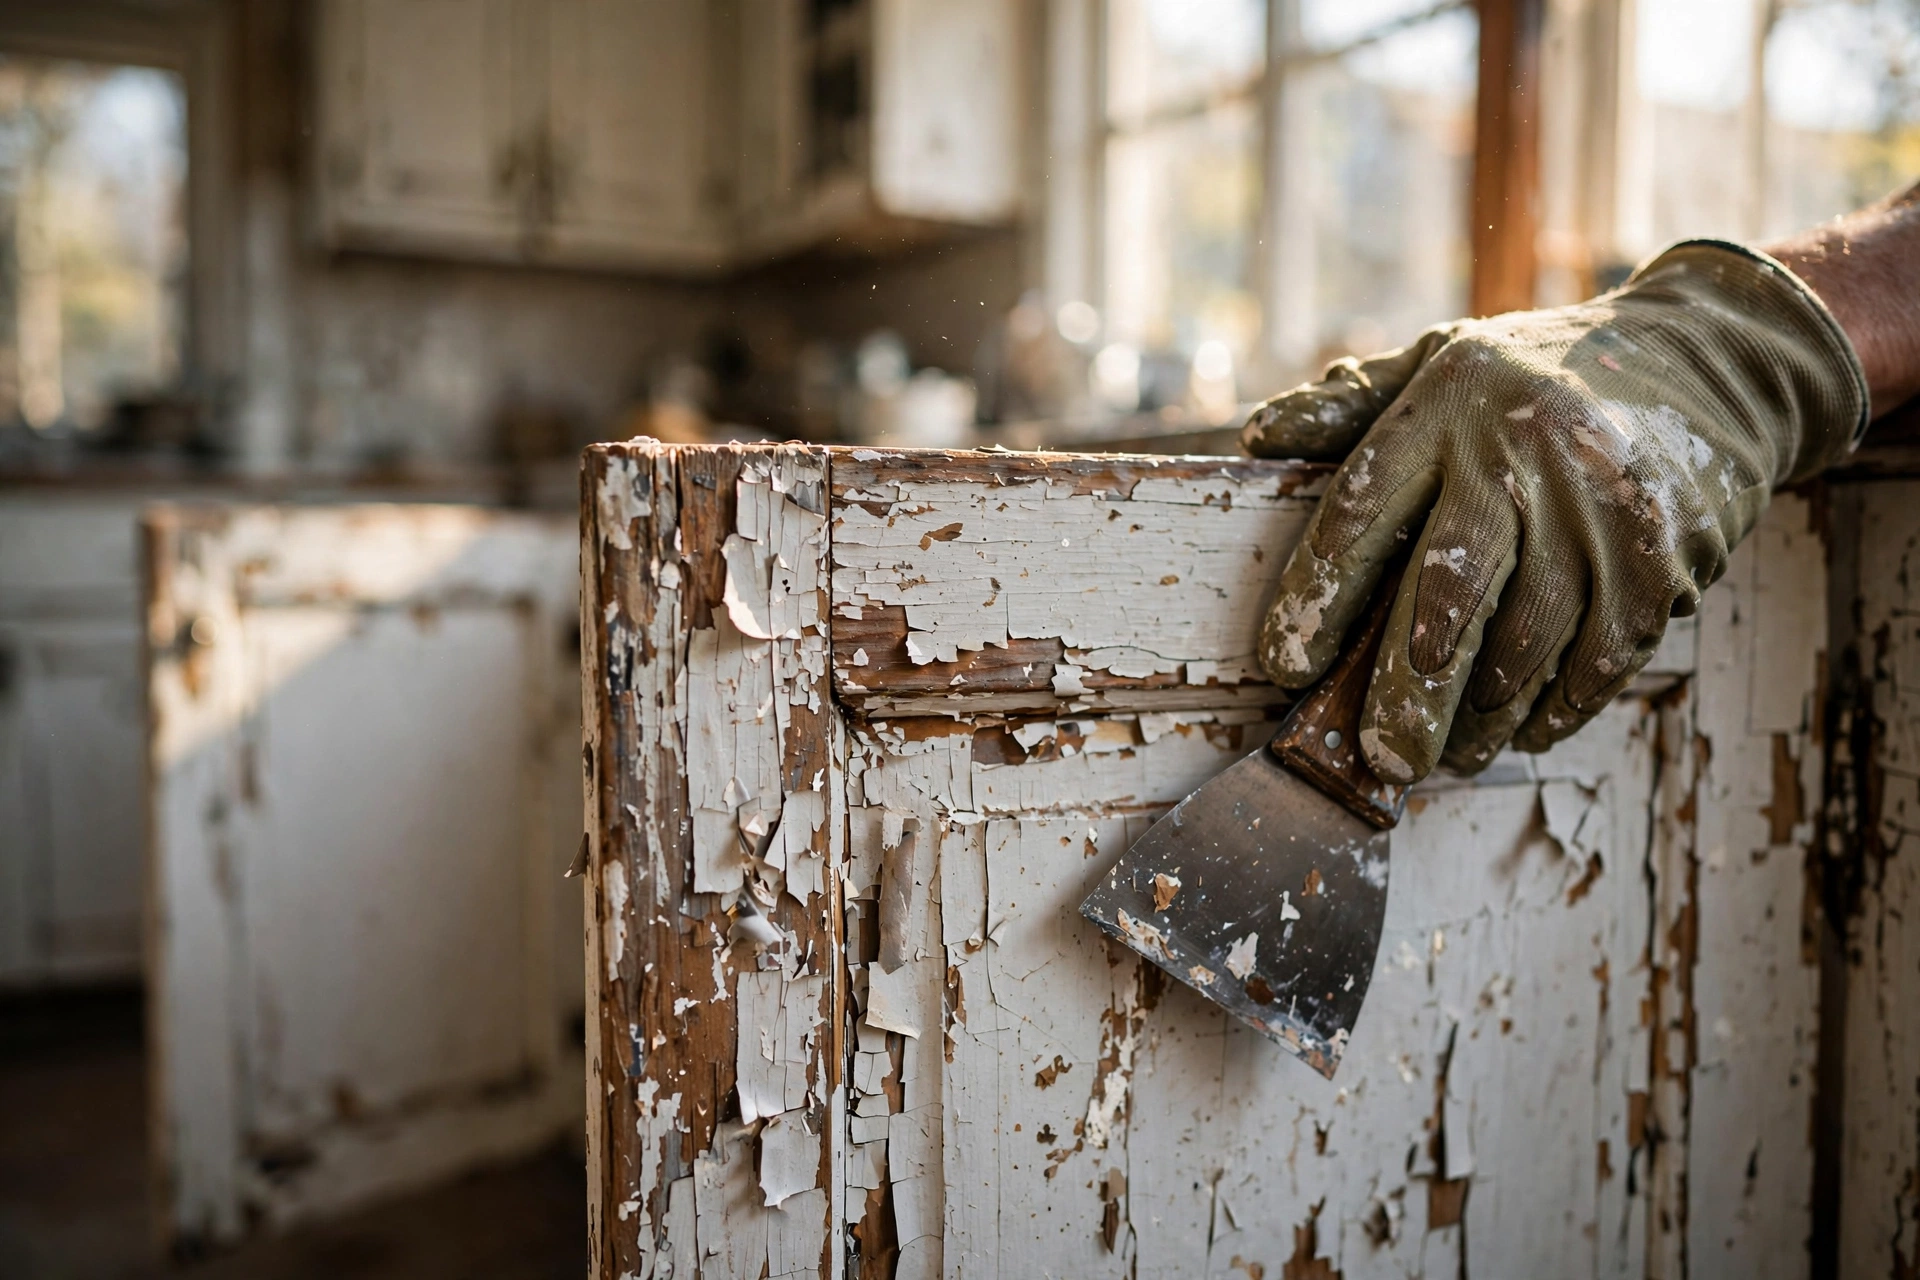
Walking into a kitchen with peeling lacquer or dated 1990s oak doesn't always require a full demolition. In my experience working with homeowners across the San Francisco Bay Area, the biggest mistake people make is assuming that a "fresh coat of paint" is the same as professional refinishing. The reality is that cabinets endure more abuse—grease, steam, and constant friction—than any other surface in your home. Understanding why cabinet refinishing experts utilize a multi-stage chemical and mechanical process is the difference between a kitchen that looks new for ten years and one that starts chipping in ten months. To get a professional result, you must follow a strict sequence of degreasing, sanding, priming with high-adhesion resins, and spraying with industrial-grade enamels.
For those managing larger properties or rentals, integrating these high-end finishes can significantly increase property value, similar to how we approach Commercial Painting in Cabrillo - Fremont, CA to ensure durability in high-traffic zones.

What Exactly is Professional Cabinet Refinishing?
Professional cabinet refinishing is the process of restoring or changing the color of existing cabinetry without replacing the boxes or doors. Unlike simple painting, refinishing involves the removal of old finishes, the repair of substrate damage, and the application of specialized coatings that are designed to bond at a molecular level with the wood or MDF.
📚
Definition
Cabinet Refinishing is a comprehensive restoration process that uses chemical strippers, mechanical sanding, and high-performance coatings (like urethanes or lacquers) to create a durable, factory-like finish on existing cabinetry.
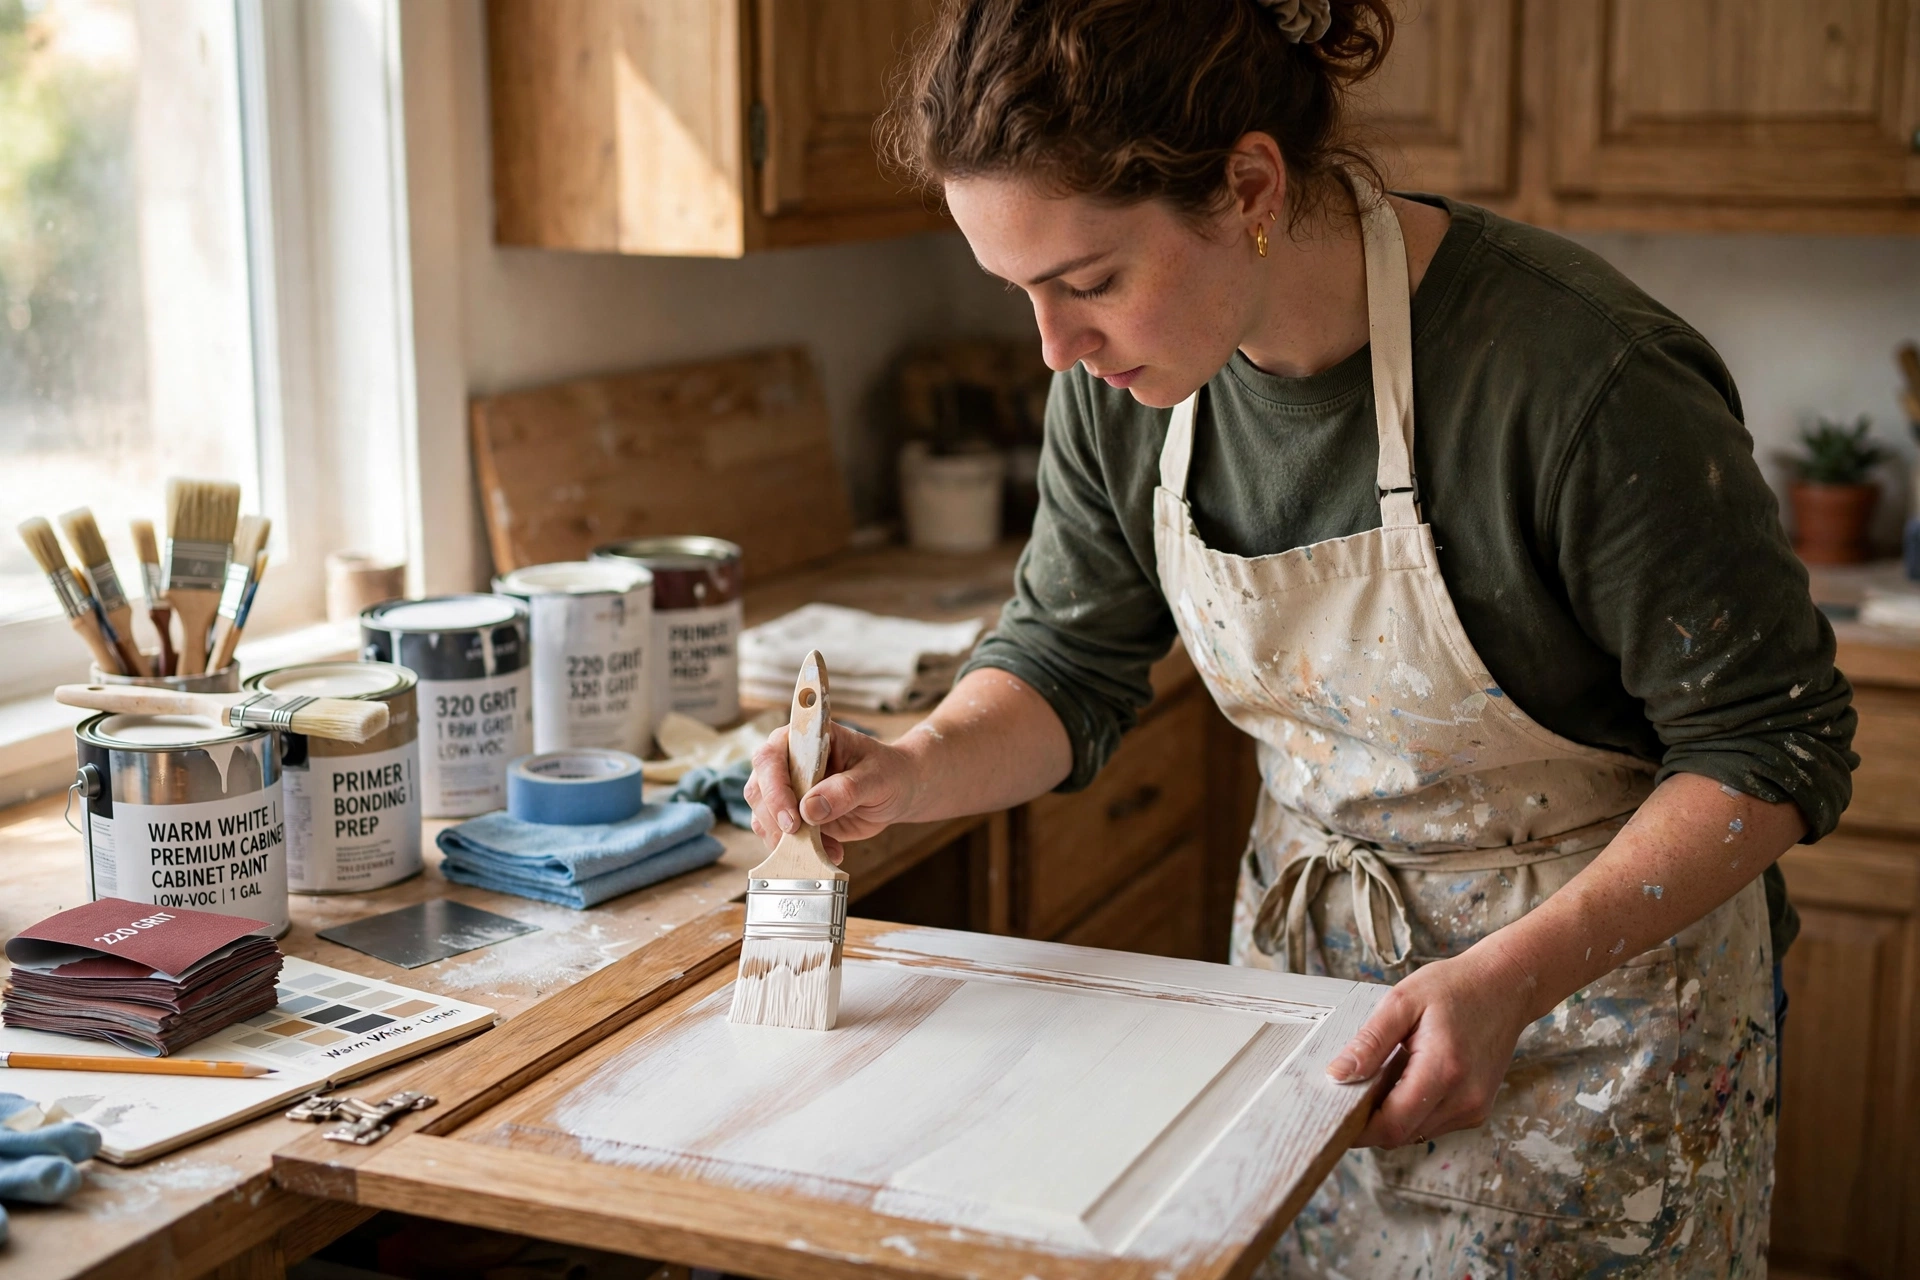
When we execute this at World Pro Painting, we don't just "brush on" paint. We use an HVLP (High Volume Low Pressure) spraying system. This is fundamental because brushes and rollers leave "stipple" or "brush marks" that catch the light and reveal the job as a DIY project. A professional finish is characterized by a perfectly flat, smooth surface that mimics the original manufacturer's coating. According to the Painting Contractors Association (PCA), the adherence of a coating is directly proportional to the quality of the surface preparation; if the original oils and waxes aren't removed, the new finish will inevitably fail.
Now, here is where it gets interesting: the choice of material matters. Most homeowners think "latex paint" is the answer, but professionals use acrylic alkyds or chemical-cure enamels. These materials level out as they dry, eliminating imperfections and providing a hard shell that resists the daily wear and tear of a busy California kitchen. If you are updating a multi-unit complex, this level of detail is what we prioritize for Multi-Family Painters in Mission San Jose - Fremont, CA to ensure the interiors remain pristine for years.
Why Does Professional Refinishing Outperform DIY Attempts?
The disparity between a DIY paint job and an expert refinish comes down to chemistry and equipment. Most homeowners start by sanding lightly and applying a primer. However, kitchen cabinets are coated in "kitchen film"—a microscopic layer of aerosolized cooking grease and cleaning chemicals. If you paint over this film, you aren't bonding to the wood; you are bonding to the grease. When the paint inevitably peels, it comes off in sheets.
Data shows that the ROI of a professional kitchen refresh is significantly higher than a full remodel. While a full kitchen gut can cost $30,000 to $60,000, professional refinishing provides a similar visual impact for a fraction of the cost, often increasing home equity by 70% to 100% of the project cost. According to guidelines from the California Contractors State License Board (CSLB), hiring a licensed contractor ensures that the materials used are compliant with local environmental laws, such as those set by the Bay Area Air Quality Management District (BAAQMD) regarding VOC emissions.
Beyond the financial aspect, there is the issue of durability. Professional-grade coatings, such as those from Sherwin-Williams, are engineered for high-impact areas. These coatings undergo a cross-linking process as they cure, meaning they create a chemical bond that is far tougher than the mechanical bond of standard house paint. I've seen dozens of clients try to save money with "cabinet paint" from a big-box store, only to call us six months later because the finish around the handles had worn through. The mistake they made was ignoring the curing phase; professional finishes take weeks to reach full hardness, whereas DIY paints often feel "dry" but remain soft and prone to indentation.
How to Refinish Cabinets: The Professional Step-by-Step Process
If you want to understand why cabinet refinishing experts charge a premium, you have to look at the labor-intensive preparation. We follow a rigorous 6-step protocol at World Pro Painting to ensure the finish is permanent.
Step 1: Deconstruction and Labeling
We never paint cabinets while they are hanging. Every door and drawer front is removed and meticulously labeled. This prevents the "puzzle" effect at the end of the project and allows us to spray the components in a controlled environment, avoiding overspray on your appliances and floors.
Step 2: Deep Degreasing (The Most Important Step)
We use industrial-strength TSP (Trisodium Phosphate) or specialized deglossers to strip away every trace of grease. If the surface doesn't "squeak" when you rub it, it isn't clean enough for a professional bond.
Step 3: Mechanical Abrasion
We don't strip the wood down to the raw grain in every case—that can often destroy the character of the piece. Instead, we perform a "scuff sand" using 120-grit to 220-grit sandpaper. This creates "tooth" on the surface, giving the primer something to grip. For those in the Bay Area looking for similar precision in their home exteriors, we apply this same meticulous prep to Exterior Painting in Lakeside, Newark, CA.
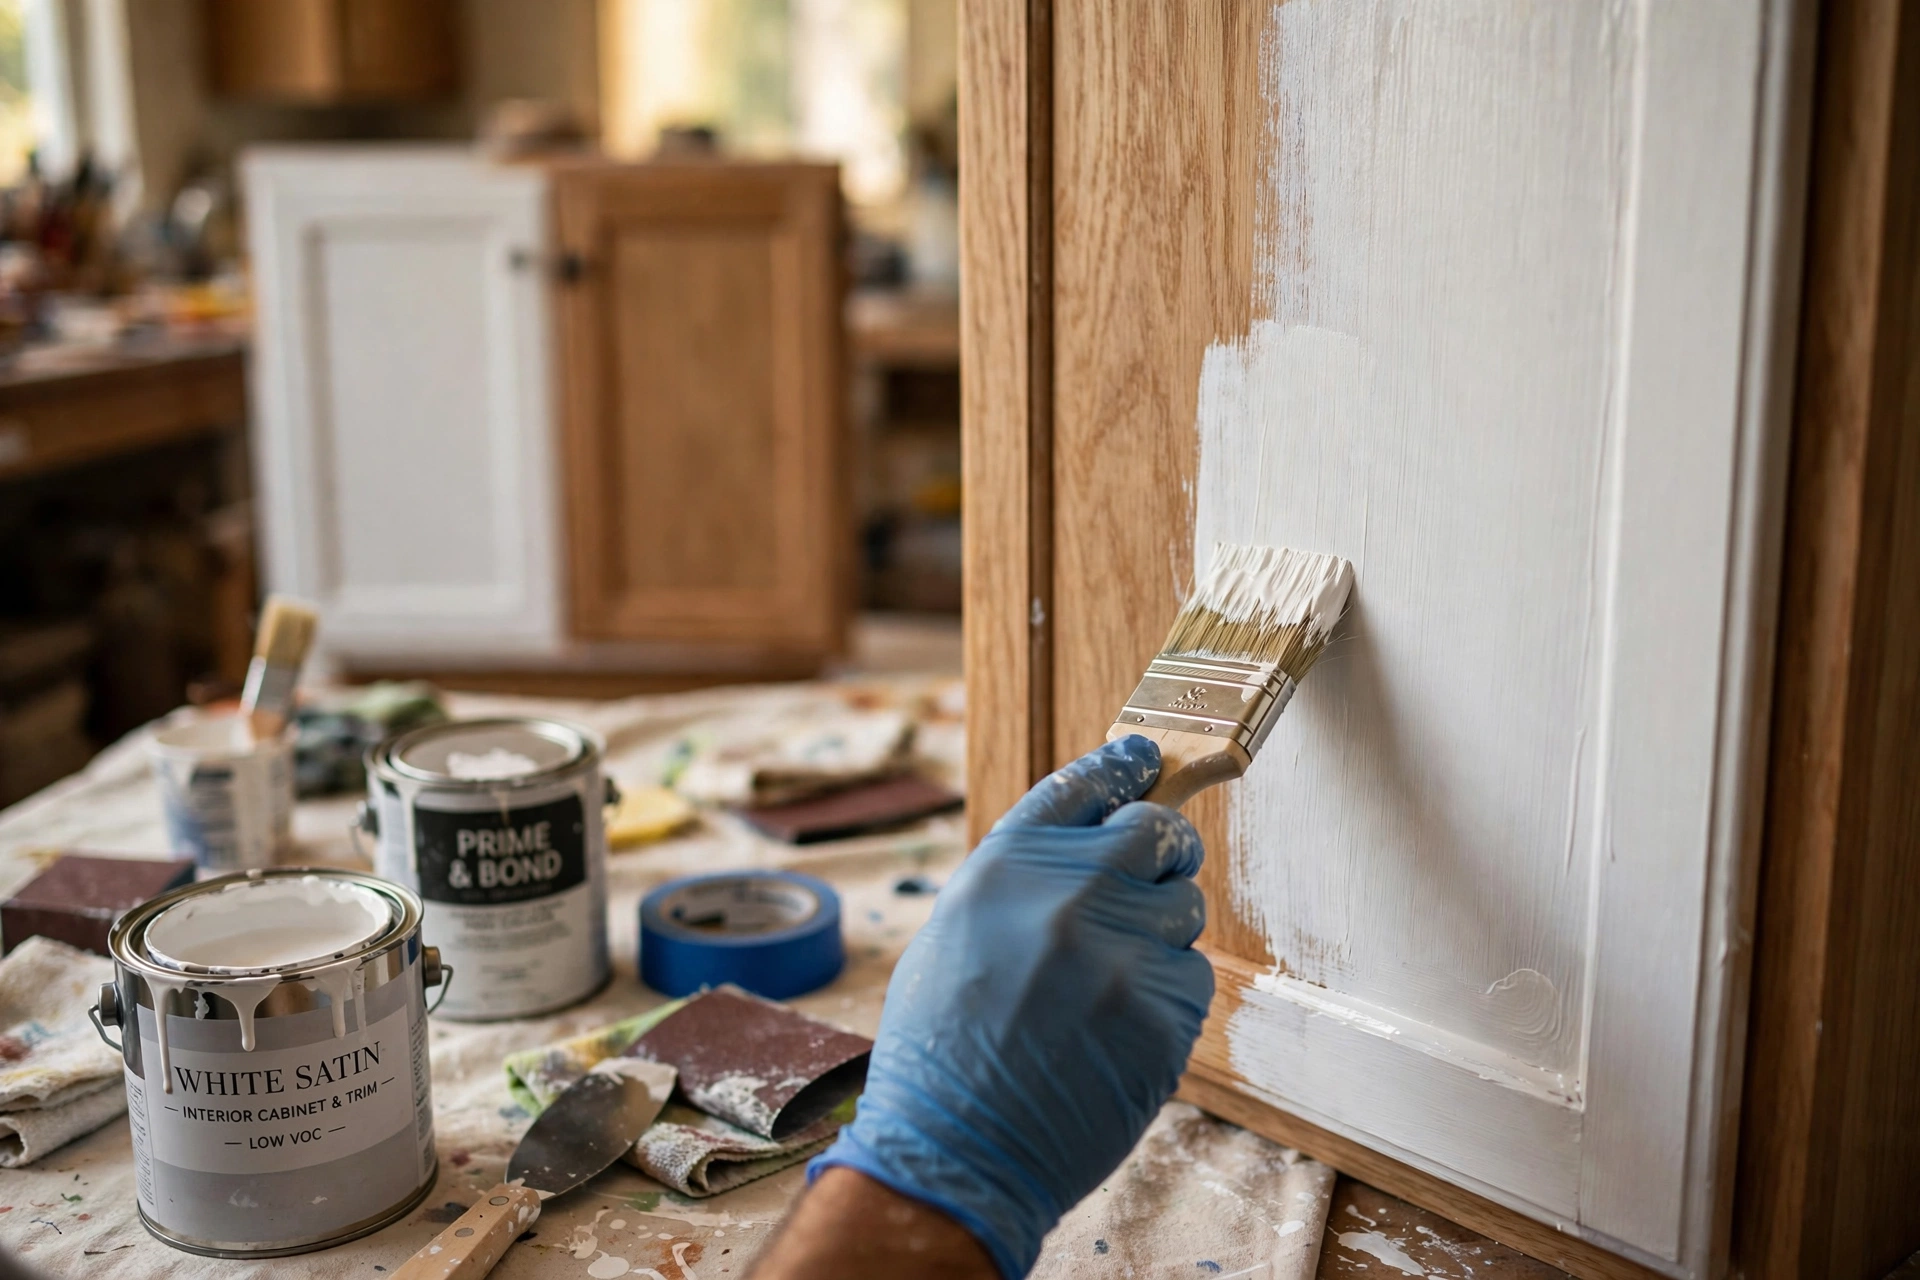
Step 4: High-Adhesion Priming
We apply a specialized bonding primer. For oily woods like maple or cherry, we use a stain-blocking primer to prevent "tannin bleed," where yellow or brown spots seep through the white paint.
Step 5: Precision Spraying
Using HVLP equipment, we apply two to three thin coats of cabinet-grade enamel. Thin coats are the secret; thick coats lead to runs, drips, and "orange peel" texture.
Step 6: Controlled Curing and Reinstallation
The pieces are left to cure in a dust-free zone before being re-hung. We use new hinges or high-quality hardware to complete the transformation.
💡
Key Takeaway
The secret to a long-lasting cabinet finish is not the paint itself, but the chemical degreasing and mechanical sanding that happens before the first drop of color is applied.
For those managing larger residential projects, such as Multi-Family Painters in Weibel - Fremont, CA, this systematic approach is the only way to ensure consistency across multiple units.

Comparing Your Cabinet Update Options
When deciding how to proceed, homeowners usually weigh three options: painting, refinishing, and replacing. Most "painting" guides get this wrong by grouping painting and refinishing together. They are fundamentally different.
| Feature | DIY Painting | Professional Refinishing | Full Replacement |
|---|---|---|---|
| Longevity | 1–3 Years | 10+ Years | 20+ Years |
| Finish Quality | Visible brush marks | Factory-smooth | Factory-smooth |
| Cost | Low | Moderate | Very High |
| Downtime | Short | Moderate (1-2 weeks) | Long (Weeks to Months) |
| Durability | Prone to chipping | High impact resistance | Highest |
| Best For | Temporary rentals | High-end home updates | Structural failures |
As the table shows, professional refinishing is the "sweet spot" for most homeowners. You get the aesthetic and durability of a new kitchen without the structural chaos of a demolition. If you're unsure which path to take, we often recommend looking at our broader approach to How to Use California Bay Area Painting services to see how we balance cost and quality.
Common Questions and Misconceptions
There is a significant amount of misinformation regarding cabinet updates. Most "hack" videos on social media suggest that a simple sanding and a coat of chalk paint is sufficient. Here is the reality from the trenches.
Myth 1: "Chalk paint is the best for cabinets because it doesn't require priming."
This is a dangerous misconception. While chalk paint adheres easily, it is incredibly porous and absorbs everything—oil, water, and food stains. It requires a wax or poly-sealant to be functional, and even then, it lacks the hardness of a professional enamel. In a high-use kitchen, chalk paint will wear through at the touch-points within months.
Myth 2: "You can just paint over the existing finish if it's still in good shape."
Even if the finish looks good, it is contaminated. Every time you cook with oil or use a citrus-based cleaner, you are applying a layer of contaminants to the surface. Painting over these ensures a failure of the bond. I've seen "perfectly fine" cabinets peel because the homeowner skipped the degreasing phase.
Myth 3: "Spray painting is too messy for an indoor project."
While spraying creates an aerosol, professionals use "containment zones." We mask off the entire kitchen with plastic sheeting and use high-efficiency vacuum systems to capture overspray. The result is a finish that is impossible to achieve with a brush, and the mess is entirely managed by the contractor.
Myth 4: "White is the only color that adds value to a kitchen."
While white is a classic, current trends in the Bay Area are shifting toward "moody" kitchens—deep navys, forest greens, and charcoal grays. These colors, when applied with a professional satin or matte finish, can make a home feel more custom and expensive than a generic white kitchen.
Frequently Asked Questions
How long does the professional cabinet refinishing process actually take?
A standard kitchen typically takes between 7 to 14 days from the moment we remove the doors to the final re-installation. This timeline is non-negotiable because it accounts for the necessary drying and curing windows. For example, the primer must fully bond and be sanded smooth before the topcoat is applied. If you rush this process, you risk "solvent trap," where the paint skins over too quickly, trapping gases underneath that eventually cause bubbles or blisters. We ensure each layer is chemically stable before proceeding, which is a standard we also apply to Multi-Family Painters Brookvale - Fremont, CA to maintain quality across high volumes.
Can you refinish cabinets that have water damage or peeling laminate?
Yes, but this moves the project from "refinishing" into "restoration." If the MDF (Medium Density Fiberboard) has swollen due to water leaks under the sink, we must first stabilize the wood using epoxy resins or replace the damaged sections entirely. Peeling laminate requires a full strip-down and the application of a high-build primer to level the surface. We cannot simply paint over a peel; the new paint would just highlight the flaw. This is why an on-site estimate is essential—we need to identify these "invisible" failures before we apply the first coat of paint.
What is the difference between a lacquer finish and an enamel finish?
Lacquers are traditional high-end finishes that dry extremely fast and provide a glass-like hardness. However, they can be more brittle and are often higher in VOCs. Enamels, specifically water-borne acrylic alkyds, offer a bit more flexibility and are significantly more environmentally friendly, which is a priority for our projects in the California Bay Area. Enamels are generally more resistant to the chemicals found in modern household cleaners, making them a better choice for families with children or pets. Both require professional spraying equipment to avoid the streaks associated with brush application.
Will the new paint smell for a long time after the project is done?
Modern professional coatings have evolved significantly. By using low-VOC (Volatile Organic Compounds) products, such as those recommended by Benjamin Moore, the "paint smell" is minimal and usually dissipates within 24 to 48 hours. The most pungent part of the process is the initial degreasing and priming stage. We manage this by ensuring proper ventilation and using the highest quality materials available. This commitment to air quality is something we bring to every job, including Exterior Painting in Birch Grove - Newark, CA where we prioritize the health of the surrounding neighborhood.
How do I maintain my refinished cabinets to make them last 10+ years?
The key to longevity is avoiding harsh abrasives. Never use "magic erasers" or scouring pads on your refinished cabinets, as these are essentially micro-sandpaper and will dull the sheen of the enamel. Instead, use a damp microfiber cloth and a mild dish soap. Avoid ammonia-based cleaners or strong solvents that can break down the chemical bond of the topcoat. By treating the surface with care and avoiding extreme heat sources directly against the finish, a professionally refinished kitchen can easily last a decade or more before needing a touch-up.
Final Thoughts on Choosing Cabinet Refinishing Experts
Updating your kitchen is one of the most impactful home improvements you can make, but the gap between a DIY "paint job" and professional refinishing is vast. When you invest in expert refinishing, you aren't just paying for paint; you are paying for the chemistry of adhesion, the precision of HVLP equipment, and the patience of a multi-stage curing process.
Whether you are dealing with the coastal humidity of San Francisco or the inland heat of the Tri-Valley, your cabinetry needs a finish that can withstand the local climate and the rigors of daily life. Don't risk the permanent devaluation of your cabinetry with a shortcut. If you want a factory-smooth finish that stands the test of time, trust the specialists who understand the science of the surface.
Ready to transform your kitchen? Schedule your Free On-Site Estimate with World Pro Painting today and experience the difference that professional preparation makes.
Visit us at worldpropainting.com to get started.
Commercial Painting Cost Calculator & Color Guide
Get an instant estimation checklist for painting your office, warehouse, or house. Learn how to choose colors that boost productivity.