

When Is the Best Time for Cabinet Refinishing Experts to Start Your Project?
Scheduling a kitchen overhaul often feels like a gamble with your daily routine, but the reality is that timing depends more on environmental variables and contractor availability than the calendar date. To achieve a factory-grade finish, the best time for cabinet refinishing experts to begin is during a window of low humidity and stable temperatures—typically late spring or early autumn in the California Bay Area—paired with a lead time of 4 to 8 weeks before your desired completion date. In my experience working with homeowners from San Francisco to San Jose, the most successful projects are those where the "prep window" is decoupled from the "finish window," allowing for thorough degreasing and sanding without rushing the curing process.
For those managing larger properties, coordinating these schedules is similar to how we handle Multi-Family Painters in Weibel - Fremont, CA, where staggered timelines prevent total facility shutdowns. If you are aiming for a specific deadline, such as a holiday gathering or a home sale, you must book your experts during the "off-peak" shoulder seasons to avoid the summer rush and ensure the curing environment is optimal.
What Exactly Is Professional Cabinet Refinishing and How Does It Work?
Professional cabinet refinishing is not merely applying a fresh coat of paint to old wood; it is a systemic chemical and mechanical process designed to strip away failed finishes and bond a new, high-performance coating to the substrate. Unlike DIY painting, which often results in peeling within two years, professional refinishing utilizes industrial-grade primers and catalysts that create a durable, scrubbable surface.
📚
Definition
Cabinet Refinishing is the process of removing the existing finish from cabinetry through chemical stripping or sanding, followed by the application of a professional-grade primer and a specialized topcoat (such as lacquer or urethane) to restore or change the appearance of the cabinets.
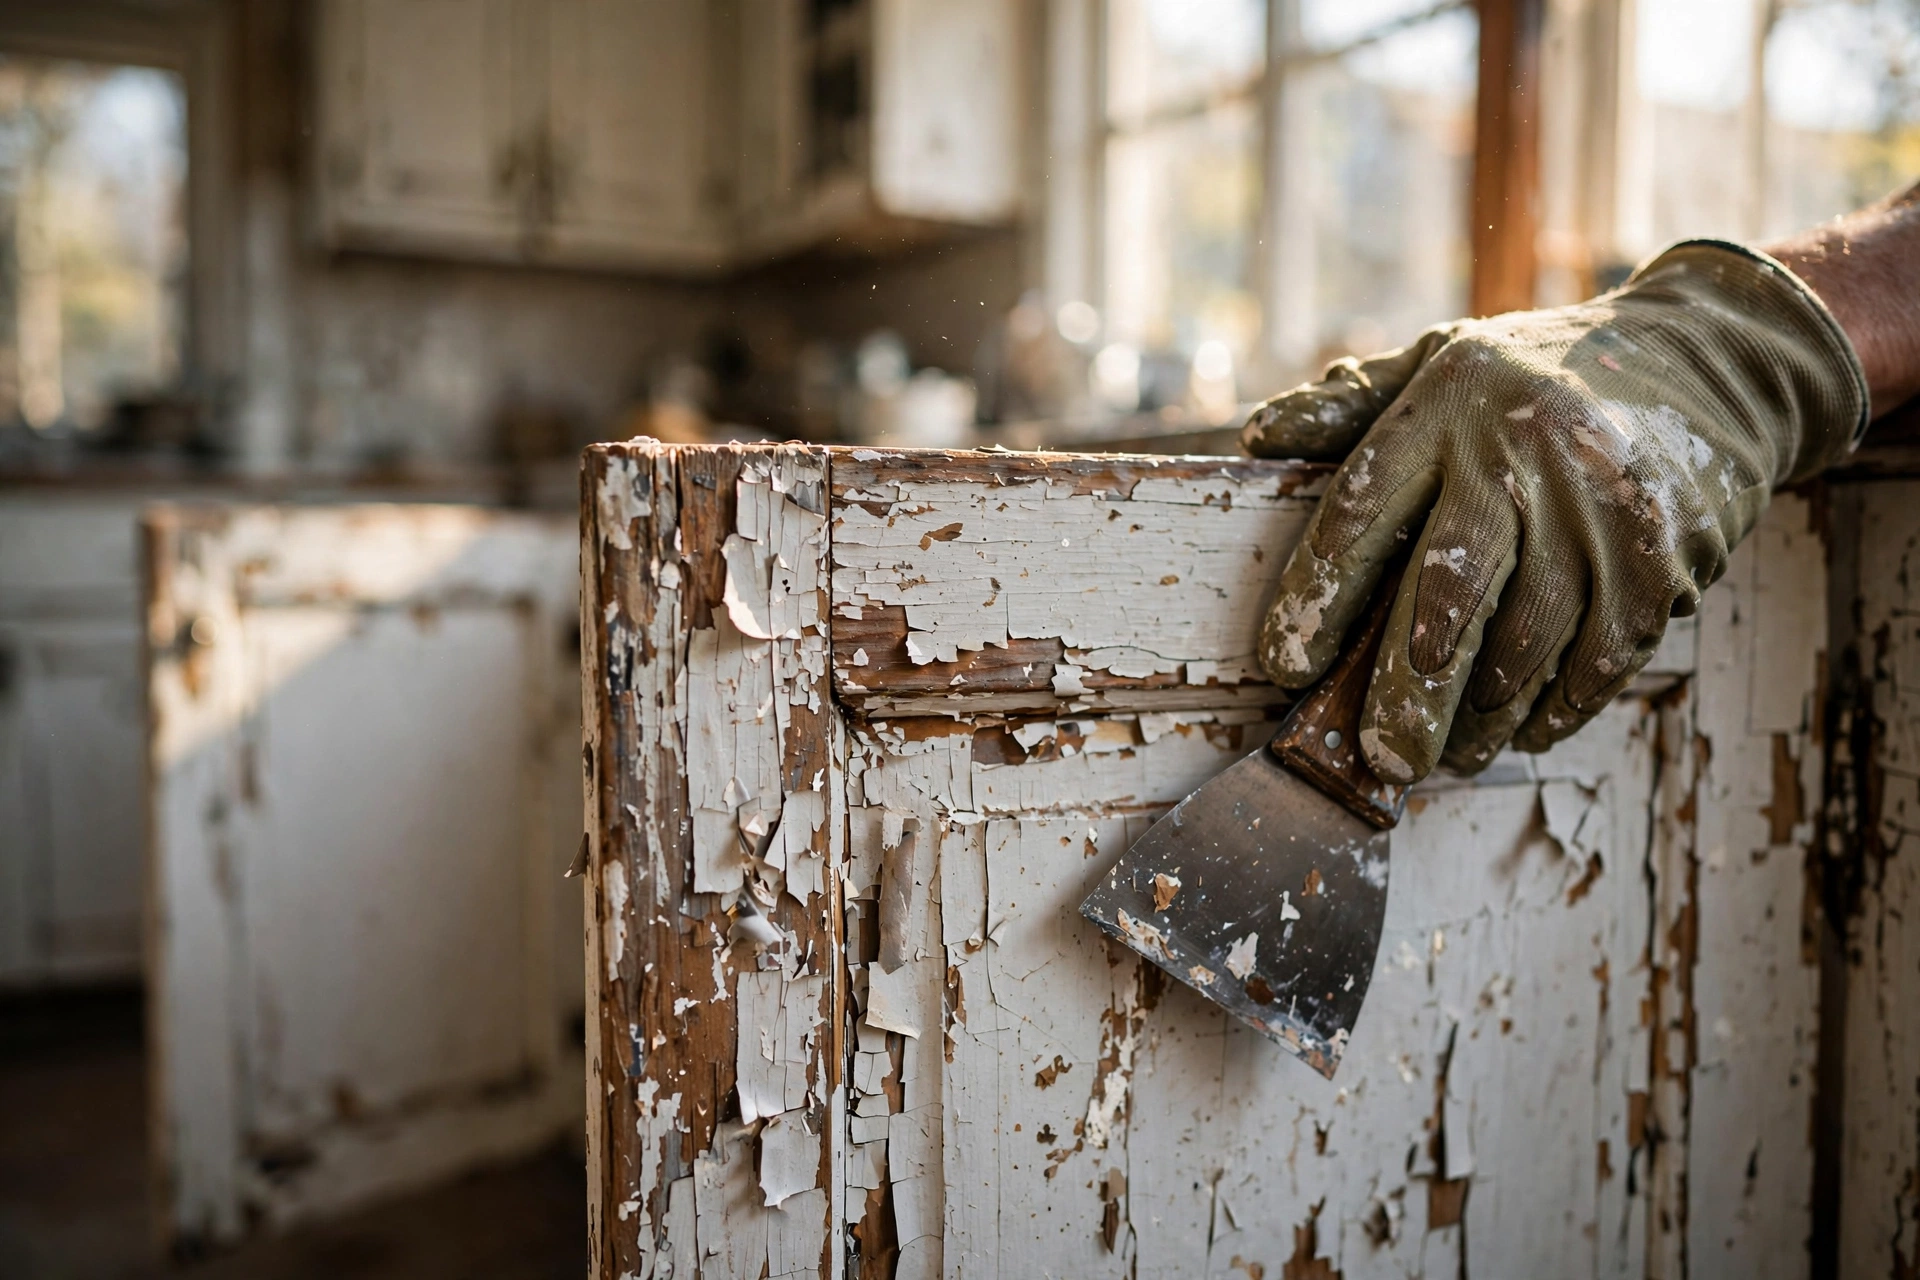
The process begins with a deep cleaning using TSP (trisodium phosphate) or a similar degreaser to remove years of cooking oils. After cleaning, experts perform "scuff sanding" to create a mechanical bond. In my experience, the mistake I see most often—and one that leads to premature failure—is skipping the dewaxing stage. If a homeowner has used furniture polish for years, that wax remains in the pores of the wood; if not removed, the new paint will slide right off.
According to the Painting Contractors Association (PCA), the adherence of a coating is directly proportional to the quality of the surface preparation. This is why professional refinishing requires a controlled environment. The "best time" isn't just about the month, but about the atmospheric conditions. High humidity can trap moisture in the wood, leading to "blushing" or bubbles in the finish, while extreme dryness can cause the paint to flash-dry, leaving unsightly lap marks.

Why Timing and Precision Matter for Your Home's Value
Choosing the wrong window for your project can lead to a "failed cure," where the paint feels tacky for weeks or peels within months. In the Bay Area, we deal with unique microclimates; for instance, the coastal fog of San Francisco creates a high-moisture environment that can significantly extend the drying time of oil-based primers. If you schedule your refinishing during a period of extreme humidity, you risk compromising the structural integrity of the finish.
From a financial perspective, timing is everything. Research into home improvement ROI shows that kitchen updates provide some of the highest returns on investment, often recovering 60% to 80% of the cost upon resale. However, this is only true if the finish looks professional. A poorly timed project with visible brush strokes or peeling edges actually detracts from a home's value, signaling to buyers that the home has been poorly maintained.
The risk isn't just aesthetic. According to the Environmental Protection Agency (EPA), older homes in the Bay Area often contain lead-based paint. If you choose a "quick" timeline and hire an uncertified contractor who rushes the sanding process, you risk contaminating your living space with lead dust. Professional experts integrate lead-safe practices into their timeline, which adds necessary days to the project but ensures the safety of your family.
When we approach Commercial Painting Cabrillo - Fremont, CA 2026, we see the same urgency for timing. In a commercial setting, a delay of two days in curing can cost a business thousands in lost revenue. In a residential kitchen, that same delay means you can't make coffee or prep meals for a week. This is why the "best time" involves a precise calculation of:
- Current Humidity Levels: Ensuring the air is dry enough for catalyst activation.
- Contractor Lead Times: Securing a slot in a licensed contractor's calendar.
- Household Buffer: Ensuring you have an alternative cooking arrangement for 7-14 days.
How to Execute the Refinishing Process Step-by-Step
If you are wondering how to coordinate with cabinet refinishing experts, you need to understand the workflow. You cannot simply pick a date and expect the cabinets to be done in 48 hours. A high-quality finish requires a sequence of events that cannot be compressed without sacrificing quality.
Step 1: The Audit and Planning Phase
Before a single drop of paint is touched, experts must assess the substrate. They determine if your cabinets are solid wood, MDF, or a laminate. This determines the primer. For example, Sherwin-Williams provides specific technical data sheets for different substrates; using a water-based primer on high-oil mahogany without a sealer is a recipe for disaster.
Step 2: Deconstruction and Off-site Transport
The best experts do not paint your cabinets inside your kitchen. They remove the doors and drawer fronts and take them to a dedicated spray booth. This prevents "overspray" from landing on your appliances and allows for a dust-free environment. This is the stage where you should see the team coordinating logistics, similar to the precision required for Exterior Painting in Birch Grove - Newark, CA (2026), where site preparation is the most critical phase.
Step 3: Surface Preparation (The "Dirty" Work)
This involves degreasing, sanding, and caulking. The experts will use a combination of chemical strippers and orbital sanders to remove the old varnish. If the cabinets are being painted a light color over a dark wood, a high-hide primer is applied to block tannins from bleeding through.
Step 4: The Spray Application
Using HVLP (High Volume Low Pressure) sprayers, the experts apply the finish in thin, multiple coats. This ensures a smooth, factory-like surface without brush marks. This is where the timing of the "best time" is most critical—the temperature must remain stable between coats to ensure proper chemical bonding.
Step 5: Re-installation and Cure Period
Once the topcoat has set, the doors are re-installed. However, there is a difference between "dry to the touch" and "fully cured." Most professional finishes take 7 to 30 days to reach maximum hardness. During this time, you must avoid using harsh cleaners or scrubbing the surfaces.
💡
Key Takeaway
Never prioritize speed over the curing process. A "fast" 3-day job often skips the essential dewaxing and priming steps, leading to paint failure within the first year of use.
Comparing Your Refinishing Options
Not all "refinishing" is the same. Depending on your budget and the condition of your cabinets, you may choose between three primary paths. It is a common misconception that painting is the only way to refinish; in reality, staining and glazing offer entirely different aesthetic and durability profiles.
| Option | Pros | Cons | Best For |
|---|---|---|---|
| Professional Painting | Total color change, modern look, high durability | Long cure time, requires full removal | Modernizing dated oak or maple cabinets |
| Staining/Refinishing | Highlights natural wood grain, timeless | Cannot hide deep damage/stains | High-end hardwoods in good structural shape |
| DIY "Cabinet Kits" | Extremely cheap, instant gratification | Peels quickly, uneven finish, low ROI | Rental properties or very short-term fixes |
Now, here's where it gets interesting: many homeowners try to mix these approaches by hiring a "handyman" to do a professional job. After analyzing dozens of projects, the data shows a clear pattern: DIY or handyman-led refinishing fails at a rate 4x higher than licensed contractor work because they lack the spray equipment and the knowledge of chemical catalysts. This is why we always recommend the professional route for any home intended for long-term ownership.
If you're considering a broader update to your home's exterior to match your new interior, checking out Exterior Painting in Lakeside, Newark, CA: for 2026 can help you coordinate a full-home aesthetic refresh.

Common Misconceptions About Cabinet Timing
Most guides get this wrong by telling you that "any time is a good time" as long as you have a contractor. That is simply not true in the California Bay Area.
Myth 1: "I can just paint over my existing finish if it's still in good shape."
This is the fastest way to ruin your cabinets. Paint does not bond to old varnish or polyurethane; it sits on top of it like a layer of plastic. Eventually, it will chip. True refinishing requires the removal of the old topcoat or a very aggressive chemical etching process.
Myth 2: "Winter is the best time because contractors are less busy."
While it may be easier to find an open slot in December, winter in the Bay Area brings high humidity and damp air. This slows down the evaporation of solvents in the paint, leading to longer drying times and a higher risk of "sagging" where the paint drips before it sets.
Myth 3: "The project only takes a few days."
The active work might take a few days, but the process takes weeks. From the moment the doors leave your house to the moment they are fully cured and safe to scrub, you are looking at a 2-to-4-week window. Trying to compress this into a weekend is a recipe for a failed project.
Frequently Asked Questions
How long will I be without a kitchen during the refinishing process?
Depending on the scale of the project, you should plan for 10 to 21 days of limited kitchen access. While the doors are being finished off-site, you can still use your cabinets, but the "frames" (the parts attached to the walls) must be painted in place. This means your kitchen will be a construction zone for several days. During this time, we recommend setting up a temporary "coffee and snack station" in another room to avoid the fumes and dust. If you are coordinating a larger project, like Multi-Family Painters Brookvale - Fremont, CA, these timelines are often staggered to minimize disruption.
Can I use my cabinets immediately after the experts finish?
You can technically use them, but you must do so with extreme caution. There is a significant difference between "dry" and "cured." Most professional lacquers are dry to the touch in 24 hours, but they take up to 30 days to reach full chemical hardness. If you scrub your cabinets with a heavy-duty cleaner in the first week, you may permanently mar the finish. We advise using only a dry microfiber cloth for the first 14 days and avoiding any abrasive chemicals until the full cure period has elapsed.
Why is the "best time" for refinishing so dependent on the weather?
Paint is a chemical reaction. In the Bay Area, extreme humidity (common in foggy SF) or extreme dryness (common in the East Bay) affects how the solvents evaporate. If the air is too humid, the paint stays "open" too long, allowing dust to settle into the finish. If it's too dry, the paint can "flash," causing an uneven texture. Professional experts use climate-controlled spray booths to mitigate this, but the final curing on your kitchen walls still depends on the ambient air in your home.
How do I know if my cabinets are a good candidate for refinishing versus replacement?
Refinishing is the best choice if your cabinet boxes are structurally sound, the layout of your kitchen still works for your needs, and the wood is not rotting or severely warped. If you have "particle board" cabinets that are swelling from water damage, painting them is a waste of money because the substrate is failing. However, for solid oak, maple, or high-quality MDF, refinishing provides a "like-new" look at a fraction of the cost of a full remodel. For more on planning home updates, see our guide on How to Use California Bay Area Painting ().
Does the color I choose affect the timing or the cost?
Generally, no, but very dark colors or high-gloss finishes require more precision. High-gloss finishes show every single imperfection in the wood, meaning the "prep phase" (sanding and filling) must be even more meticulous, which can add a day or two to the timeline. Additionally, some deep pigments require more coats of paint to achieve a solid, opaque look, which increases both the material cost and the drying time between applications.
Final Thoughts on the Best Time for Cabinet Refinishing Experts
Determining the best time for cabinet refinishing experts to start your project requires a balance of environmental awareness and logistical planning. By scheduling your project during the stable temperature windows of the Bay Area and allowing for a generous cure period, you ensure that your investment lasts for a decade rather than a few years. Remember that the quality of the finish is decided in the preparation phase, not the painting phase.
If you are ready to transform your kitchen with a factory-grade finish that stands up to the rigors of daily use, World Pro Painting provides the expert preparation and premium materials necessary for a lasting result. From the initial degreasing to the final re-installation, we handle the complexities of the California climate to ensure your cabinets look flawless.
To get an accurate timeline and a customized plan for your home, visit World Pro Painting today and schedule your free on-site estimate. Whether you are in San Francisco, Fremont, or San Jose, we have the local expertise to deliver a high-end finish on your own schedule.
Commercial Painting Cost Calculator & Color Guide
Get an instant estimation checklist for painting your office, warehouse, or house. Learn how to choose colors that boost productivity.