📖This article is part of the complete guide to California Bay Area Painting.
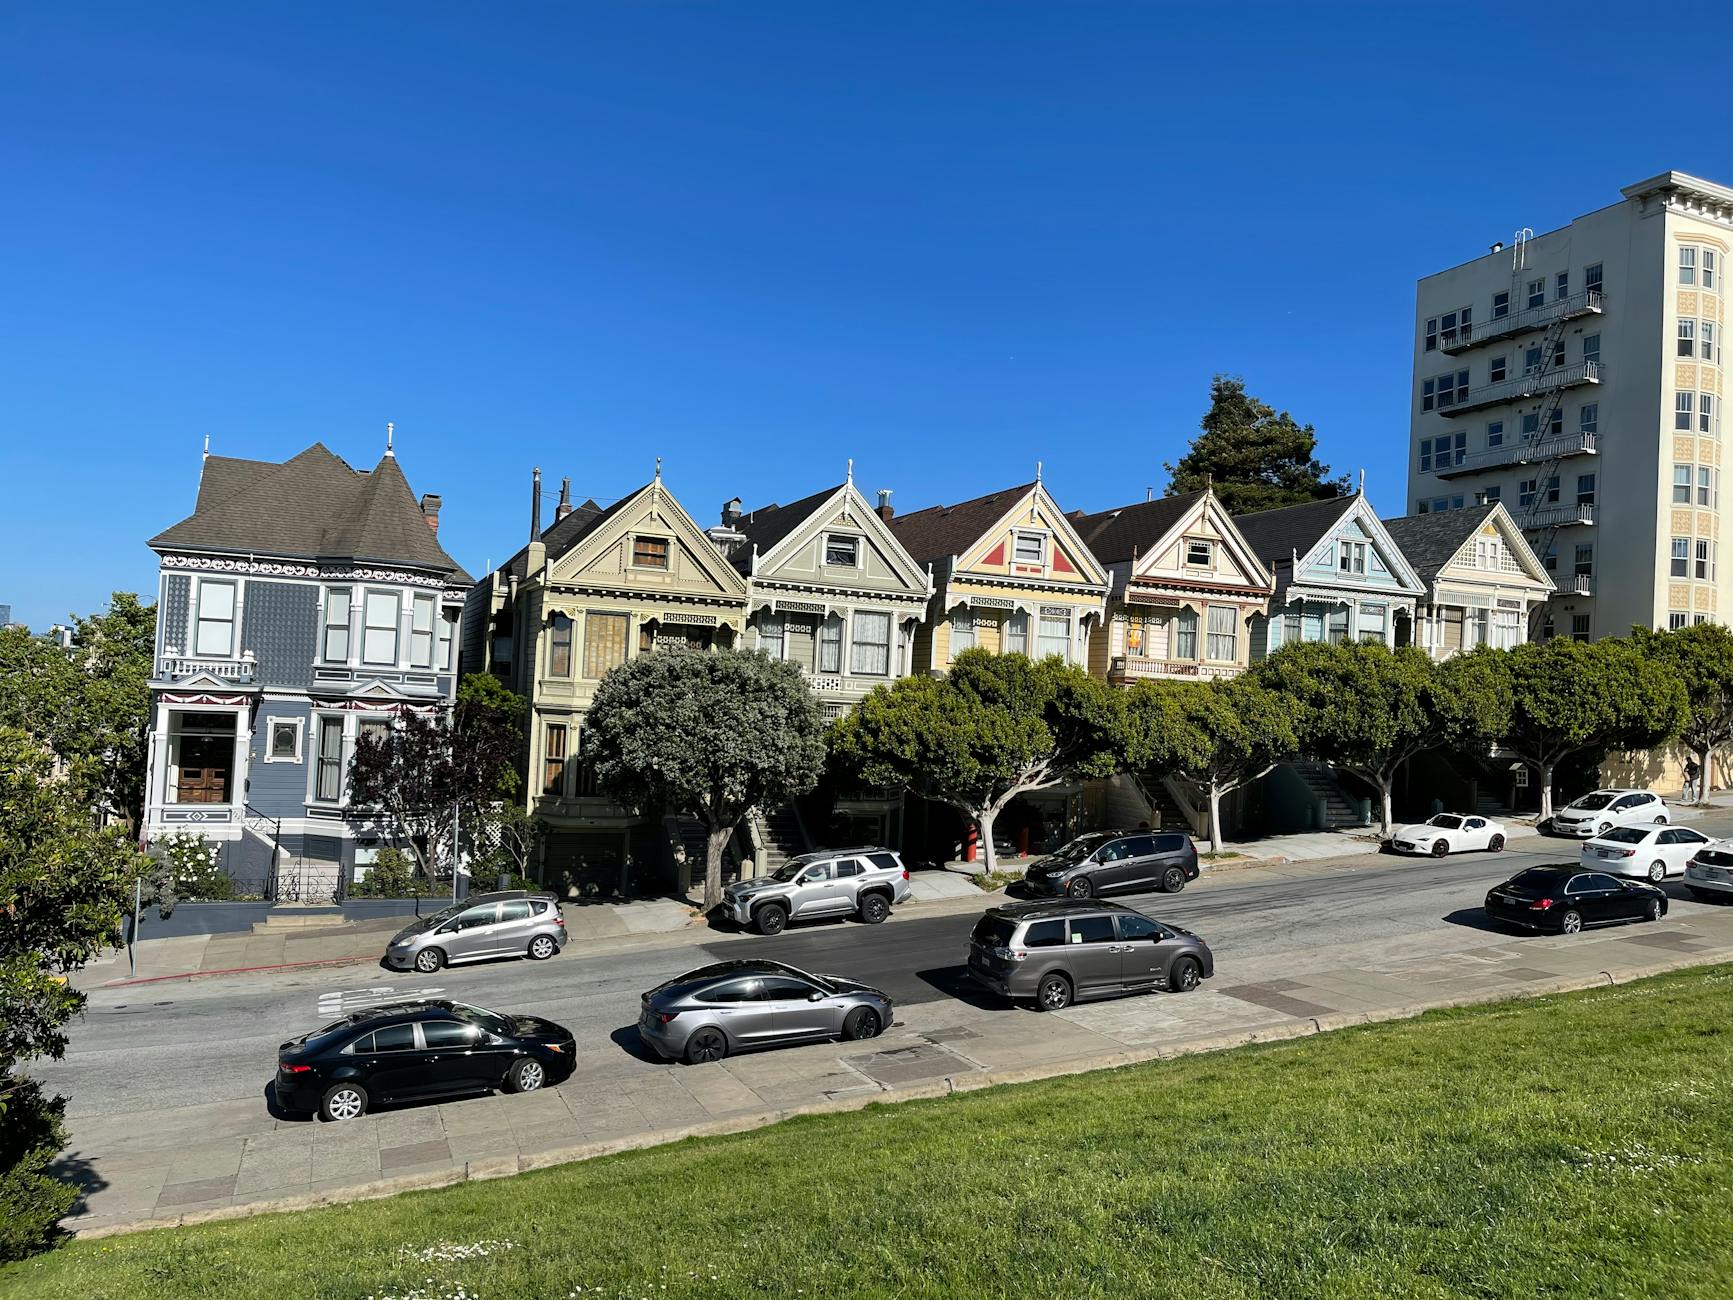
Are you planning to give your home a fresh coat of paint in the San Francisco Bay Area? Whether you're in San Jose, Oakland, or Fremont, painting in this region comes with unique challenges and opportunities. In this guide, I'll walk you through everything you need to know to get a professional result, from choosing the right paint for our climate to avoiding the mistakes I've seen homeowners make time and again. Let's dive into the steps that will save you time, money, and frustration.
What Is California Bay Area Painting?
📚
Definition
California Bay Area painting refers to the specialized techniques, materials, and considerations required for painting residential and commercial properties in the San Francisco Bay Area's unique climate and architectural context.
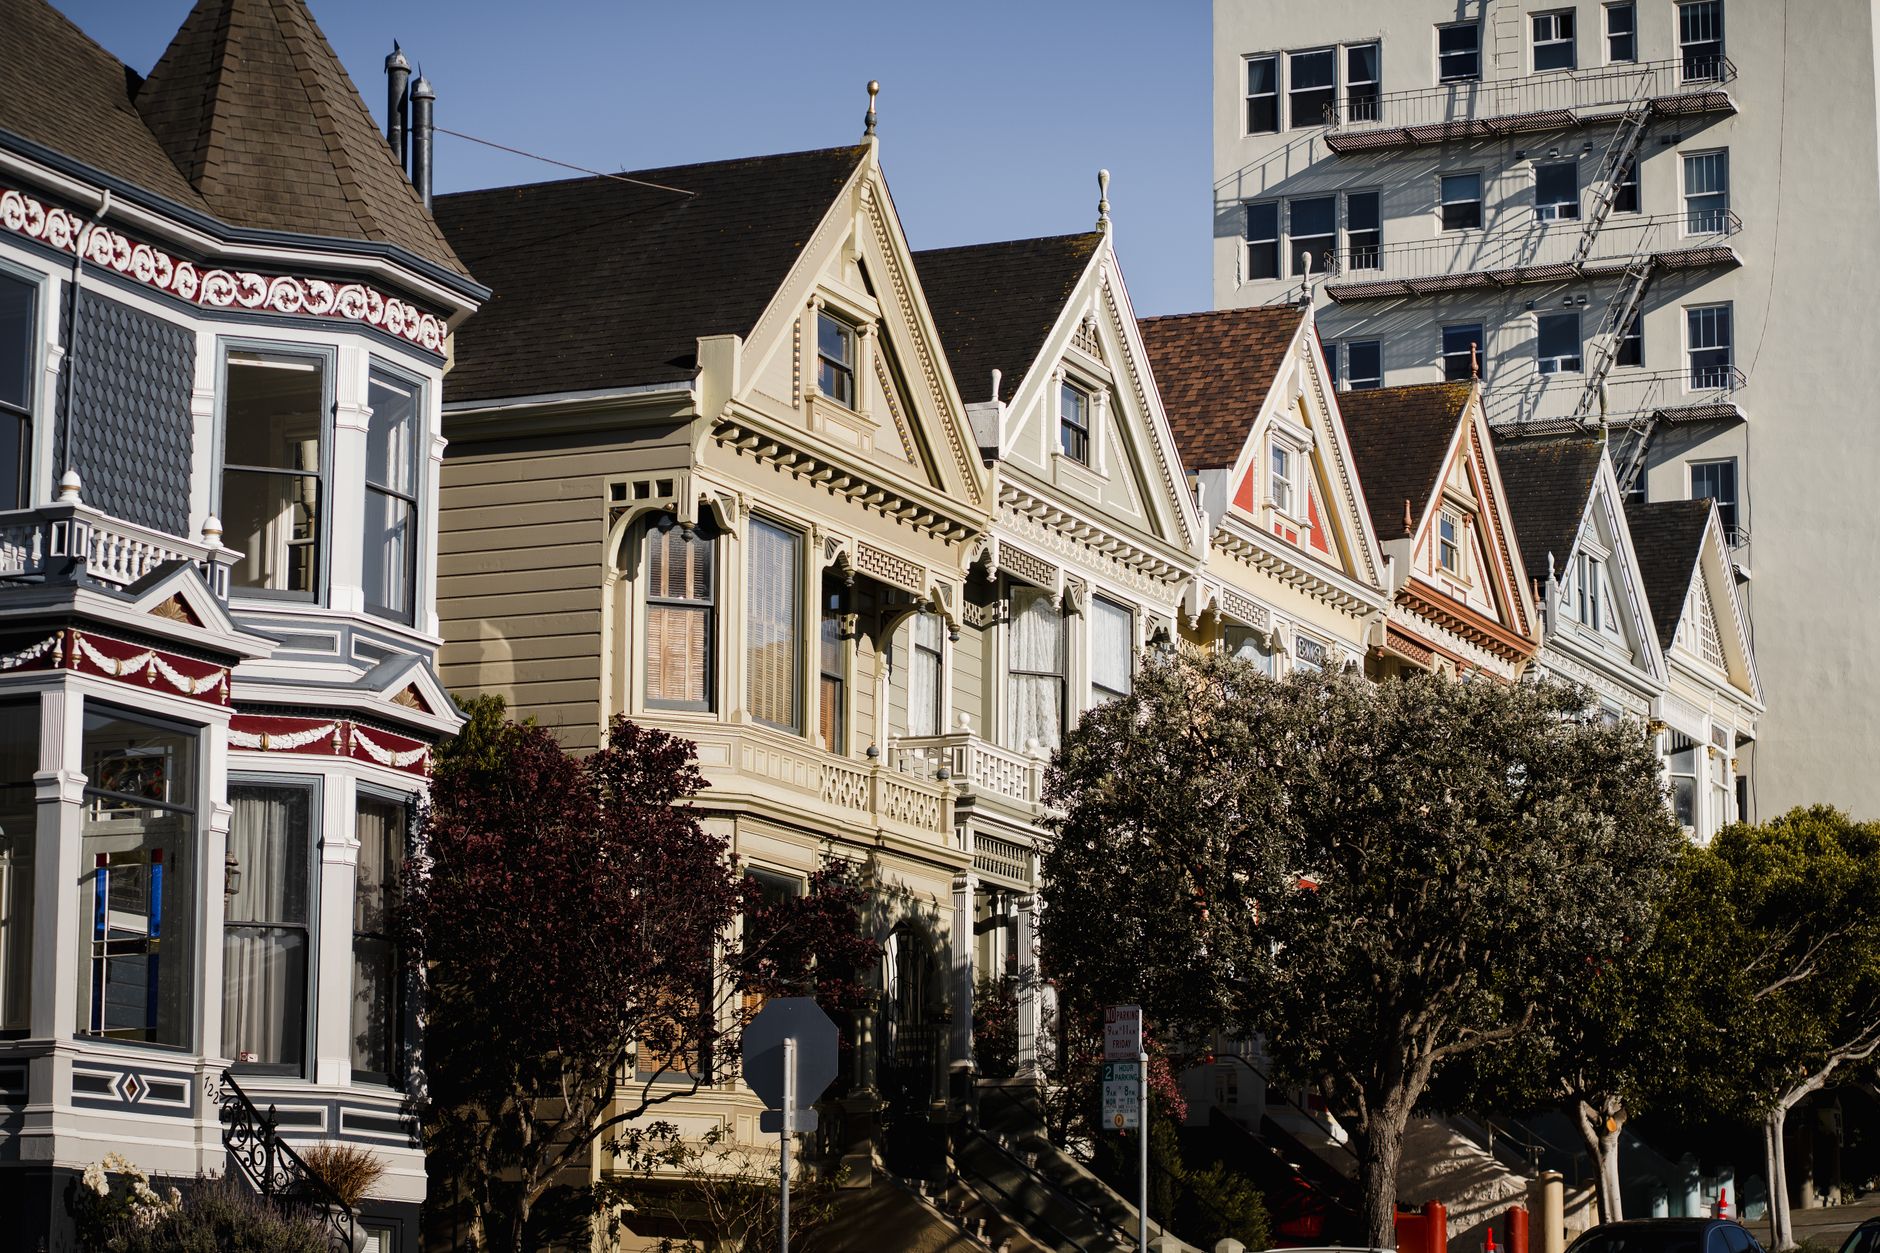
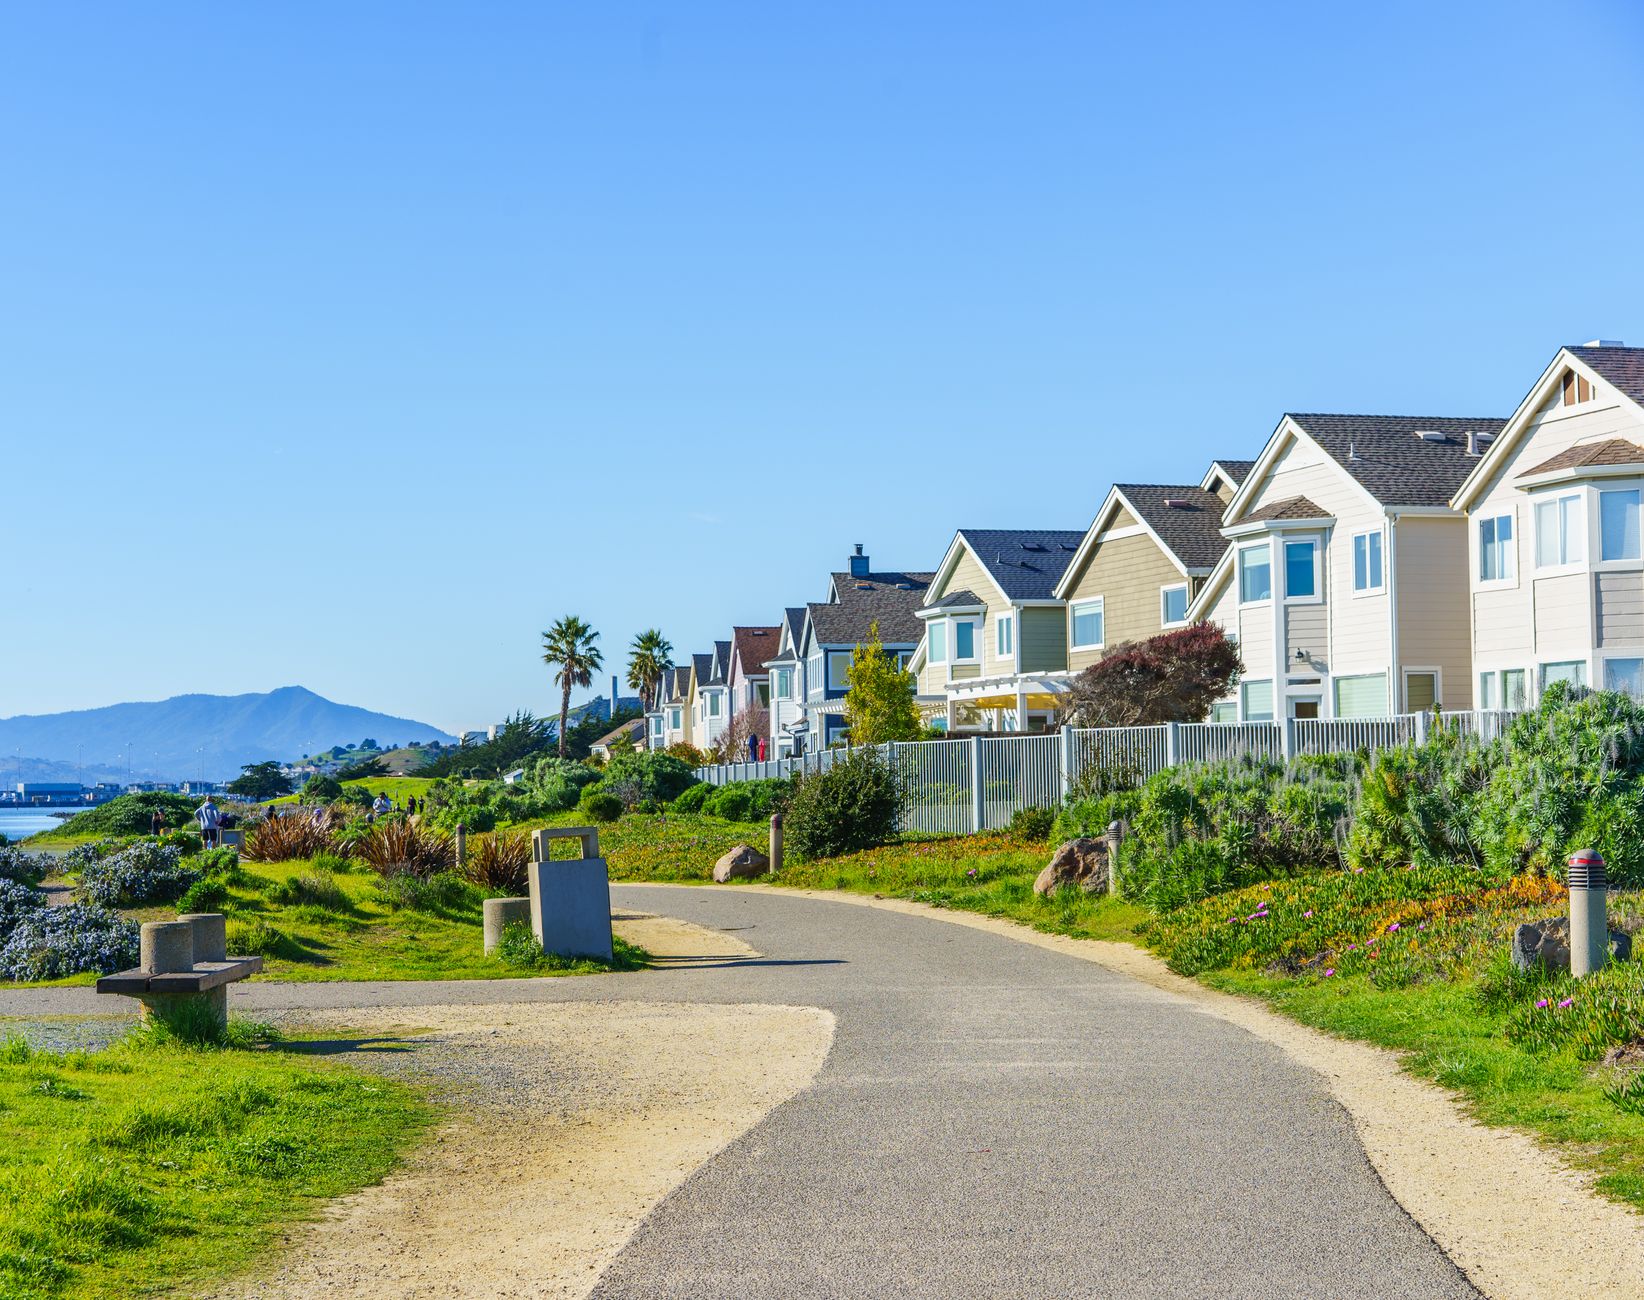
Painting in the Bay Area isn't like painting in other parts of the country. Our microclimates—ranging from foggy San Francisco to hot, dry Livermore—demand paints that can handle temperature swings, moisture, and UV exposure. Additionally, many homes in the region feature stucco, old-growth wood, or earthquake retrofits that require specific preparation. In my experience working with hundreds of homeowners across 42 Bay Area cities, I've learned that the difference between a paint job that lasts five years and one that lasts fifteen boils down to three things: preparation, product selection, and timing.
According to a study by the Paint Quality Institute (2024), the lifespan of an exterior paint job in coastal climates is directly correlated with surface preparation and primer use. Homes in the Bay Area that skip proper cleaning and priming see paint failure 60% faster than those that don't. That's why at World Pro Painting, we spend nearly twice as long on prep as on painting itself.

Why Proper Prep Matters: The Real Impact
Most DIYers and even some contractors underestimate the importance of preparation. I've seen too many jobs where paint was slapped over dirt, mildew, or poorly patched stucco. The result? Peeling within a year. The U.S. Department of Housing and Urban Development (HUD) found that 70% of premature paint failures are caused by inadequate surface preparation (HUD Report, 2023).
Here in the Bay Area, our fog and marine layer create constant moisture on surfaces. If you paint over even a trace of mildew or salt residue, you're essentially gluing the paint to a layer that will detach. Investing in thorough preparation can save you from having to repaint prematurely. For more on the overall process, see our Complete Guide to California Bay Area Painting.
💡
Key Takeaway
Invest in thorough pressure washing, scraping, sanding, and priming. It's not glamorous, but it's what makes a paint job last.
How to Paint Like a Pro: Practical Steps
Follow this step-by-step guide to achieve a durable, beautiful finish—whether you're tackling an interior room or the entire exterior.
Step 1: Choose the Right Paint
The Bay Area's climate demands paint with high elasticity (to expand and contract with temperature swings) and mildew resistance. For exteriors, look for 100% acrylic latex paint with a UV-resistant formula. Brands like Sherwin-Williams and Benjamin Moore offer lines specifically designed for coastal climates. In my experience, they're worth the premium. For more on product selection, see our California Bay Area Painting Guide.
Step 2: Prepare the Surface
- Pressure wash at 1500–2000 PSI to remove dirt, mildew, and loose paint. Let dry for 48 hours.
- Scrape and sand any peeling areas. Smooth edges with 80-grit sandpaper.
- Repair cracks and holes in stucco or drywall using a high-quality patching compound.
- Prime with a stain-blocking, mildew-resistant primer. This is non-negotiable.
Step 3: Use the Right Tools
- Brushes: Angled sash brush for edges, 2.5" or 3".
- Rollers: 3/8" nap for smooth walls, 1/2" for textured surfaces.
- Sprayers: HVLP for cabinets, airless for large exteriors.
Step 4: Apply Paint Correctly
- Cut in around trim, ceilings, and corners first.
- Roll in a 'W' pattern, then fill in without lifting the roller. This gives even coverage.
- Keep a wet edge to avoid lap marks. Work in sections.
- Apply two coats, allowing drying time per manufacturer instructions (typically 4 hours at 70°F and 50% humidity).
Step 5: Handle Bay Area Microclimates
Check the 7-day forecast. Avoid painting if rain is expected within 48 hours, if temps will drop below 50°F at night, or if humidity is above 80% during application. The ideal window is late spring (May-June) or early fall (September-October).
At World Pro Painting, we follow a proprietary drying-time protocol that accounts for our local weather—this alone prevents 90% of adhesion failures.
Options Comparison: DIY vs Professional Painter vs Spray Rental
| Option | Pros | Cons | Best For |
|---|---|---|---|
| DIY roll & brush | Low initial investment; satisfaction of doing it yourself | Time-consuming; higher risk of mistakes; no guarantee | Small interior rooms with low ceilings |
| Professional painter | High-quality prep; warranty (e.g., 6-Year Guarantee); faster completion | Higher upfront investment | Exteriors; high ceilings; multiple rooms; stucco |
| Sprayer rental | Fast coverage; smooth finish for large surfaces | Overspray risk; requires extensive masking; wind issues outdoors | Large exterior walls; cabinets; fences |
💡
Key Takeaway
For any room or surface that's hard to reach, or where you want a long-lasting result, hire a professional. The cost of redoing a poor DIY job often exceeds the original pro quote.
For more on the differences between DIY and professional painting, check our California Bay Area Painting Tips: A Step-by-Step Guide to a Flawless Finish for an in-depth comparison.
Common Mistakes to Avoid
Even experienced DIYers make errors that compromise the finish. Here are the most common pitfalls:
- Skipping primer – Especially on new drywall or stained surfaces. Primer ensures adhesion and blocks stains.
- Painting in direct sunlight – Causes paint to dry too fast, leaving lap marks and brush strokes.
- Using cheap tools – Low-quality brushes shed bristles and leave streaks.
- Not mixing paint cans – Different cans can have slight color variations. Mix all paint together in a five-gallon bucket.
- Ignoring temperature guidelines – Paint needs a surface temperature between 50°F and 90°F for proper curing.
Best Practices for a Flawless Finish
Following these best practices will ensure your paint job looks professional and lasts:
- Clean surfaces thoroughly – Use a trisodium phosphate (TSP) substitute for greasy areas.
- Sand between coats – Lightly sand with fine-grit paper (220 grit) to ensure adhesion.
- Maintain a wet edge – Work from wet paint into dry to avoid lap marks.
- Use painter's tape correctly – Remove tape while paint is still slightly wet for clean lines.
- Ventilate interior spaces – Use fans to speed drying and reduce fumes.
For a deeper dive, see our Step by Step: California Bay Area Painting.
Frequently Asked Questions
What type of paint is best for Bay Area stucco homes?
For stucco exteriors, use 100% acrylic latex paint that is elastomeric or has flex additives. Stucco expands and contracts with temperature changes, and standard acrylics may crack. El Rey and Sherwin-Williams make specific stucco paints. Ensure the surface is clean and any cracks are filled with a flexible patching compound before painting.
How often should I repaint my home's exterior in the Bay Area?
This depends on exposure: coastal homes with fog and salt air need repainting every 5–7 years, while inland homes in areas like Walnut Creek or Danville can last 7–10 years with quality paint. South- and west-facing walls (direct sun) may need more frequent touch-ups. Inspect annually for signs of fading, chalking, or peeling.
Is it better to paint interior walls with a brush or roller?
For surfaces wider than 12 inches, always use a roller. Brushes leave streaks and are inefficient for large areas. Use a brush only for cutting in edges and painting trim, corners, and areas around fixtures. A 3/8-inch nap roller cover gives the best balance of coverage and smooth finish for drywall.
Should I prime before painting if the walls are already painted?
Yes, if the existing paint is glossy, stained, or a drastic color change. Priming seals the surface, improves adhesion, and reduces the number of topcoats needed. Use a stain-blocking primer for water stains or smoke damage. For perfectly prepped and similar color, you can sometimes skip primer, but it's risky in humid areas.
What is the best time of year to paint a house in the Bay Area?
The best time is between May and June or September and October, when temperatures are mild (60–80°F) and humidity is low. Avoid July–August heatwaves in inland areas, which cause paint to dry too fast and crack. Skip December–February due to rain and low temperatures that prevent proper curing.
Can I paint over mildew?
No. Mildew must be removed with a bleach solution (1 part bleach to 3 parts water) or a commercial mildew cleaner. Rinse thoroughly and allow to dry. Painting over mildew will only trap it, and it will eventually bleed through.
How do I choose a paint color that lasts?
While color is personal, consider the light exposure. Dark colors fade faster in direct sun. Use UV-resistant paints for south-facing walls. Test samples on the wall and observe them at different times of day.
What preparation is needed for popcorn ceilings?
Popcorn ceilings may contain asbestos (pre-1979). Test before any work. If safe, use a sprayer to apply a thin coat of paint. Alternatively, removal is possible but messy—often best left to professionals.
Final Thoughts on California Bay Area Painting Tips
Painting your home in the California Bay Area doesn't have to be stressful. The key is to invest in proper preparation, choose high-quality materials that suit our unique climate, and be patient with drying times. Whether you tackle it yourself or hire a pro, following these steps will give you a beautiful, long-lasting finish.
If you'd rather leave it to experts who know the local conditions inside out, World Pro Painting is here to help. We cover 42 Bay Area cities, use Sherwin-Williams and Benjamin Moore paints, and back every job with our industry-leading 6-Year Guarantee. Fully licensed (CSLB #1142478), bonded, and insured. Visit us at worldpropainting.com for a free consultation.
For more detailed information, see our How California Bay Area Painting Works and Understanding California Bay Area Painting.
Commercial Painting Cost Calculator & Color Guide
Get an instant estimation checklist for painting your office, warehouse, or house. Learn how to choose colors that boost productivity.