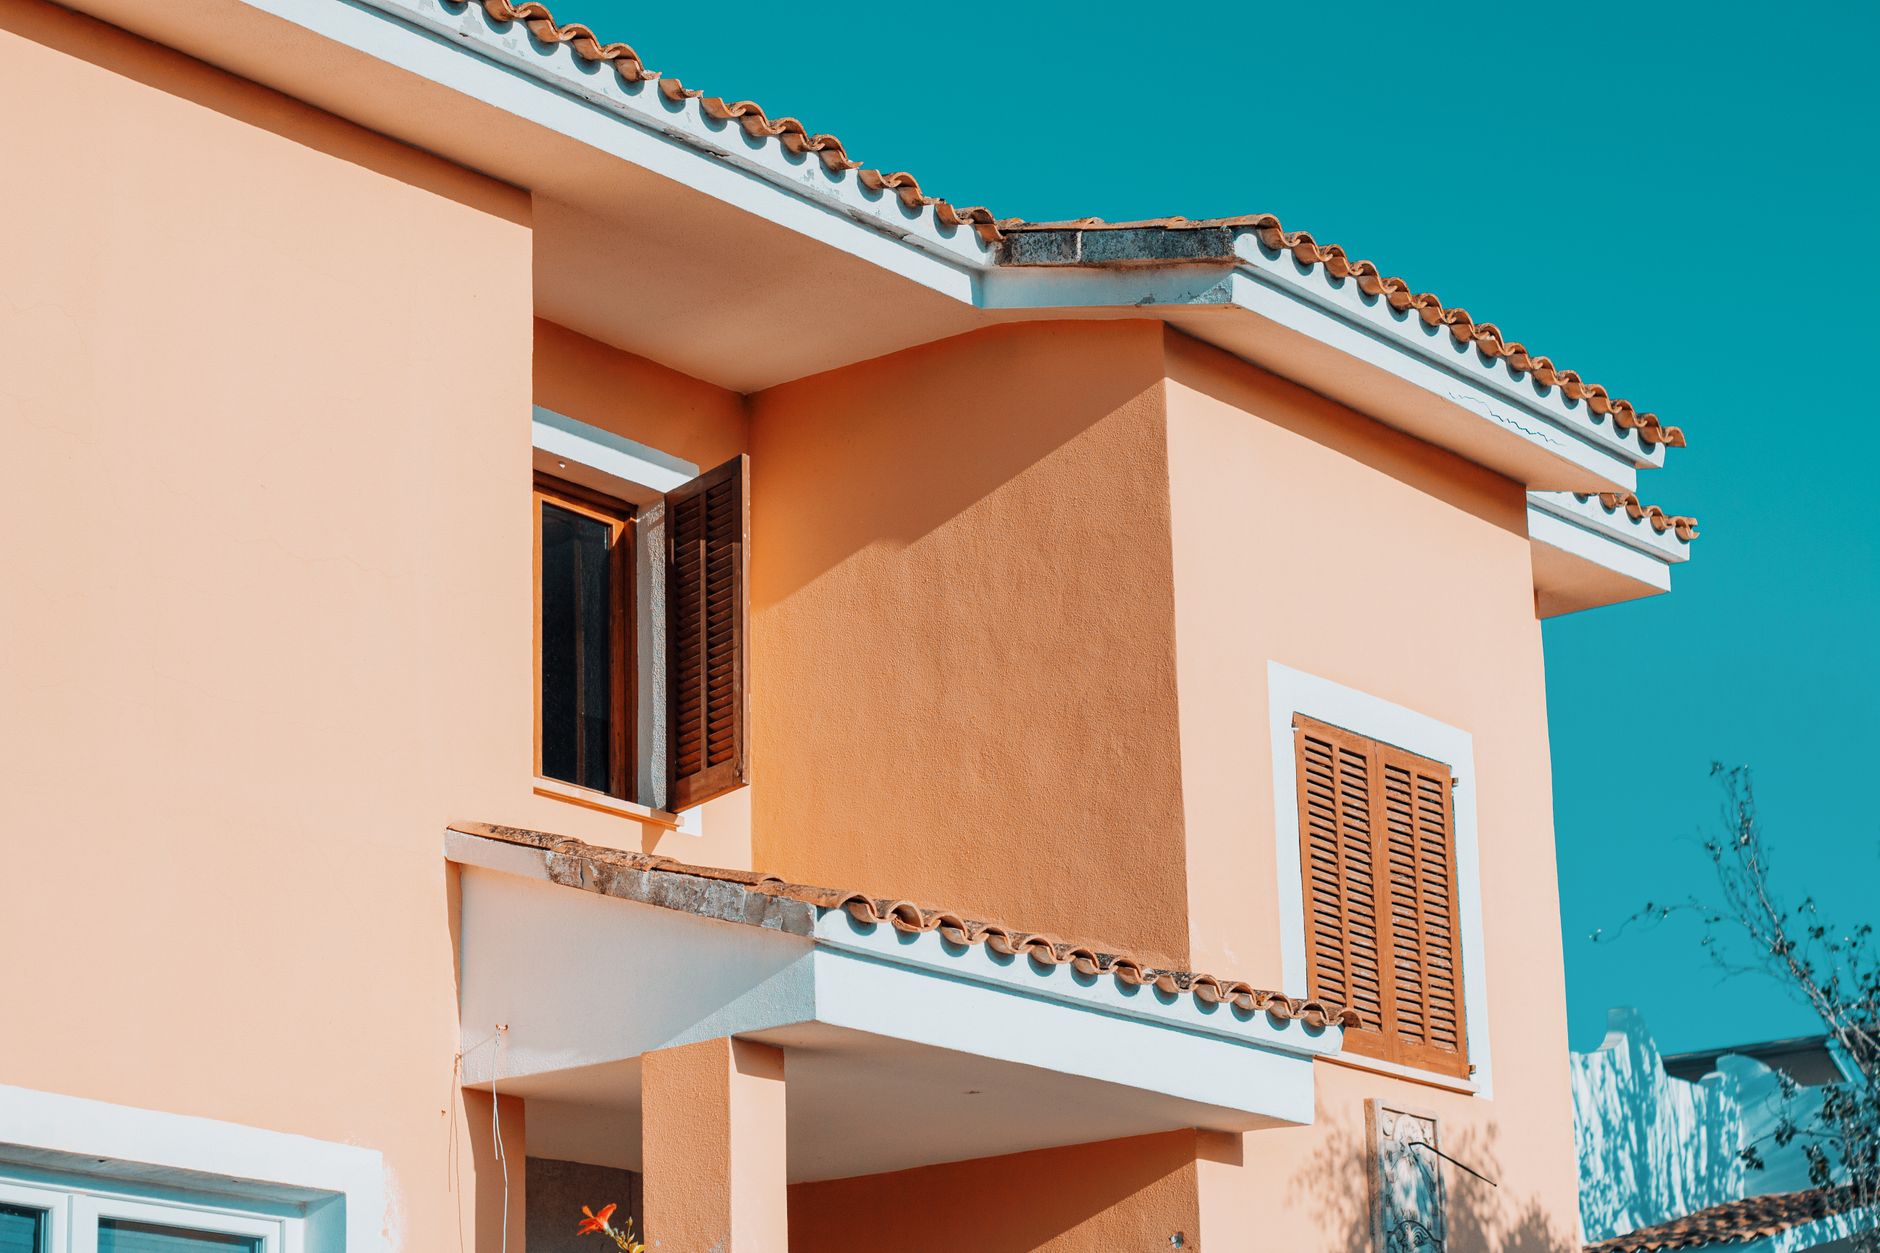
Stucco is a durable and aesthetically pleasing exterior finish, but painting it correctly requires more than just a roller and a bucket of paint. In this fourth installment of our best practices series, we dive into advanced preparation techniques, specialized coating systems, and the nuanced application methods that separate a 10-year finish from a 3-year failure. Whether you're a property manager overseeing an HOA in Fremont or a homeowner in San Ramon looking to refresh your home's exterior, these expert insights will ensure your investment stands the test of time.
For a comprehensive overview of stucco painting fundamentals, see our stucco painting best practices guide.

What Is "Stucco Painting Best Practices Part 4"?
📚
Definition
Stucco painting best practices part 4 refers to the advanced methodologies and professional-grade techniques used to properly prepare, prime, and paint stucco surfaces in the unique climate of the California Bay Area. This includes specialized surface repair, caulking, priming, and coating application that ensure adhesion, durability, and aesthetic longevity.
Stucco is porous, prone to cracking, and susceptible to moisture intrusion if not sealed correctly. In the Bay Area, where homes face everything from coastal fog in Pacifica to dry heat in Livermore, standard painting approaches often fail. According to the Portland Cement Association, properly applied stucco can last 50–80 years, but paint failures typically occur within 3–5 years due to inadequate surface preparation or incompatible coatings (source: Portland Cement Association, Stucco Durability).
This guide is designed for homeowners, HOA board members, and contractors who already understand basic stucco painting but need to elevate their results. We'll cover the five critical steps that World Pro Painting uses to deliver finishes that outlast competitors by years, including the importance of moisture testing, choosing breathable coatings, and mastering spray-and-back-roll techniques.
💡
Key Takeaway
The difference between a mediocre paint job and an exceptional one lies entirely in preparation—specifically, the 5-step process of power washing, scraping, sanding, caulking, and priming.
Why Does Advanced Stucco Preparation Matter?
Skipping preparation steps is the number one cause of paint failure on stucco. A 2023 study by the Paint Quality Institute found that 85% of paint failures on exterior masonry are due to inadequate surface preparation (source: Paint Quality Institute, Exterior Paint Failure Study). In the Bay Area, the stakes are even higher. The region's temperature swings, from 30°F winter nights to 100°F summer days in cities like Livermore, cause stucco to expand and contract. Without proper caulking and flexible coatings, cracks reappear within months.
World Pro Painting's 5-step preparation process addresses these challenges directly:
- Power Washing – Removes dirt, mildew, and efflorescence. We use 1,500–2,000 PSI with a wide fan tip to avoid damaging the stucco.
- Scraping – All loose paint and failing caulk are removed by hand to ensure a sound substrate.
- Sanding – Smooths rough edges and featheredges old paint for seamless adhesion.
- Caulking – All cracks, gaps around windows, and control joints are sealed with a high-performance, paintable elastomeric caulk.
- Priming – A high-quality masonry primer ensures uniform absorption and enhances topcoat adhesion.
In my experience working with hundreds of homeowners across Fremont, Palo Alto, and San Jose, this process alone extends paint life by 5–7 years compared to competitors who skip power washing or caulking. For more on how proper preparation impacts longevity, explore our guide on stucco painting in Mission San Jose.
How Do You Prepare Stucco for Painting?
Step 1: Surface Repair and Crack Management
Stucco develops hairline cracks naturally due to settlement and thermal movement. Using a high-build elastomeric caulk or a stucco patching compound, fill cracks wider than 1/16 inch. For larger cracks, use a vinyl concrete patcher. Allow repairs to cure for at least 24 hours. According to Sherwin-Williams' technical bulletin on masonry coatings, proper crack repair is essential to prevent moisture intrusion and subsequent paint failure (source: Sherwin-Williams, Masonry Coatings Guide).
Step 2: Choosing the Right Coating System
Not all paints are suitable for stucco. Acrylic elastomeric coatings offer superior flexibility and breathability. According to a 2024 report by the National Association of Home Builders (NAHB), elastomeric coatings reduce cracking by up to 40% compared to standard acrylic paints (source: NAHB, High-Performance Exterior Coatings). World Pro Painting exclusively uses Sherwin-Williams Loxon or Benjamin Moore Aura Exterior, both of which provide exceptional adhesion and UV resistance. For homes in high-moisture areas, a breathable masonry paint is critical to allow trapped moisture to escape.
Step 3: Application Techniques
Stucco's textured surface requires a combination of methods. Start with a 1/2-inch nap roller to get paint into the texture, then back-roll with a 3/4-inch nap to ensure even coverage. For heavily textured surfaces, spraying with an airless sprayer (e.g., Graco 395) followed by back-rolling is the gold standard. Always maintain a wet edge to avoid lap marks. In my experience, the spray-and-back-roll method ensures full penetration into stucco's irregular surface, resulting in a uniform film thickness that resists cracking. For more details, see our stucco painting in Weibel case study.
Step 4: Environmental Considerations
Bay Area weather dictates your painting window. Ideal conditions are 50–85°F, low humidity, and no rain for 24 hours. Early morning or late afternoon in summer avoids direct sun, which causes rapid drying and poor adhesion. In coastal areas like Half Moon Bay, avoid painting during foggy mornings; wait until the stucco surface is completely dry. Use a moisture meter to confirm substrate moisture below 12% before starting.
For a step-by-step implementation checklist, refer to our house painting in Newark Bayshores guide.
Common Mistakes in Stucco Painting
Even experienced painters make errors that compromise stucco finishes. Here are the five most common mistakes I've seen in the Bay Area:
- Painting over damp stucco – Moisture trapped beneath paint causes blistering and mildew. Always test with a moisture meter.
- Using rigid caulk on control joints – Control joints need elastomeric caulk with 200–300% elongation to accommodate movement.
- Skipping primer – Stucco's high alkalinity can cause alkali burn (white discoloration) if unsealed. A masonry primer is mandatory.
- Applying only one coat – Textured surfaces require a primer plus two topcoats for adequate film thickness and color uniformity.
- Painting in direct sun – Rapid drying leads to poor adhesion and lap marks. Schedule for shade or cloud cover.
Avoiding these pitfalls can extend your paint job's life by years. Learn more from our exterior painting in Hillsborough article.
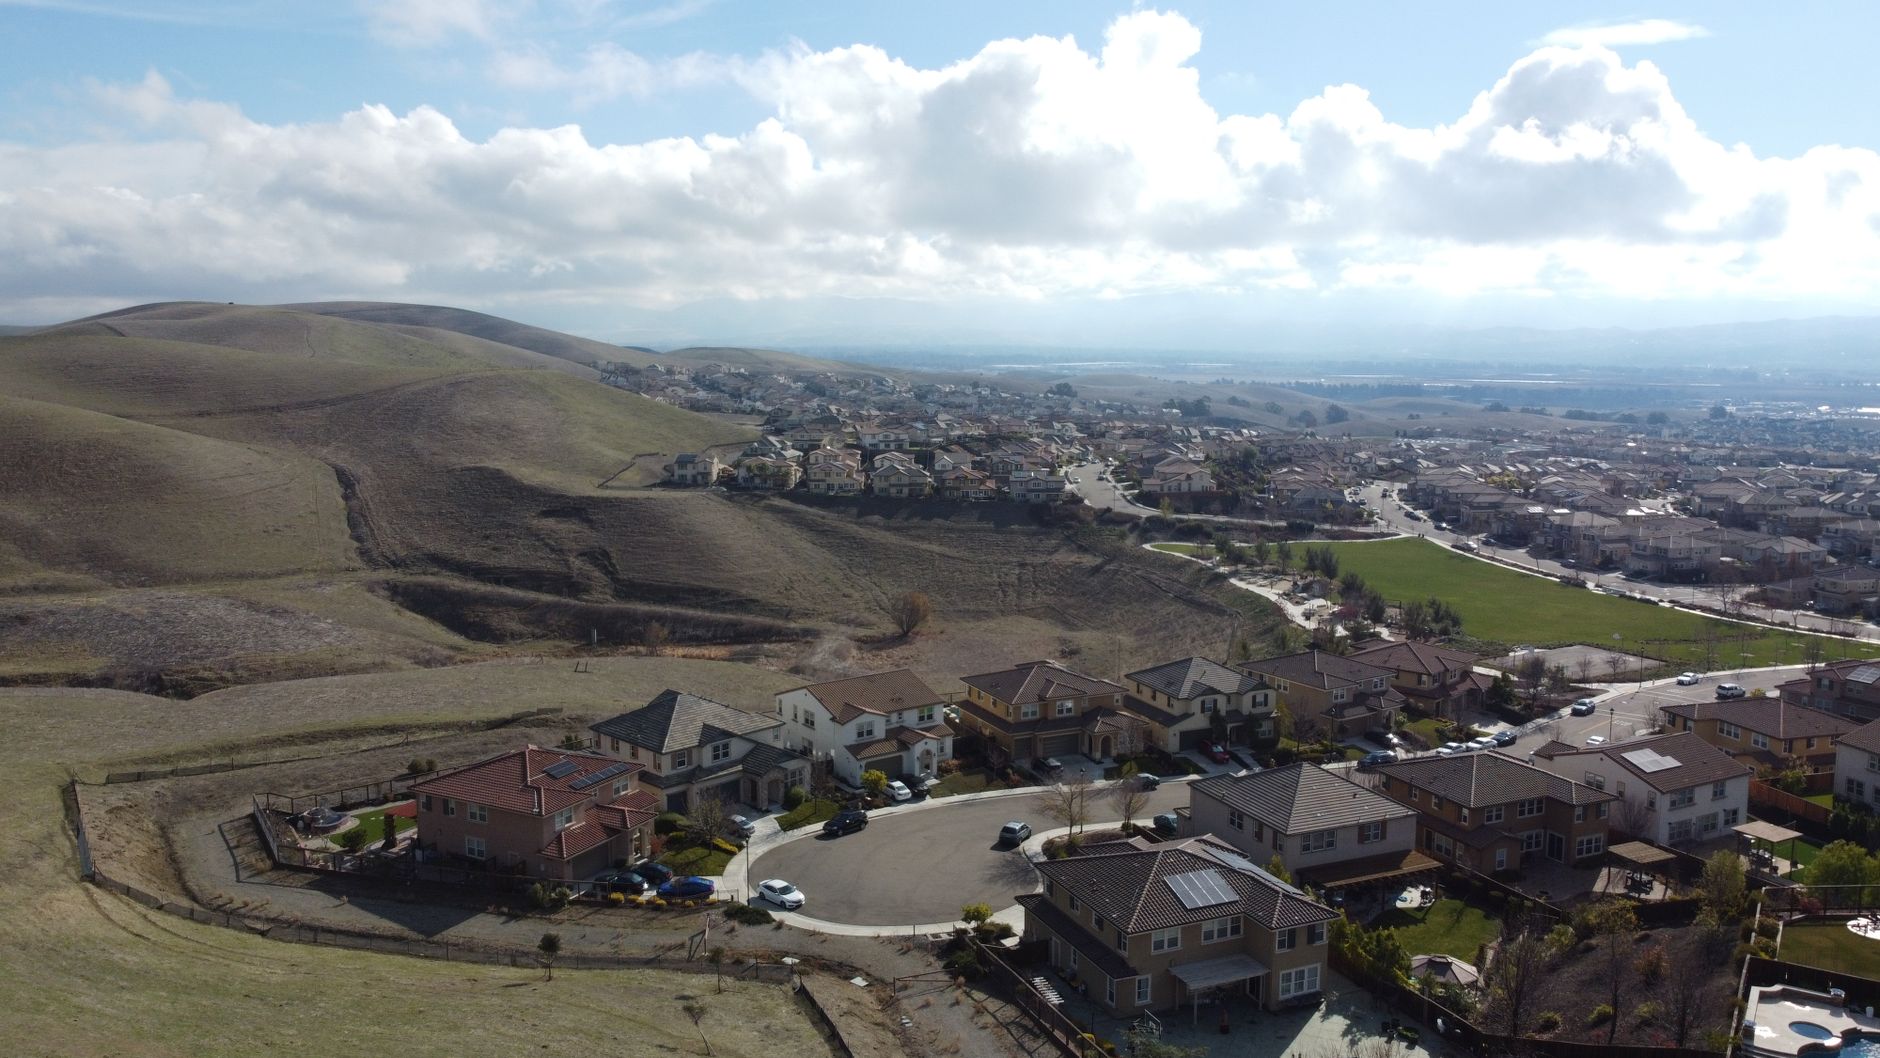
Real-World Example: A Fremont Home Transformation
In 2025, World Pro Painting completed a full stucco repaint for a 3,200 sq ft home in the Mission San Jose neighborhood of Fremont. The previous paint job, applied by a competitor just four years earlier, was peeling and fading due to inadequate preparation and a non-breathable coating. Our team followed the 5-step prep process, applied Sherwin-Williams Loxon elastomeric coating, and used spray-and-back-roll application. The result: a flawless finish that has endured two years of Bay Area weather with no signs of cracking or fading. The homeowner now recommends us to neighbors, and we've since painted three additional homes on the same street.
This project highlights how investing in advanced techniques pays off. For a similar transformation, see our custom painting in Cabrillo project.
Stucco Painting Best Practices Part 4 vs. Standard Painting Approaches
| Aspect | Best Practice Part 4 | Standard Approach |
|---|---|---|
| Surface Prep | 5-step: wash, scrape, sand, caulk, prime | Quick wash, spot prime |
| Caulking | Elastomeric, all joints & cracks | None or acrylic |
| Primer | Alkali-resistant masonry primer | Standard latex primer |
| Paint | Elastomeric acrylic (e.g., Loxon) | Standard exterior acrylic |
| Application | Spray + back-roll | Roll only |
| Longevity | 10–15 years | 3–5 years |
This table highlights why investing in best practices pays off. For a deeper dive into costs, see our investment in California Bay Area painting.
Frequently Asked Questions
How often should stucco be repainted in the Bay Area?
With proper preparation and quality paint, stucco typically needs repainting every 8–12 years in the Bay Area. Coastal homes (e.g., Pacifica) may need more frequent repainting due to salt and fog, lasting only 6–8 years if elastomeric coatings are used. East Bay homes (e.g., Livermore) may go 12–15 years due to drier conditions. Regular inspections every 2–3 years can help catch early signs of wear—such as fading, cracking, or peeling near windows and doors—before they escalate. Using a breathable, elastomeric coating can maximize this lifespan.
Can I paint over old stucco paint?
Yes, but only if the existing coating is soundly adhered and not chalking or peeling. Perform a simple adhesion test: apply duct tape and pull firmly. If paint comes off, the surface needs to be scraped and primed. For heavily chalking surfaces, a power wash followed by a primer is essential. Never paint over peeling paint—it will fail within months. If the old paint is oil-based, you must use a bonding primer before applying a water-based topcoat. Consulting a professional is recommended if you're unsure.
What type of paint is best for stucco?
100% acrylic elastomeric paint is the best choice for stucco in the Bay Area. Brands like Sherwin-Williams Loxon and Benjamin Moore Aura Exterior offer excellent flexibility, UV resistance, and breathability. Avoid vinyl acrylic paints, which become brittle and crack over time. For homes in high-moisture areas (near the coast), consider a breathable masonry paint that allows vapor transmission. A high-quality primer like Sherwin-Williams Loxon Masonry Primer is also essential to seal the surface and prevent alkali burn.
How do I fix cracks in stucco before painting?
Small hairline cracks (less than 1/16 inch) can be filled with elastomeric caulk. Larger cracks (up to 1/4 inch) require a stucco patching compound like Quikrete Vinyl Concrete Patcher. For cracks wider than 1/4 inch or with signs of structural movement (e.g., settlement or diagonal cracks), consult a contractor to assess for underlying issues. All repairs must be fully cured (24–48 hours) before priming. Use a flexible, paintable caulk for control joints to allow natural movement.
Is it necessary to prime stucco before painting?
Absolutely. Stucco is highly porous and alkaline. A quality masonry primer (e.g., Sherwin-Williams Loxon Masonry Primer) seals the surface, reduces paint absorption, and prevents alkali burn—a white, powdery discoloration that can ruin the finish. Primer also improves adhesion of the topcoat, especially over old paint or bare stucco. In my experience, skipping primer is one of the fastest ways to shorten a paint job's lifespan by half.
Should I use a sprayer or roller for stucco?
For textured stucco, a sprayer followed by back-rolling is the most effective method. Spraying ensures paint reaches deep into the stucco texture, while back-rolling smooths the surface and promotes adhesion. A 1/2-inch nap roller is suitable for initial application, but a 3/4-inch nap is better for back-rolling. If you use only a roller, expect multiple coats and less even coverage. Professional painters almost always use the spray-and-back-roll technique.
Conclusion
Mastering stucco painting best practices part 4 means going beyond simple brushing and rolling. It requires a systematic approach to preparation, the right materials, and an understanding of Bay Area microclimates. From power washing to selecting elastomeric coatings, every step contributes to a finish that protects your home for a decade or more.
For a complete foundation, revisit the stucco painting best practices guide pillar guide.
At World Pro Painting, we've refined these techniques over hundreds of projects across Fremont, Pleasanton, San Jose, and 39 other Bay Area cities. Our 6-Year Guarantee and 5-step preparation process ensure your stucco painting investment delivers lasting beauty and protection.
Ready to transform your home's exterior? Schedule your free on-site estimate at World Pro Painting today.

About the Author
World Pro Team is the CEO and painting experts at World Pro Painting, a licensed, bonded, and insured painting contractor serving 42 cities across the California Bay Area. With over 15 years of experience in residential and commercial stucco painting, the team has mastered the advanced techniques that deliver long-lasting, premium finishes.
Commercial Painting Cost Calculator & Color Guide
Get an instant estimation checklist for painting your office, warehouse, or house. Learn how to choose colors that boost productivity.