When you invest in a custom paint job for your home, you expect more than a simple color change. You want a finish that transforms your space, protects your property, and lasts for years. Yet many homeowners in the California Bay Area end up disappointed because their painter cut corners on preparation or used substandard materials. That's why understanding custom painting best practices part 1 is essential before hiring a contractor or starting a project. This guide covers the foundational steps that separate a five-year finish from a fifteen-year one.
For a broader overview of what quality painting entails, see our comprehensive guide to California Bay Area painting pricing.
What Is Custom Painting Best Practices Part 1?
📚
Definition
Custom painting best practices part 1 refers to the first and most critical phase of a professional painting project: thorough surface preparation, material selection, and technique planning. This phase determines 80% of the final outcome's durability and appearance.
Custom painting best practices part 1 isn't just one step—it's a process that includes assessing the substrate, repairing damage, cleaning, sanding, priming, and choosing the right paint system for the specific environment. In the Bay Area, where homes face humidity from fog, dry heat in the East Bay, and temperature swings, skipping any of these steps leads to peeling, cracking, and fading.
According to a study by the Paint Quality Institute, proper surface preparation accounts for 75% of a paint job's longevity. Yet many DIYers and even some contractors spend only 10% of their time on prep. That's a recipe for failure.
Key Takeaway: Custom painting best practices part 1 prioritizes surface preparation and material selection above all else. Without a solid foundation, even the most expensive paint will fail prematurely.
To understand how these practices affect your investment, read our article on custom painting best practices part 1 investment.
Why Custom Painting Best Practices Part 1 Matters
1. Prevents Premature Failure
The most common complaint about paint jobs is peeling or blistering within a year. This almost always traces back to inadequate prep. In my 15 years at World Pro Painting, I've seen houses where the painter painted directly over chalking surfaces or old gloss without sanding. Within six months, the new paint was peeling off in sheets. Following custom painting best practices part 1—which includes power washing, scraping, sanding, and priming—ensures the new coating adheres properly.
2. Enhances Aesthetic Quality
A custom paint job should look smooth and flawless. Imperfections like brush marks, drips, and uneven sheen are signs of rushed work. Best practices call for using high-quality brushes and rollers, proper paint thinning, and applying paint in ideal environmental conditions (temperature between 50-85°F, low humidity). The result is a finish that looks professionally sprayed but has the durability of brushed application.
3. Maximizes Longevity and Value
According to a report by the National Association of Realtors, a fresh exterior paint job can increase a home's resale value by up to 5%. But that value is only realized if the paint lasts. A properly executed paint job using premium materials like Sherwin-Williams Duration or Benjamin Moore Aura can last 10-15 years on the exterior and 15-20 years on the interior. That's a significant return on investment for Bay Area homeowners.
How Custom Painting Best Practices Part 1 Works: The 5-Step Prep Process
At World Pro Painting, we follow an exhaustive 5-step preparation process that is the cornerstone of our custom painting best practices part 1.
Step 1: Power Washing
We use a pressure washer with a wide fan tip and appropriate pressure (1,200-1,500 PSI for wood, 2,000-2,500 for masonry) to remove dirt, mildew, cobwebs, and loose paint. This step reveals hidden damage and ensures a clean surface for adhesion.
Step 2: Scraping
All loose, peeling, or blistering paint is manually scraped away using putty knives and scrapers. We pay special attention to edges, window sills, and trim where paint tends to fail first.
Step 3: Sanding
The entire surface is sanded to smooth out rough areas and feather the edges of scraped sections. We use 80-120 grit sandpaper for bare wood and 150-220 grit between coats. Sanding creates a mechanical profile for the new paint to grip.
Step 4: Caulking and Patching
Cracks, holes, and gaps are filled with high-quality exterior-grade caulk or spackle. We caulk around windows, doors, and trim to prevent water intrusion and insect entry. For larger holes, we use wood filler or patching compound.
Step 5: Priming
Every bare surface gets a coat of primer. For exterior work, we use a stain-blocking, mildew-resistant primer. For interior, we choose a primer that seals stains and provides a uniform base for the topcoat. Priming is non-negotiable—it seals the substrate, improves adhesion, and prevents tannin bleed from wood.
This 5-step process is why World Pro Painting can offer a 6-Year Guarantee. For more details, check our best California Bay Area painting guide.
Types of Custom Painting Best Practices Part 1
Different surfaces require different prep approaches. Here's a comparison:
| Surface Type | Key Prep Steps | Recommended Primer | Common Mistakes |
|---|---|---|---|
| Wood (siding, trim) | Sand, fill knots, apply wood preservative | Oil-based or shellac primer | Skipping knot sealing |
| Stucco | Pressure wash, repair cracks, allow to dry | Elastomeric masonry primer | Painting over efflorescence |
| Drywall (interior) | Patch, sand, dust, apply PVA primer | PVA or stain-blocking primer | Not sanding joint compound |
| Metal (garage doors) | Remove rust, sand, apply metal primer | Rust-inhibitive primer | Applying latex over rust |
| Previously painted | Scrape loose paint, sand gloss areas | Bonding primer if glossy | Painting without sanding |
Implementation Guide: How to Apply Custom Painting Best Practices Part 1
For homeowners who want to ensure their contractor follows best practices—or for DIYers tackling a small project—here's a step-by-step guide:
-
Assess the Surface: Walk around your property and identify areas with peeling, cracking, or chalking paint. Check for moisture damage (soft spots, stains). Use a moisture meter if possible—readings above 15% indicate a problem.
-
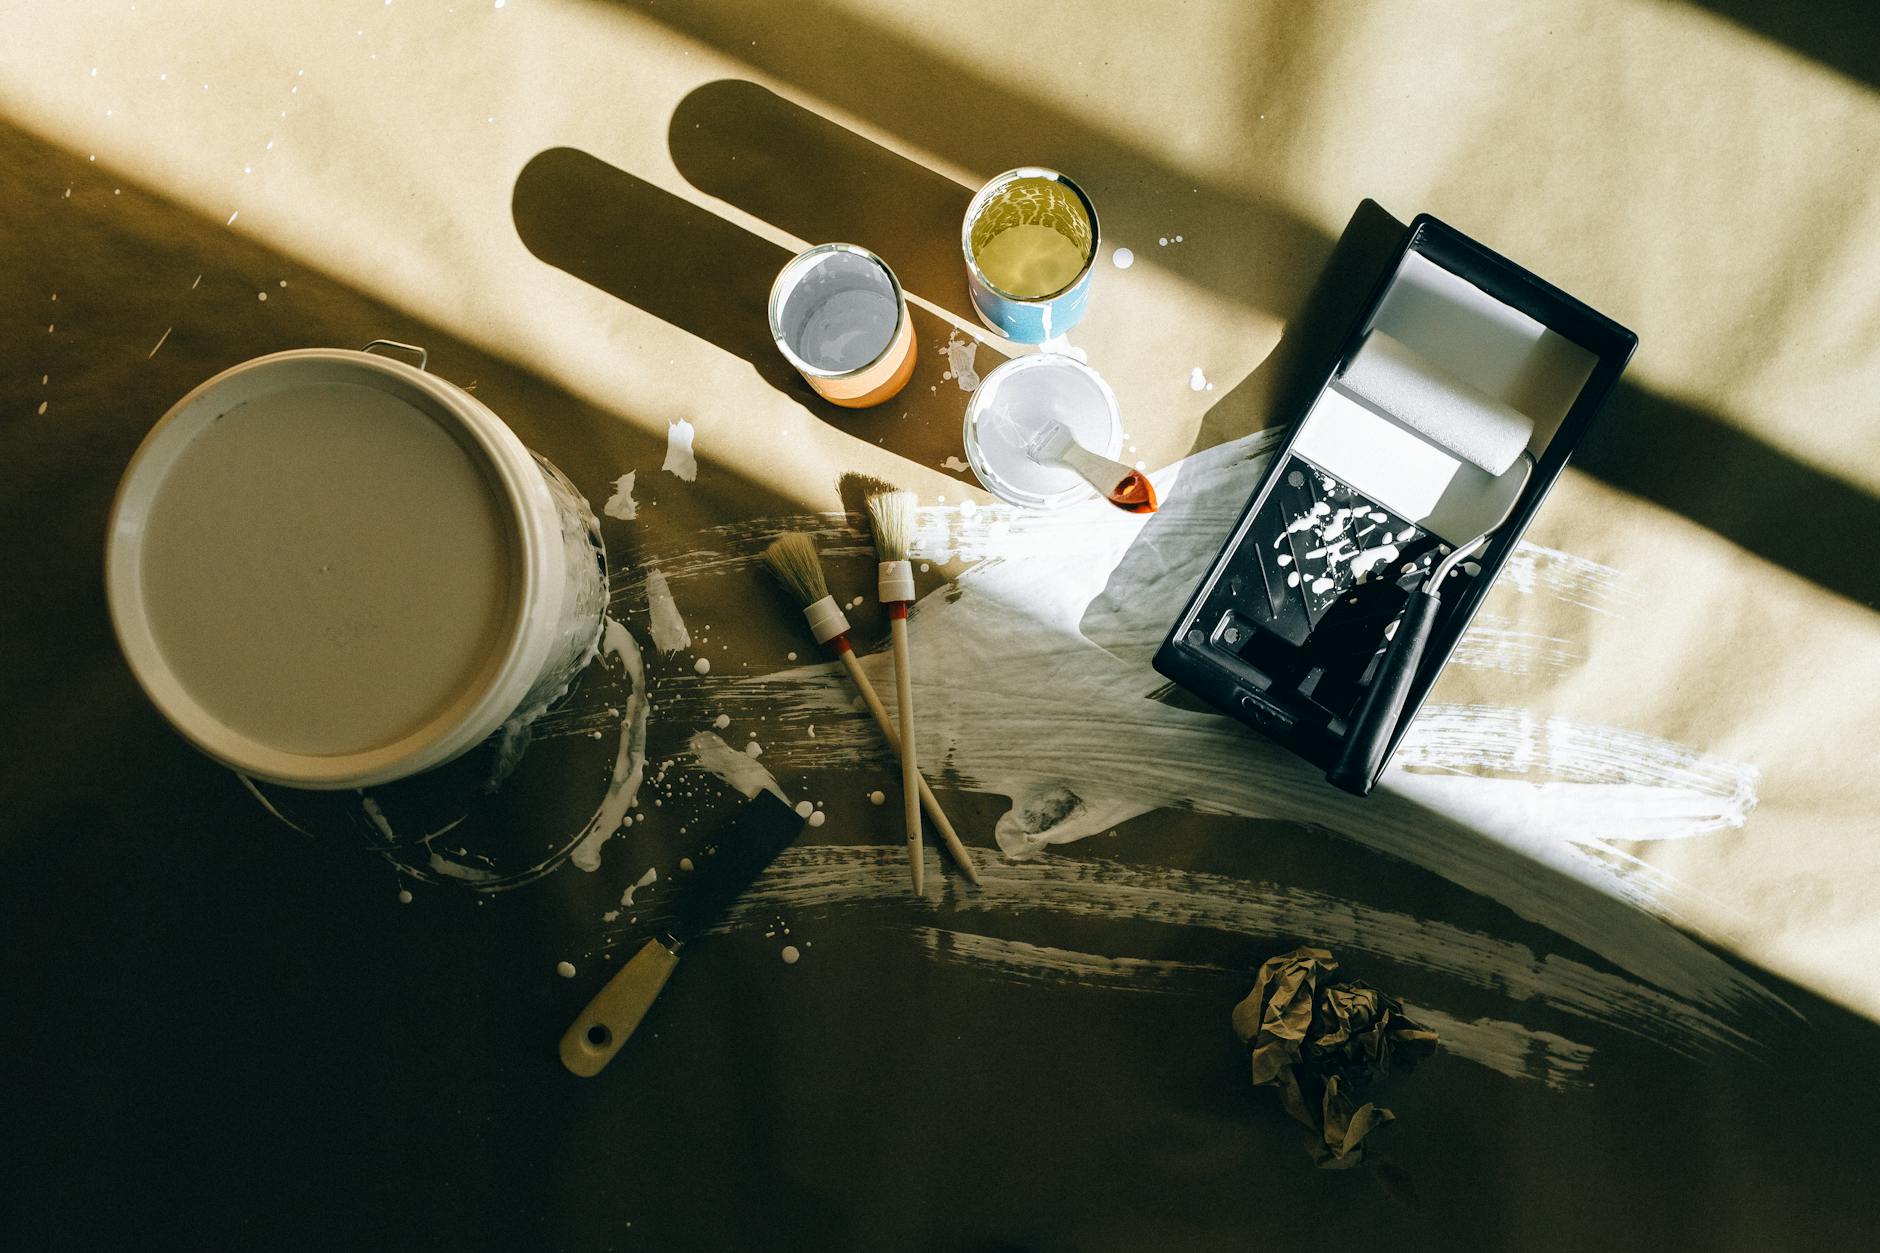
Gather the Right Tools: You'll need a pressure washer (or garden hose with scrub brush), scrapers, sandpaper (80, 120, 220 grit), putty knives, caulk gun, primer, and top-quality paint. Don't skimp on brushes—use angle sash brushes for trim and 3/8" nap rollers for walls.
-
Prepare the Area: Cover plants, walkways, and windows with drop cloths. Remove outlet covers and light fixtures. Tape off edges with painter's tape—frog tape is best for sharp lines.
-
Execute the 5 Steps: As described above. Take your time on scraping and sanding—rushing here ruins the finish.
-
Prime Correctly: Apply primer in thin, even coats. Allow to dry according to manufacturer's instructions (usually 1-2 hours). Lightly sand primer with 220 grit for a smooth finish.
-
Paint Like a Pro: Stir paint thoroughly. Cut in edges with a brush, then roll walls in a "W" pattern. Apply at least two coats, waiting the recommended recoat time (typically 4 hours for latex).
💡
Key Takeaway
Following these steps ensures your paint job adheres properly and lasts. If you're hiring a contractor, ask them to describe their prep process—if they can't detail these steps, they're likely cutting corners.
Real-World Examples: Best Practices in Action
Case Study 1: Fremont Colonial Revival
A homeowner in Fremont's Mission San Jose neighborhood hired a painter who skipped power washing and sanding. Within a year, paint began peeling on the south-facing wall. The homeowner called World Pro Painting. We stripped the failed paint, performed the full 5-step prep, and repainted using Sherwin-Williams Duration. Five years later, the finish still looks new. The lesson: prep is not optional.
Case Study 2: HOA Townhomes in San Ramon
An HOA board wanted to repaint 20 townhomes but needed a contractor who could complete the job quickly without sacrificing quality. We applied our custom painting best practices part 1 to each unit, prepping surfaces efficiently while maintaining standards. The project finished on time and under budget, and the HOA renewed for a second phase.
Case Study 3: DIY Painting in Palo Alto
A tech entrepreneur decided to paint his home office himself. He watched YouTube videos but skipped priming. The result: the old red paint bled through, and the finish was blotchy. He called us for a fix. We had to sand down his work, apply a stain-blocking primer, and repaint—costing more than if he had done it right the first time.
Common Mistakes in Custom Painting Best Practices Part 1
1. Skipping Power Washing
Dirt and mildew prevent paint from adhering. Even if the surface looks clean, invisible contaminants can cause failure.
2. Ignoring Temperature and Humidity
Painting when it's too hot (above 90°F) or too cold (below 50°F) leads to poor film formation. Also, avoid painting in direct sunlight or when rain is expected within 24 hours.
3. Using Cheap Materials
Discount paint has less pigment and resin, so coverage and durability suffer. At World Pro Painting, we only use Sherwin-Williams and Benjamin Moore—never bargain brands.
4. Not Priming Bare Surfaces
Primer seals the substrate, provides a uniform base, and improves adhesion. Skipping primer is false economy.
5. Rushing Between Coats
Paint needs time to cure, not just dry to the touch. Follow the manufacturer's recoat times. For latex, wait at least 4 hours; for oil-based, 24 hours.
For more tips on avoiding pitfalls, read why custom painting best practices part 1 matters.
Frequently Asked Questions
1. What is the most important step in custom painting best practices part 1?
The most critical step is surface preparation—specifically, the combination of cleaning, scraping, sanding, and priming. No amount of expensive paint can compensate for poor prep. In my experience, the projects that fail are almost always those where the painter rushed through or skipped the prep phase. A thorough prep ensures that the paint adheres properly, levels smoothly, and resists peeling for years.
2. How long should surface preparation take compared to painting?
For a typical exterior house, professional painters should spend about 60-70% of the total project time on preparation and only 30-40% on actual painting. If a contractor gives you a quote that seems too fast, it's likely because they plan to minimize prep. At World Pro Painting, we allocate most of our time to prep because we know it's the foundation of a lasting finish.
3. Can I use the same best practices for interior and exterior painting?
The principles are the same—clean, repair, sand, prime—but the specific techniques and materials differ. Exterior surfaces need more robust prep due to weather exposure: power washing, mildew treatment, and caulking are essential. Interior prep focuses more on drywall repair, dust control, and priming for stain blocking. Always use paints formulated for the specific application.
4. Why does World Pro Painting guarantee their work for 6 years?
Our 6-Year Guarantee is possible because we strictly adhere to custom painting best practices part 1. By using the 5-step prep process, premium materials, and experienced crews, we ensure that the paint bond is strong and durable. We stand behind our work because we know the science and craft behind it. Most contractors offer only 1-2 year warranties because they cut corners.
5. How do I choose the right painting contractor for my Bay Area home?
Look for a contractor who is licensed (CSLB), bonded, and insured. Ask about their prep process—if they can't describe the 5 steps above, keep looking. Check references and online reviews, but focus on comments about durability and follow-through, not just price. Get a detailed written estimate that includes prep work. For more guidance, see our best California Bay Area painting guide.
Conclusion
Custom painting best practices part 1 is the foundation of any successful paint project. By prioritizing surface preparation, using premium materials, and following a systematic approach, you can achieve a finish that not only looks beautiful but also protects your home for years. Whether you're painting one room or an entire exterior, investing in best practices saves time, money, and frustration.
Ready to experience the difference that true craftsmanship makes? Contact World Pro Painting for a free on-site estimate. We serve 42 cities across the Bay Area, from Fremont to San Francisco. Let our expert team apply the best practices that have earned us a 6-Year Guarantee and hundreds of satisfied customers. Visit World Pro Painting today.
For a deeper dive into costs and value, read our California Bay Area painting cost guide.
Commercial Painting Cost Calculator & Color Guide
Get an instant estimation checklist for painting your office, warehouse, or house. Learn how to choose colors that boost productivity.