What Is Exterior Painting Best Practices Part 2?
📚Definition
Exterior Painting Best Practices Part 2 refers to the advanced set of techniques and principles that professional painters use to achieve a durable, high-quality finish on the exterior of residential and commercial buildings. This includes comprehensive surface preparation, material selection, application methods, and environmental considerations that go beyond the basics.
While Part 1 covered the fundamentals—like choosing the right paint color and estimating quantities—Part 2 focuses on the execution details that determine whether your paint job peels after one year or lasts a decade. These practices are rooted in decades of industry experience and are essential for anyone serious about maintaining their property’s curb appeal and structural integrity.
Why Exterior Painting Best Practices Part 2 Matters
The difference between a mediocre paint job and an exceptional one often comes down to the practices outlined in this guide. Here are four key reasons why these advanced techniques are critical:
1. Maximizing Paint Lifespan
According to the Paint Quality Institute, proper surface preparation extends the life of an exterior paint job by up to 50%. Skipping steps like power washing, scraping, and priming can lead to premature failure—cracking, peeling, and blistering within just two years. By following best practices, you ensure your paint adheres properly and withstands harsh weather conditions.
2. Protecting Against Moisture Damage
Exterior surfaces are constantly exposed to rain, humidity, and temperature fluctuations. The National Association of Home Builders reports that moisture intrusion is the leading cause of exterior paint failure. Advanced techniques such as caulking gaps and using moisture-resistant primers create a barrier that prevents water from seeping behind the paint film.
3. Enhancing Curb Appeal and Property Value
A well-executed paint job can increase a home’s value by up to 5%, according to Remodeling Magazine’s Cost vs. Value Report. But a sloppy job with visible brush strokes, drips, or uneven coverage can have the opposite effect. Best practices ensure a smooth, uniform finish that boosts your home’s aesthetic appeal.
4. Reducing Maintenance Costs
Investing time in proper preparation and application reduces the need for frequent repainting. The American Coatings Association notes that a high-quality exterior paint job, when applied correctly, can last 10–15 years. This translates to significant savings in labor and materials over time.
💡Key Takeaway
Advanced exterior painting practices are not optional—they are essential for durability, protection, and long-term value. Cutting corners on preparation or application will cost you more in the long run.
In my experience working with homeowners across the Bay Area, I've seen too many projects fail because contractors rushed the prep stage. When we built our 5-step preparation process at World Pro Painting, we discovered that a thorough approach consistently yields finishes that outlast competitors' by years. That's why
exterior painting in El Cerrito requires the same rigorous standards we apply everywhere.
How to Execute Exterior Painting Best Practices Part 2
Mastering the advanced techniques involves a systematic approach. Follow these steps to ensure professional-grade results.
Step 1: Comprehensive Surface Preparation
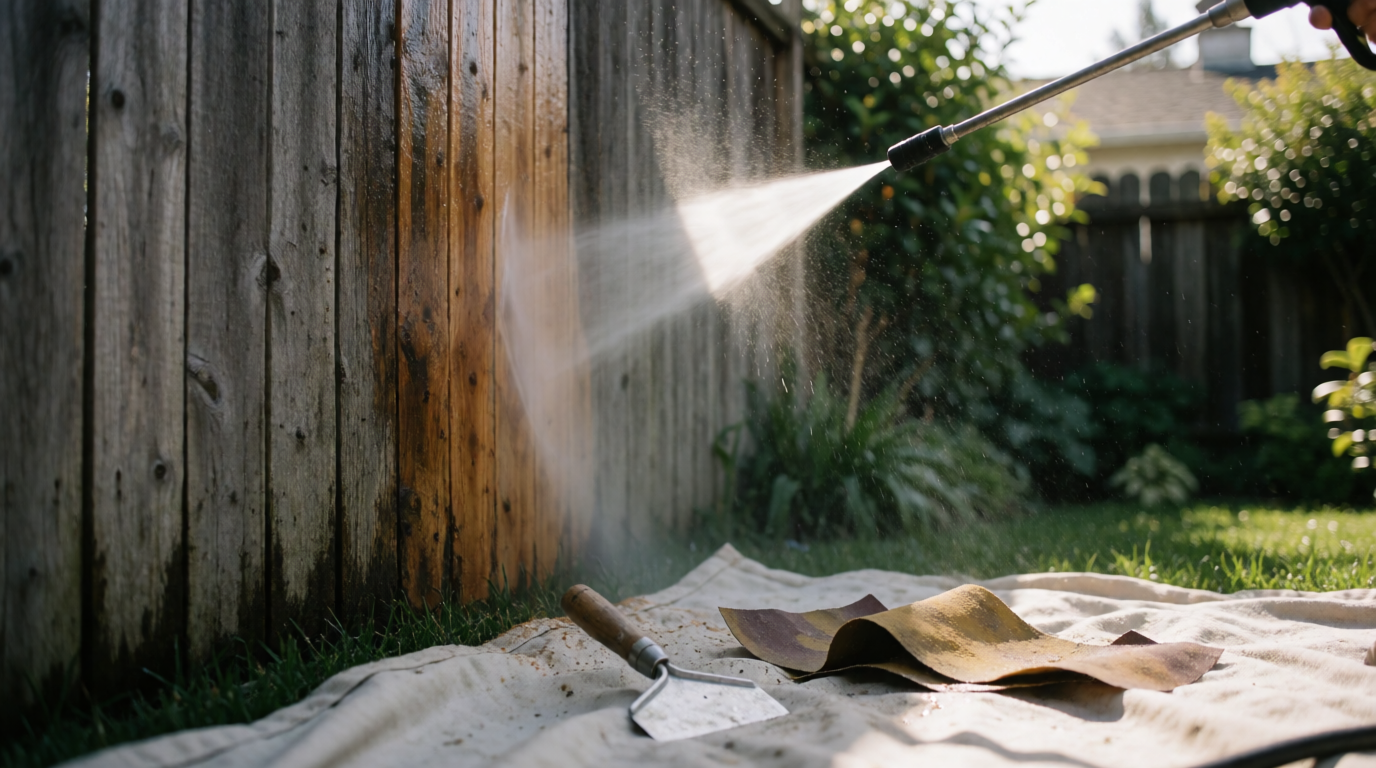
Preparation is the cornerstone of any successful paint job. Begin by power washing the entire surface to remove dirt, mildew, and loose paint. Use a 1,500–2,000 PSI pressure washer with a wide fan tip. Next, scrape any remaining loose paint with a 5-in-1 tool, and sand rough edges to create a smooth surface. Spot-prime bare wood and metal with a high-quality exterior primer. For stubborn mildew, use a bleach-based cleaner (1 part bleach to 3 parts water) and rinse thoroughly. We recommend inspecting for rot or damage and replacing any compromised wood before proceeding.
Step 2: Proper Caulking and Sealing
Inspect all joints, corners, and gaps around windows and doors. Apply a high-quality elastomeric caulk that remains flexible in temperature extremes. This prevents water from penetrating behind the paint. Pay special attention to areas where different materials meet, such as wood siding against brick or stucco. For larger gaps, use backer rod before caulking to ensure a proper seal.
Choose top-tier paints like Sherwin-Williams Duration or Benjamin Moore Aura, which offer superior adhesion and UV resistance. For brushes, use angled sash brushes for trim and high-density roller covers for flat surfaces. Avoid cheap brushes that shed bristles—they ruin the finish. When spraying, use a high-pressure airless sprayer with the appropriate tip size for the coating.
Step 4: Mastering Application Techniques
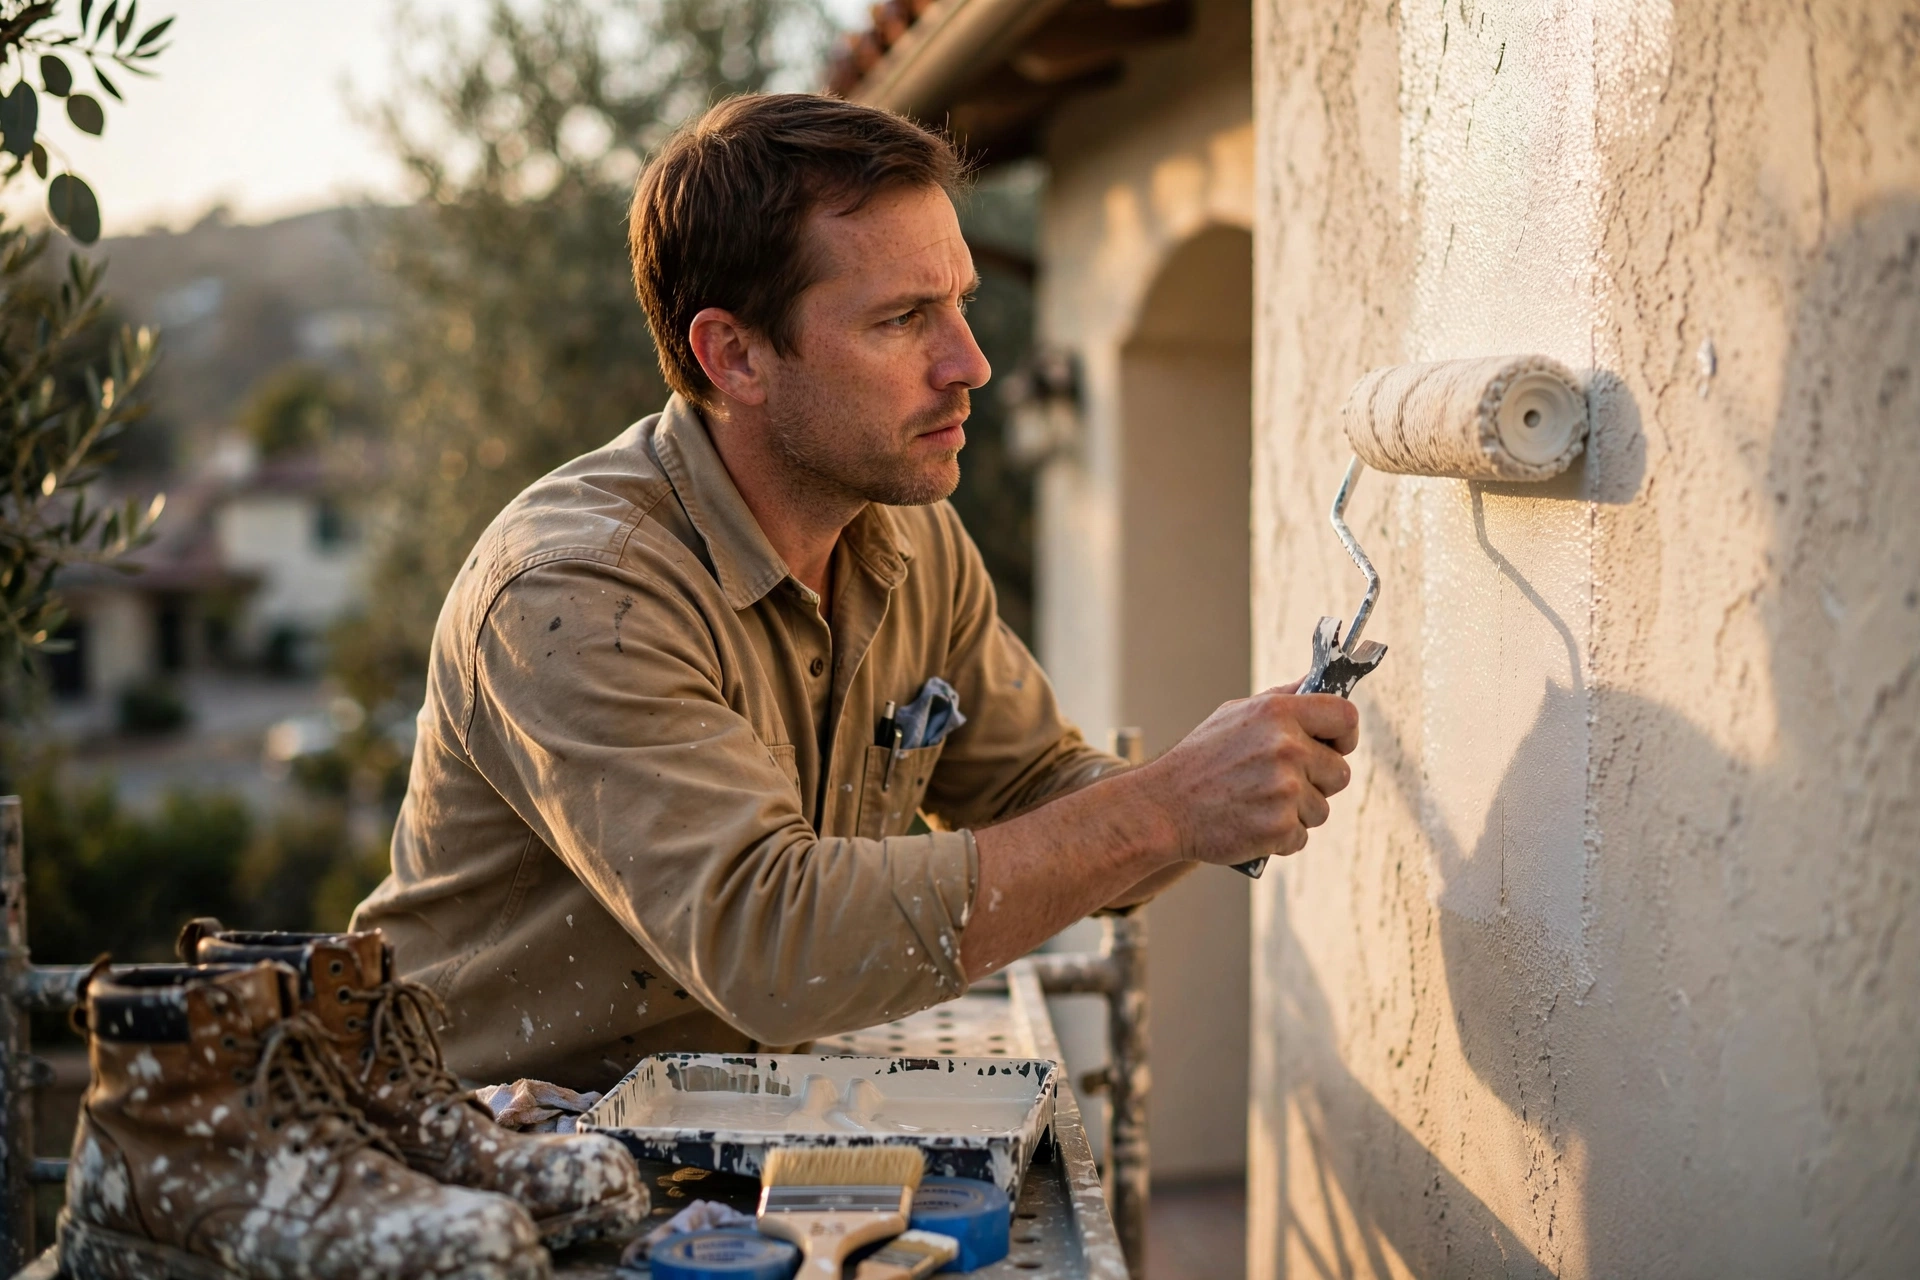
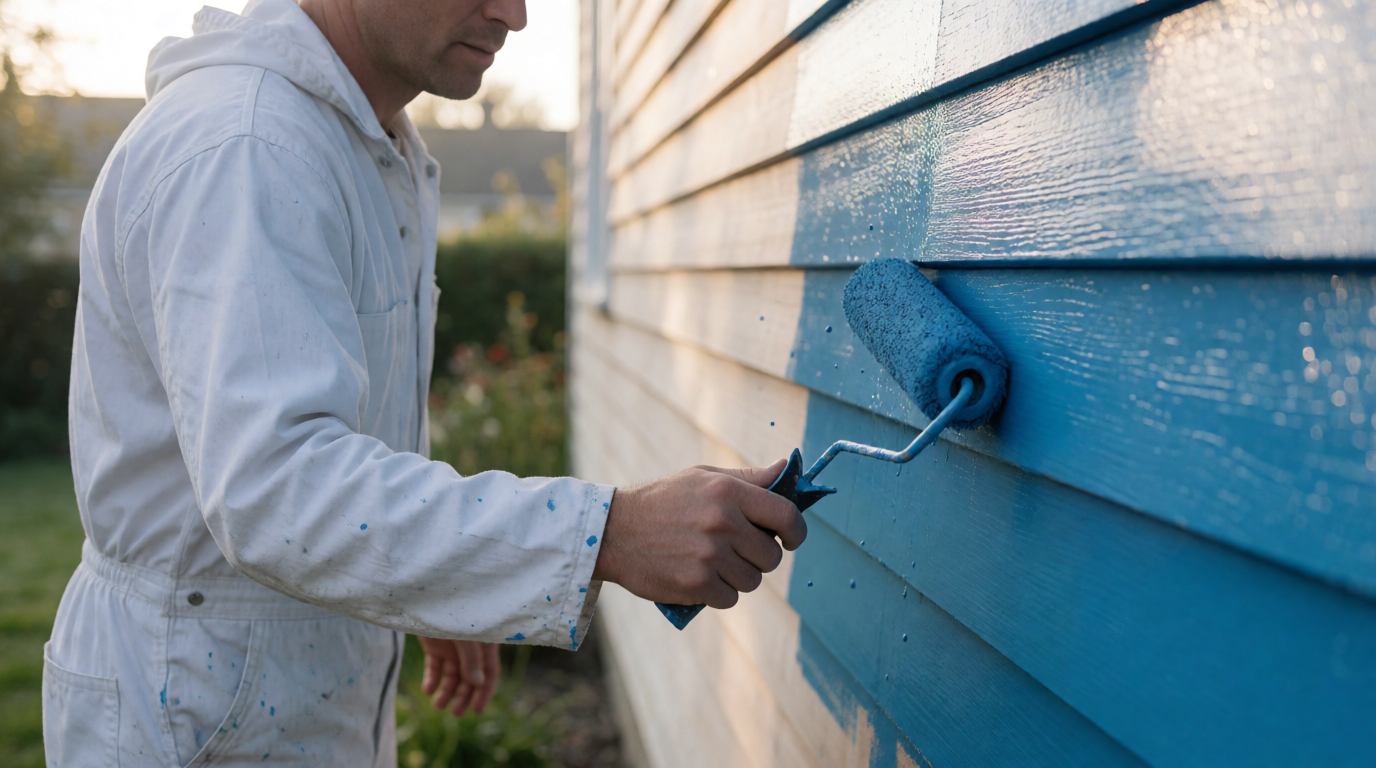
Apply paint in thin, even coats. For siding, use a “W” pattern with the roller to ensure even coverage, then back-roll to smooth out lines. Maintain a wet edge to avoid lap marks. For vertical surfaces, work from top to bottom. For trim, use a high-quality brush and brush in the direction of the wood grain. If using a sprayer, always back-roll immediately to ensure bonding and eliminate holidays.
Step 5: Optimal Weather Conditions
Exterior painting should only be done when temperatures are between 50°F and 85°F, with no rain in the forecast for at least 24 hours. Avoid painting in direct sunlight on hot days, as it dries the paint too quickly and causes poor adhesion. The best times are early morning or late afternoon during mild weather. Check humidity levels; ideal is 40–70%. For coastal areas like
Sausalito, early fall often provides the most stable conditions.
Exterior Painting Best Practices Part 2 vs. Basic Approaches
| Aspect | Basic Approach | Advanced Approach (Best Practices) |
|---|
| Surface Prep | Light washing, no scraping | Power wash, scrape, sand, prime |
| Caulking | Skip or use cheap caulk | Elastomeric caulk on all gaps |
| Paint Quality | Budget paint from big-box store | Premium brands (Sherwin-Williams, Benjamin Moore) |
| Application | One thick coat | Two thin, even coats |
| Weather Check | Paint when convenient | Monitor temperature and humidity |
| Lifespan | 3–5 years | 10–15 years |
Many homeowners in
Hayward initially try the basic approach, only to face repainting multiple times. The advanced approach may require more upfront effort, but the long-term savings and quality are undeniable.
Best Practices for Exterior Painting Part 2
Here are seven actionable tips to elevate your painting project:
1. Use a Primer Specifically for Exterior Surfaces
Primer not only improves adhesion but also blocks stains and tannins from bleeding through. Use a high-quality exterior primer matched to your paint’s resin type (e.g., acrylic primer for acrylic paint). For metal surfaces, use a rust-inhibitive primer.
2. Back-Roll for a Uniform Texture
When using a sprayer, always back-roll with a roller to ensure the paint bonds to the surface and to eliminate any unevenness. This step is often skipped but is crucial for a professional finish.
3. Apply Paint in Moderate Humidity
Ideal humidity for painting is between 40% and 70%. High humidity slows drying and can cause drips, while low humidity causes paint to dry too fast. Check your local forecast and use a hygrometer.
4. Protect Landscaping and Surfaces
Cover plants, walkways, and windows with drop cloths and plastic sheeting. Use painter’s tape to protect trim and hardware. This prevents overspray and accidental drips.
5. Stir Paint Thoroughly
Pigments settle over time. Stir paint with a stir stick or use a drill mixer for several minutes before and during use. This ensures consistent color and sheen.
6. Work in Manageable Sections
Divide large walls into smaller sections (e.g., 4x4 feet) to maintain a wet edge. Complete one section at a time before moving on.
7. Allow Adequate Drying Time Between Coats
Follow the manufacturer’s recommended recoat time—typically 4–6 hours for latex paints. Rushing the second coat can lead to peeling or color inconsistency. In cooler temperatures, allow longer drying time.
💡Key Takeaway
Consistency and attention to detail are the hallmarks of expert painting. Each tip contributes to a flawless finish that lasts.
For those considering a full exterior makeover, our
exterior painting in Santa Clara service exemplifies these best practices in action.
Frequently Asked Questions
How often should I repaint my home’s exterior?
Most homes need repainting every 10–15 years, depending on material and climate. Wood siding may need more frequent attention, while brick or stucco can last longer. Signs that it’s time include peeling, cracking, or fading paint. Regular inspections every spring can help you catch issues early. If you notice bare wood or rust spots, address them immediately to prevent rot.
Can I paint over old paint without stripping it?
Yes, but only if the old paint is in good condition (no peeling or chalking). Clean the surface thoroughly and sand lightly to create a mechanical bond. Apply a bonding primer before painting to ensure adhesion. If the old paint is lead-based (pre-1978 homes), consult a professional for safe removal. For homes in
San Pablo, where many older homes exist, we always recommend a lead test first.
What is the best sheen for exterior paint?
Satin or semi-gloss sheens are ideal for exterior surfaces because they offer a balance of durability and cleanability. Flat finishes hide imperfections but are harder to clean and less resistant to moisture. For trim and doors, semi-gloss provides a shiny, durable finish. For siding, satin is often recommended. High-gloss is best for front doors and accent features.
Do I need to prime bare wood before painting?
Absolutely. Bare wood is porous and absorbs paint unevenly, leading to a blotchy finish. Primer seals the wood, prevents tannin bleed, and improves adhesion. Use an exterior-grade primer specifically formulated for wood. For cedar or redwood, use a stain-blocking primer to prevent discoloration.
How do I prevent brush marks in exterior painting?
Brush marks occur when paint is too thick or applied incorrectly. Use a high-quality brush with flagged tips (split ends that hold more paint). Dip the brush 1/3 of the way into the paint, tap off excess, and apply in long, even strokes. Maintain a wet edge by working quickly and overlapping each stroke slightly. For large areas, use a roller or sprayer—brushing only for cut-in work.
Should I paint in direct sunlight?
Avoid painting in direct sunlight on hot days. Surface temperatures above 90°F cause paint to dry too fast, resulting in poor adhesion and roller marks. If unavoidable, work on the shady side of the house and use slower-drying paints. Early morning or late afternoon is best.
How do I fix a paint blister after application?
Blisters indicate moisture trapped under the paint film. You must remove the blistering paint, fix the underlying moisture issue (e.g., leaky gutter), and repaint. Use a primer designed for moisture resistance. This is a common issue in coastal
Sausalito where fog creates constant dampness.
What is the difference between latex and oil-based exterior paint?
Latex (acrylic) paint is water-based, dries quickly, and is more flexible and breathable—ideal for most exterior surfaces. Oil-based paint is more durable and levels better but takes longer to dry and requires mineral spirits for cleanup. For modern exteriors, high-quality 100% acrylic latex is the preferred choice due to its UV resistance and ease of application.
Conclusion
Exterior painting is a blend of art and science. By following Exterior Painting Best Practices Part 2, you’ll not only achieve a stunning result but also protect your home for years to come. From meticulous surface preparation to selecting premium materials and mastering application techniques, every step matters. Remember, the time and effort you invest upfront will pay off with a durable, beautiful finish that enhances your property’s value and curb appeal.
For expert guidance and flawless execution, trust the professionals at World Pro Painting. We specialize in exterior painting across the California Bay Area, using proven best practices to deliver results that exceed expectations. Ready to transform your home?
Contact us today for a free estimate and experience the difference true craftsmanship makes.
mentions: artificial intelligence, seo, interior design, home improvement, contractor, wallpaper
Recommended Readings
To deepen your understanding of these topics, we recommend reading the following articles:
About the Author
World Pro Team is the painting experts at
World Pro Painting. With decades of combined experience executing advanced exterior painting techniques across California's diverse climate zones, we are uniquely qualified to help homeowners and property managers achieve finishes that last.
Commercial Painting Cost Calculator & Color Guide
Get an instant estimation checklist for painting your office, warehouse, or house. Learn how to choose colors that boost productivity.