

📖This article is part of the complete guide to Interior House Painters.
How Do Professional Interior House Painters Achieve a Flawless Finish?
Applying a fresh coat of paint seems straightforward until you encounter uneven textures, bleeding stains, or the dreaded "lap marks" that ruin a wall's uniformity. Achieving a gallery-grade result requires a systematic approach where preparation accounts for roughly 70% of the total labor. When homeowners search for the process used by step by step interior house painters, they are usually looking for a roadmap that eliminates guesswork and ensures a long-lasting bond between the paint and the substrate.
The secret to a professional finish is not the brush stroke, but the sequence of operations: cleaning, repairing, priming, and then applying specialized coatings in a specific order. In my experience working with high-end residential properties across the Bay Area, I've seen countless homeowners skip the sanding phase, only to find that the paint peels within six months because it didn't adhere to a clean surface. For those managing larger complexes, utilizing Multi-Family Painters in Weibel - Fremont, CA ensures these rigorous standards are applied consistently across every unit.
The Core Framework of Professional Interior Painting
To understand how professionals operate, one must first understand the science of adhesion. Painting is not merely a cosmetic application; it is the process of creating a protective, aesthetic film over a porous surface. If that surface is contaminated with oils, dust, or old glossy paint, the new layer will fail.
📚
Definition
Substrate is the underlying surface—such as drywall, plaster, or wood—that is being painted. The compatibility between the paint chemistry and the substrate determines the overall longevity of the project.
The process begins with a comprehensive site assessment. Professionals don't just pick a color; they analyze the lighting of the room and the condition of the walls. According to the Painting Contractors Association (PCA), the failure to properly prepare a surface is the leading cause of premature paint failure in residential interiors. This is why we emphasize a strict "clean-prep-prime" workflow.
When we execute a project at World Pro Painting, we don't just "fill holes." We categorize the damage. Minor scuffs require a light sanding; deep gouges require a multi-step mudding process with drying time between coats. If you are coordinating a large-scale renovation, understanding How to Use California Bay Area Painting services can help you streamline the transition from prep to finish.
Why Rigorous Preparation Dictates the ROI of Your Home
Many homeowners view preparation as an invisible cost, but it is actually the primary driver of a home's interior value. A poor paint job doesn't just look bad; it creates a perception of poor maintenance that can deter buyers or renters. In the competitive San Francisco Bay Area market, the difference between a "DIY look" and a professional finish can impact the perceived value of a room by thousands of dollars.
The implications of skipping steps are measurable. For instance, applying paint directly over an old, oil-based coating without a transition primer often leads to "fish-eyeing," where the paint beads up and refuses to lay flat. According to Sherwin-Williams, using the correct primer for the specific substrate can increase the wear-resistance of the final coat by up to 40%.
Furthermore, the health implications of old interiors cannot be ignored. In many older homes in the Bay Area, there is a risk of encountering lead-based paint. The Environmental Protection Agency (EPA) mandates specific RRP (Renovation, Repair, and Painting) rules to prevent lead dust from contaminating a living space. Professionals are trained to identify these risks, whereas an amateur might inadvertently release toxic particles into the air during sanding.
The financial risk of a "cheap" paint job is high. When you hire a budget contractor who skips the 5-step preparation process, you aren't saving money; you are simply deferring the cost to a future repair. This is why we recommend a high-standard approach, similar to the precision required for Commercial Painting Cabrillo - Fremont, CA 2026 projects, where durability is paramount.
The Practical Step-by-Step Execution Guide
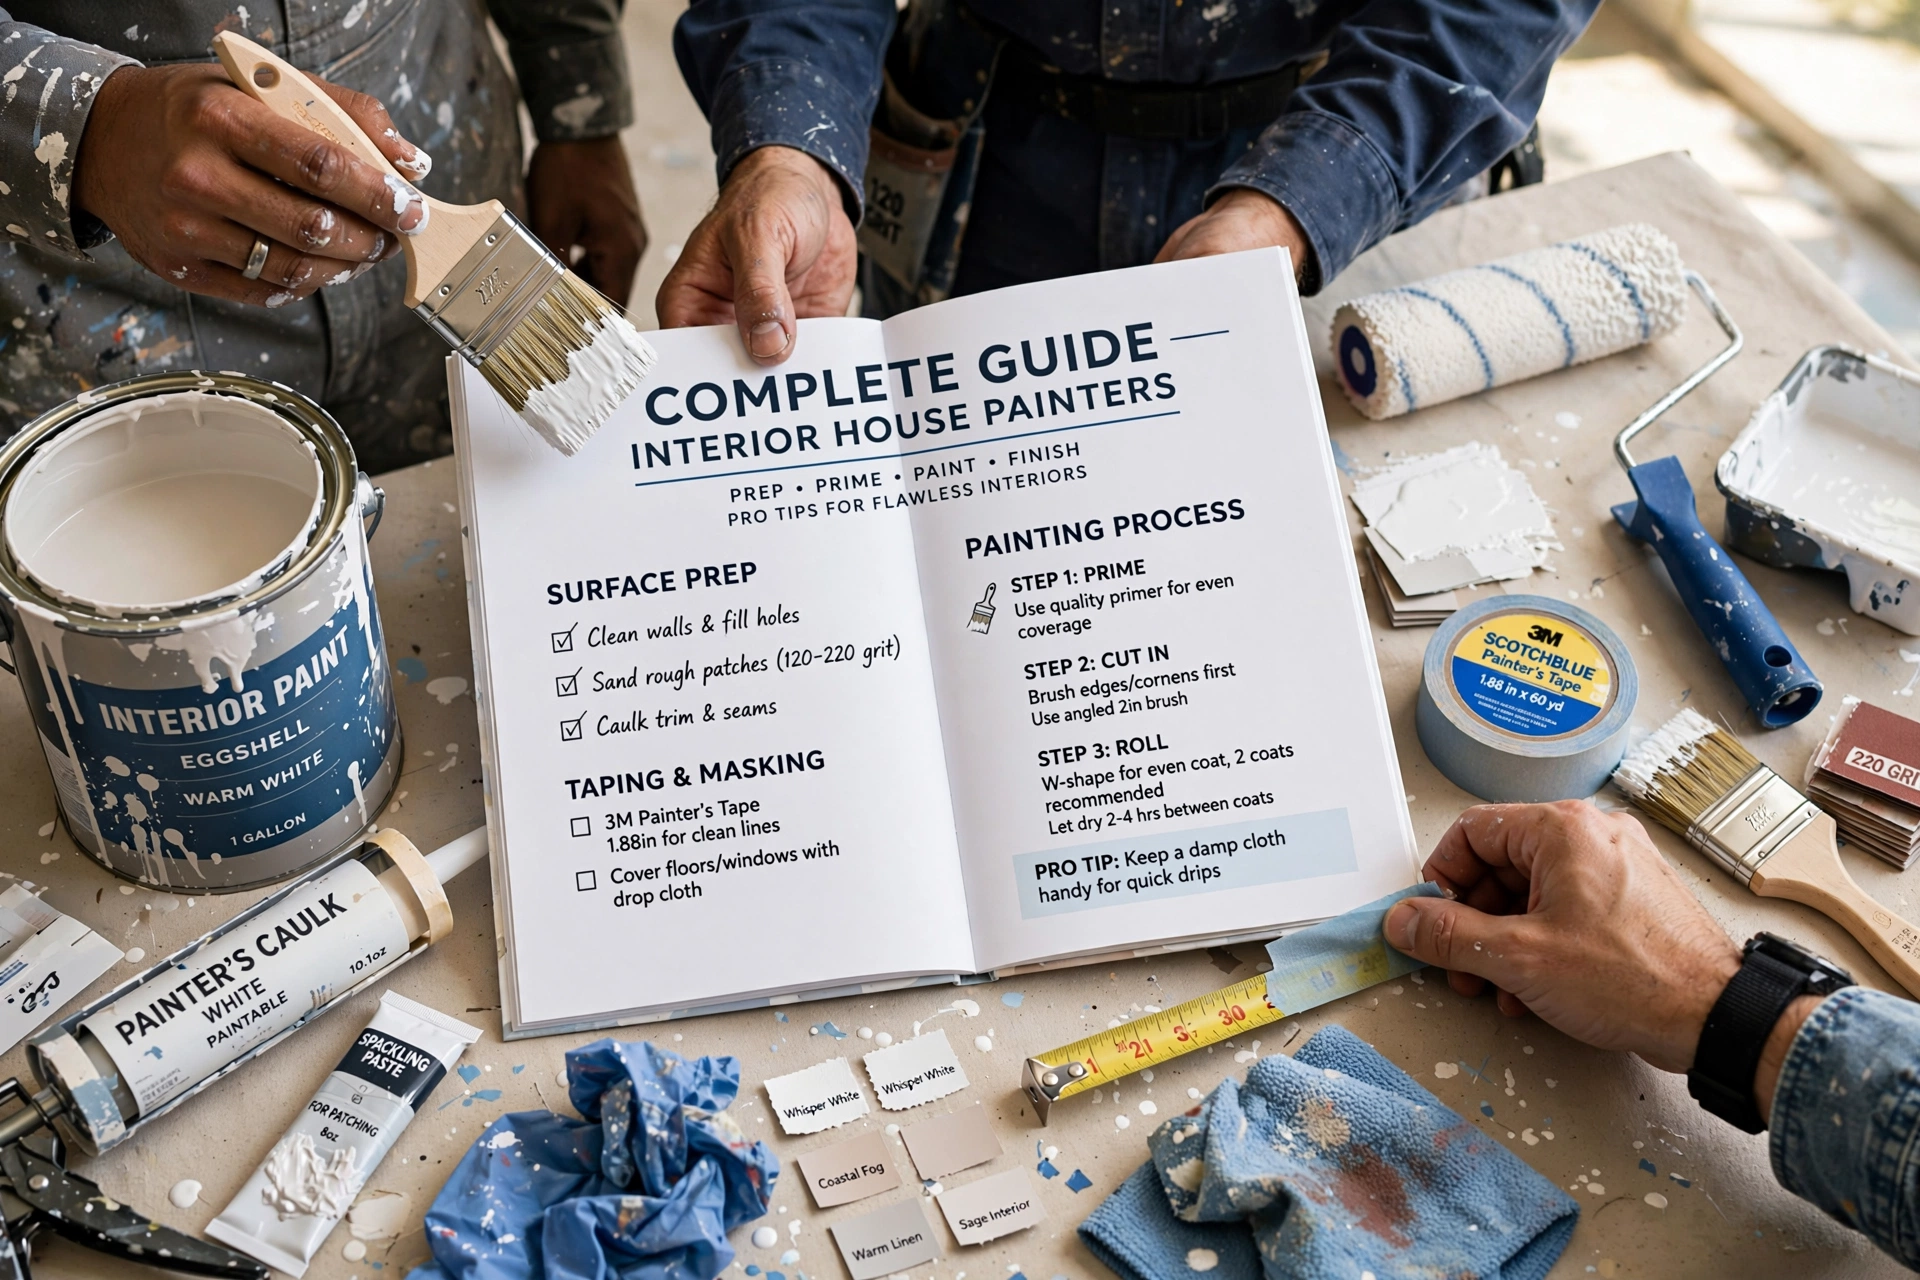
The transition from a bare wall to a finished masterpiece follows a non-negotiable sequence. Here is the professional blueprint for interior painting.
Step 1: Room Clearing and Surface Protection
The first step isn't painting; it's protection. Professionals move furniture to the center of the room and cover it with clean plastic sheeting. Floors are covered with heavy-duty drop cloths—not thin plastic, which slides and allows paint to seep underneath. Every piece of trim, window frame, and door jamb is taped using a high-quality painter's tape that leaves no residue.
Step 2: Surface Decontamination
Walls must be cleaned to remove oils and dust. We typically use a mild detergent or a TSP (trisodium phosphate) substitute. If the walls are greasy—common in kitchens—the paint will simply slide off if this step is skipped. After cleaning, the walls must be completely dry before any filler is applied.
Step 3: Repair and Patching
This is where the "magic" happens. We use a variety of spackles and joint compounds to fill nail holes, cracks, and dents. After the compound dries, it is sanded flush with the wall. The mistake I made early on—and that I see constantly with DIY attempts—is over-applying filler and not sanding it enough, which creates visible "humps" once the paint is applied.
Step 4: Priming and Sealing
Priming is the bridge between the substrate and the finish coat. We use a high-quality primer from Benjamin Moore to seal porous areas and block stains. If we are painting a light color over a dark one, a high-hide primer is essential to prevent the old color from bleeding through.
Step 5: The Painting Process (Cutting and Rolling)
We start with "cutting in," which means painting the edges and corners with a brush where a roller cannot reach. Once the edges are done, we apply the paint using a consistent "W" or "N" pattern with the roller to ensure even coverage and prevent lap marks. Two coats are always applied; the first acts as the base and the second provides the true color and depth.
💡
Key Takeaway
Never apply a second coat until the first is fully cured. Painting over "tacky" paint pulls the first layer off the wall, creating a textured, uneven mess that requires total sanding to fix.
For those dealing with multi-unit properties, this level of detail is what distinguishes high-end results. This is why we suggest Multi-Family Painters Brookvale - Fremont, CA for consistent quality across large portfolios.

Comparing Painting Approaches: Traditional vs. Budget vs. Professional
When deciding how to handle an interior project, it is helpful to see the trade-offs in a side-by-side comparison.
| Feature | Traditional DIY Approach | Budget Contractor Approach | World Pro Painting Approach |
|---|---|---|---|
| Preparation | Minimal (fill holes only) | Basic (fast sanding) | 5-Step Comprehensive Prep |
| Materials | Generic Hardware Store Paint | Lowest Bid/Cheap Paint | Premium (Sherwin-Williams/Benjamin Moore) |
| Execution | Inconsistent/Lap Marks | Fast/Rushed Application | Precise Cutting & Even Rolling |
| Durability | 2-3 Years | 3-5 Years | 6-Year Guarantee |
| Best For | Low-stakes guest rooms | Rental flips (low quality) | High-value homes & long-term assets |
Now, here's where it gets interesting: most people think the "Budget Contractor" is the middle ground. In reality, they are often the most expensive option in the long run because they use inferior materials that fade or peel, requiring a full repaint in half the time of a professional job.
Common Misconceptions and Industry Myths
The world of house painting is filled with "shortcuts" that actually create more work. Let's dismantle a few common myths.
Myth 1: "You don't need primer if you're using paint-and-primer-in-one."
Most guides get this wrong. While these products are convenient for refreshing a wall, they are not true primers. A real primer chemically bonds to the substrate and seals it. If you have a stained wall or are changing colors drastically, a dedicated primer is non-negotiable. Without it, the "all-in-one" paint will often show streaks or fail to adhere to glossy surfaces.
Myth 2: "Adding a little water to the paint makes it flow better."
This is a dangerous practice. Thinning paint without the correct additive breaks the chemical bond and reduces the opacity of the coating. This leads to more coats being required and a finish that is more prone to scrubbing-off or peeling.
Myth 3: "Sanding is only for old, peeling paint."
Incorrect. Even on new drywall, sanding is essential to remove "nibs" (tiny bumps of dust or gypsum). If you don't sand, these nibs will be magnified by the paint's sheen, making your walls look like sandpaper under a direct light.
Frequently Asked Questions
How many coats of paint are actually necessary for a professional finish?
In almost every professional scenario, two coats are the absolute minimum. The first coat provides the initial coverage and seals the primer, but it rarely achieves the full color saturation of the paint. The second coat fills in any microscopic gaps in the first layer, providing a uniform sheen and the correct color depth. In cases of extreme color changes—such as going from a deep burgundy to a soft white—a third coat may be required to eliminate "ghosting." At World Pro Painting, we never compromise on the second coat because that is where the durability and aesthetic uniformity are established.
Why is it so important to use a specific primer instead of just more paint?
Primers are formulated differently than finish paints. While paint is designed for color and durability, primer is designed for adhesion and sealing. Primers contain more resins that "bite" into the substrate and a higher concentration of solids to fill pores. For example, if you are painting over a water stain, a standard paint will let the stain bleed through over time. A stain-blocking primer chemically seals that spot, preventing the stain from migrating to the surface. Using the wrong primer can lead to a reaction where the paint literally peels off in sheets.
How do you prevent "lap marks" or visible lines in the paint?
Lap marks occur when the edge of a wet section of paint begins to dry before the next section is applied, creating a visible overlap. Professionals prevent this by using a technique called "maintaining a wet edge." This means we work quickly and always overlap the previous stroke while the paint is still wet. We also avoid over-working the paint; once a section is rolled, we leave it alone. If you go back over a semi-dry area to "fix" a spot, you create a texture difference that is impossible to hide without sanding the entire wall.
What is the difference between flat, eggshell, and satin finishes?
The "sheen" refers to the amount of light the paint reflects. Flat paint has no reflection and is great for hiding imperfections on ceilings or old walls, but it is difficult to clean. Eggshell is the industry standard for living rooms and bedrooms because it has a soft glow and is moderately washable. Satin is more durable and reflective, making it ideal for kitchens, bathrooms, and trim where moisture is present. In my experience, choosing a sheen that is too high for a textured wall actually highlights every bump and flaw, making the wall look uneven.
How do you handle "cutting in" without getting paint on the ceiling or trim?
Professional cutting is a combination of the right tool and technique. We use a high-quality angled sash brush and load it with paint, but not so much that it drips. Instead of "painting a line," we "push" the paint into the corner. For those who struggle with a steady hand, we use a technique called "tapping," where the brush is gently bounced against the edge. However, the most reliable method is the professional use of precision taping, combined with a steady hand and the correct paint viscosity.
Final Thoughts on Professional Interior Painting
Achieving a high-end look requires more than just a steady hand; it requires a commitment to the step by step interior house painters' process. From the initial decontamination of the walls to the final coat of premium paint, every step is designed to maximize the lifespan of the finish and the value of the home. Skipping a single phase—especially the preparation and priming—is a gamble that usually results in costly repairs and a subpar aesthetic.
If you are overwhelmed by the prospect of managing a full interior renovation, we recommend professional assistance to ensure your investment is protected. Whether you need Exterior Painting in Lakeside, Newark, CA: for 2026 to match your interior's prestige or a complete internal overhaul, quality should never be sacrificed for speed.
Ready to transform your space with a professional touch? Schedule your free on-site estimate with World Pro Painting today. We serve over 42 cities across the Bay Area, bringing CSLB-licensed expertise to every room we touch.
Visit worldpropainting.com to get started.
Commercial Painting Cost Calculator & Color Guide
Get an instant estimation checklist for painting your office, warehouse, or house. Learn how to choose colors that boost productivity.