

📖This article is part of the complete guide to Interior House Painters.
How to Master Interior Painting: A Professional Step-by-Step System
I once walked into a luxury home in San Francisco where the homeowner had spent $4,000 on premium paints, only to find the walls peeling in sheets after six months. The culprit wasn't the paint; it was the lack of a proper preparation sequence. Most homeowners assume that interior painting is simply about applying a new color to a wall, but professional results are actually 80% preparation and 20% application. To achieve a factory-smooth finish, you must follow a rigid sequence of cleaning, repairing, priming, and layering.
Following this complete guide interior house painters use ensures that you avoid the "amateur look"—those dreaded lap marks and uneven edges. If you are managing a large-scale project, you might consider how Multi-Family Painters in Weibel - Fremont, CA handle high-volume transitions, but for any single room, the fundamental physics of adhesion remain the same. The secret to a lasting finish is creating a chemically clean surface that allows the paint to bond at a molecular level.
What Does a Professional Interior Painting Process Actually Entail?
Professional interior painting is the systematic application of coatings to interior walls, ceilings, and trim, designed to protect the substrate and enhance the aesthetic value of a property. Unlike a DIY project, a professional approach treats the wall as a living surface that reacts to moisture, temperature, and friction.
📚
Definition
Substrate refers to the underlying surface being painted, such as drywall, plaster, wood, or masonry. The compatibility between the paint and the substrate determines the longevity of the project.
In my experience working with high-end Bay Area properties, the biggest mistake I see is the "paint-over-everything" mentality. Professionals never apply paint directly to a dusty or damaged wall. We start with a comprehensive assessment of the substrate. This involves checking for "alligatoring" (cracked paint), moisture intrusion from leaking pipes, and the presence of lead-based paint in older Victorian homes. According to the Environmental Protection Agency (EPA), any home built before 1978 must be handled following the RRP (Renovation, Repair, and Painting) rule to prevent lead contamination, which is a non-negotiable safety standard for licensed contractors.
The process begins with "cutting in," where a brush is used to paint the edges of walls and ceilings where a roller cannot reach. This is followed by "loading" the roller and applying paint in a "W" or "N" pattern to ensure even distribution. This technique prevents the buildup of excess paint in one area, which typically leads to unsightly ridges known as "lap marks."

Why Does Professional Preparation Directly Impact Property Value?
Cutting corners on preparation doesn't just look bad; it actively depreciates the value of your interior. When paint peels or bubbles, it signals to a potential buyer or appraiser that the home has underlying maintenance issues, such as moisture problems or poor craftsmanship.
According to the Painting Contractors Association (PCA), a professionally executed interior paint job can increase the perceived value of a home by as much as 2% to 5% depending on the quality of the finish. This isn't just about the color; it's about the "flatness" of the walls and the crispness of the lines. When a room is painted with professional precision, it reflects light more evenly, making the space feel larger and more modern.
Furthermore, using the wrong type of paint for a specific room can lead to premature failure. For example, applying a standard flat latex paint in a Bay Area bathroom—where humidity is high—will lead to mildew growth and peeling within a year. Professionals utilize high-grade moisture-resistant coatings in these areas. If you are coordinating an entire home renovation, understanding how to use California Bay Area painting standards helps you choose the right sheens for different micro-climates within your own home.
The financial risk of a failed DIY job is significant. Beyond the cost of wasted materials, the cost of "re-do" labor is often triple the initial cost because the professional must first strip the failed paint before restarting the process. This is why investing in a licensed contractor from the start is the most cost-effective long-term strategy.
Practical Application: The 5-Step Professional Painting Sequence
To achieve a gallery-grade finish, you must move through these five stages in order. Skipping any one of these steps introduces a point of failure into the system.
Step 1: Surface Decontamination and Cleaning
Paint cannot adhere to dust, grease, or oils. In kitchens, this means using a degreaser; in bedrooms, a simple TSP (trisodium phosphate) solution usually suffices. I've found that many homeowners overlook the tops of baseboards, where dust accumulates; if you paint over that dust, the paint will peel off in strips within weeks.
Step 2: Mechanical Repair and Sanding
Once the wall is clean, you must address the physical defects. This means filling nail holes with spackle and sanding down any protrusions. The goal is a perfectly flat surface. Use a fine-grit sandpaper (120 to 220 grit) to smooth the edges of the patched areas. If the wall feels like sandpaper, the finish will look grainy.
Step 3: Strategic Priming
Priming is not always about the color; it's about the chemistry. A primer seals the porous surface of the drywall, ensuring that the topcoat of paint isn't "sucked" into the wall. This results in a more vibrant, uniform color. According to Sherwin-Williams, using a high-quality primer can reduce the number of topcoats required by up to 50%, saving both time and material costs.
Step 4: The "Cut-In" and Rolling Phase
Start with the ceiling, then move to the walls, and finish with the trim. Cut in the edges first using a 2.5-inch angled sash brush. Once the edges are wet, immediately roll the main section of the wall. This "wet edge" technique is what prevents visible lines where the brush and roller meet.
Step 5: Final Detailing and Clean-Up
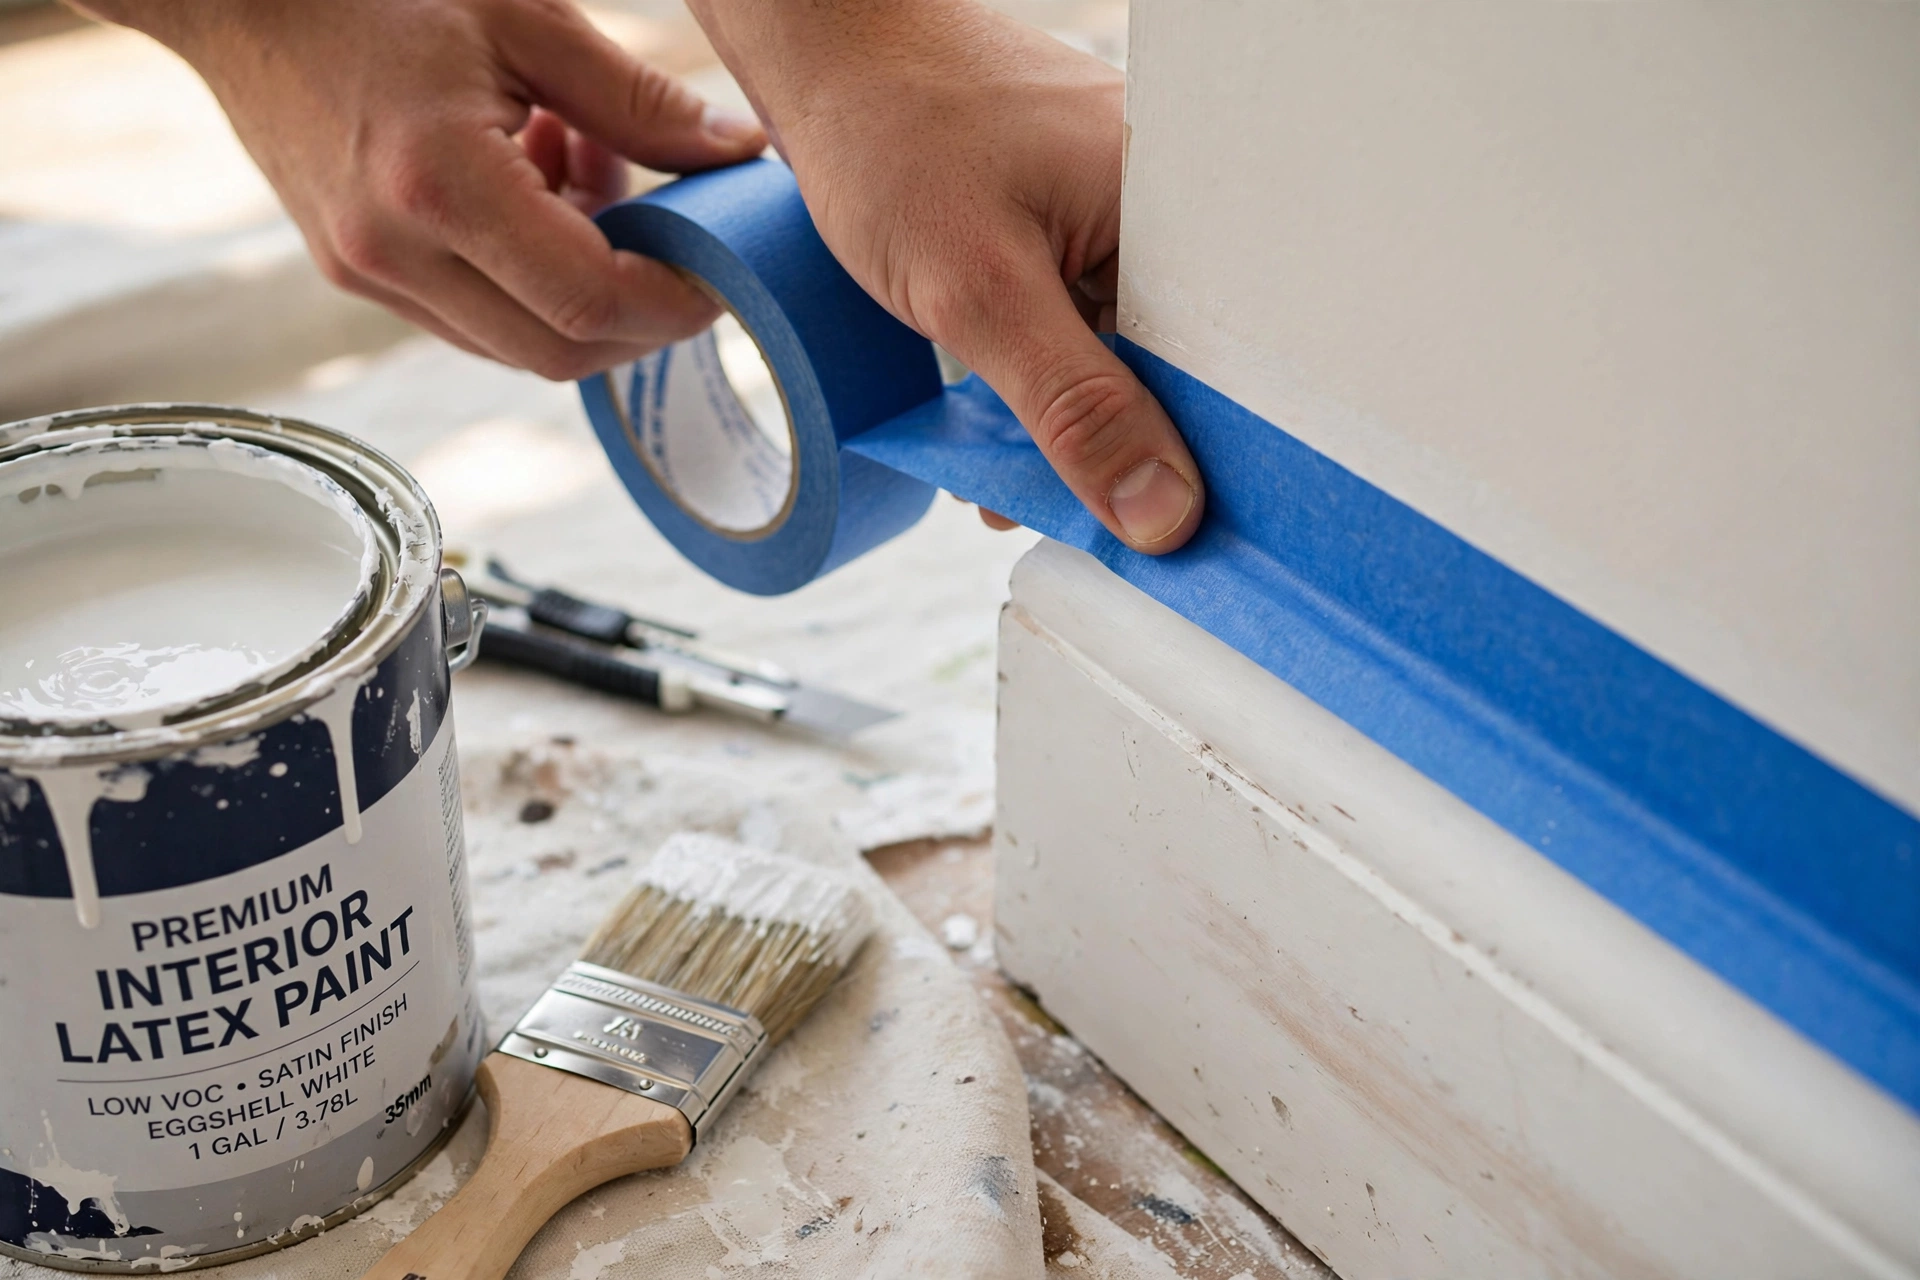
A professional job is defined by the cleanup. This means removing all painter's tape at a 45-degree angle to avoid pulling the paint off the wall and cleaning any accidental splatters from the flooring. At World Pro Painting, we emphasize a "clean worksite" policy because the quality of the cleanup reflects the quality of the paint job.
💡
Key Takeaway
The "wet edge" technique—painting the main wall area immediately after cutting in the edges—is the only way to eliminate visible seams and lap marks.
For those managing larger properties, such as apartment complexes, these steps are scaled. For instance, Multi-Family Painters Brookvale - Fremont, CA must balance this level of detail with the speed required for high-turnover units, often utilizing airless sprayers for the primary coats before finishing by hand.

Choosing the Right Materials: Comparison of Paint Options
Not all paints are created equal. The choice between a budget-grade acrylic and a premium architectural coating can be the difference between a five-year and a fifteen-year lifespan.
| Feature | Budget Acrylic | Mid-Range Latex | Premium Architectural (e.g., Benjamin Moore/Sherwin-Williams) |
|---|---|---|---|
| Pigment Density | Low (requires 3+ coats) | Medium (requires 2 coats) | High (Excellent coverage in 1-2 coats) |
| Washability | Poor (scuffs easily) | Moderate | High (scrubbable, resists stains) |
| VOC Levels | High (strong odor) | Moderate | Low to Zero (Safe for immediate occupancy) |
| Durability | 2-3 Years | 5 Years | 10+ Years |
| Best For | Rental units, temporary flips | Guest rooms, low-traffic areas | Kitchens, hallways, luxury homes |
When selecting a finish, remember that higher gloss levels reflect more light but reveal more imperfections. In my experience, a "Satin" or "Eggshell" finish is the gold standard for most Bay Area living rooms because it hides wall imperfections while remaining easy to wipe clean. If you are painting an area with high traffic, such as a hallway, I always recommend a Semi-Gloss finish for the trim. This is a common strategy used by Multi-Family Painters Mission San Jose - Fremont, CA to ensure longevity in shared corridors.
Common Questions and Misconceptions About Interior Painting
There is a significant amount of misinformation regarding how to paint a home. Many online tutorials suggest "shortcuts" that actually compromise the integrity of the finish.
Myth 1: "You don't need primer if you're using paint + primer in one."
Most guides get this wrong. "Paint and primer in one" is essentially just a thicker paint. While it works for simple color changes on a well-maintained wall, it does not provide the chemical bonding or stain-blocking capabilities of a dedicated primer. If you are painting over a dark color or a glossy surface, a standalone primer is essential to prevent "bleed-through."
Myth 2: "The more coats of paint, the better the result."
Actually, too many coats can lead to a "heavy" look where the paint begins to sag or drip, creating a texture known as "curtaining." The goal is the minimum number of coats required to achieve full opacity (hide) and the desired sheen. Over-painting often hides the natural crispness of the architectural lines.
Myth 3: "All white paints are the same."
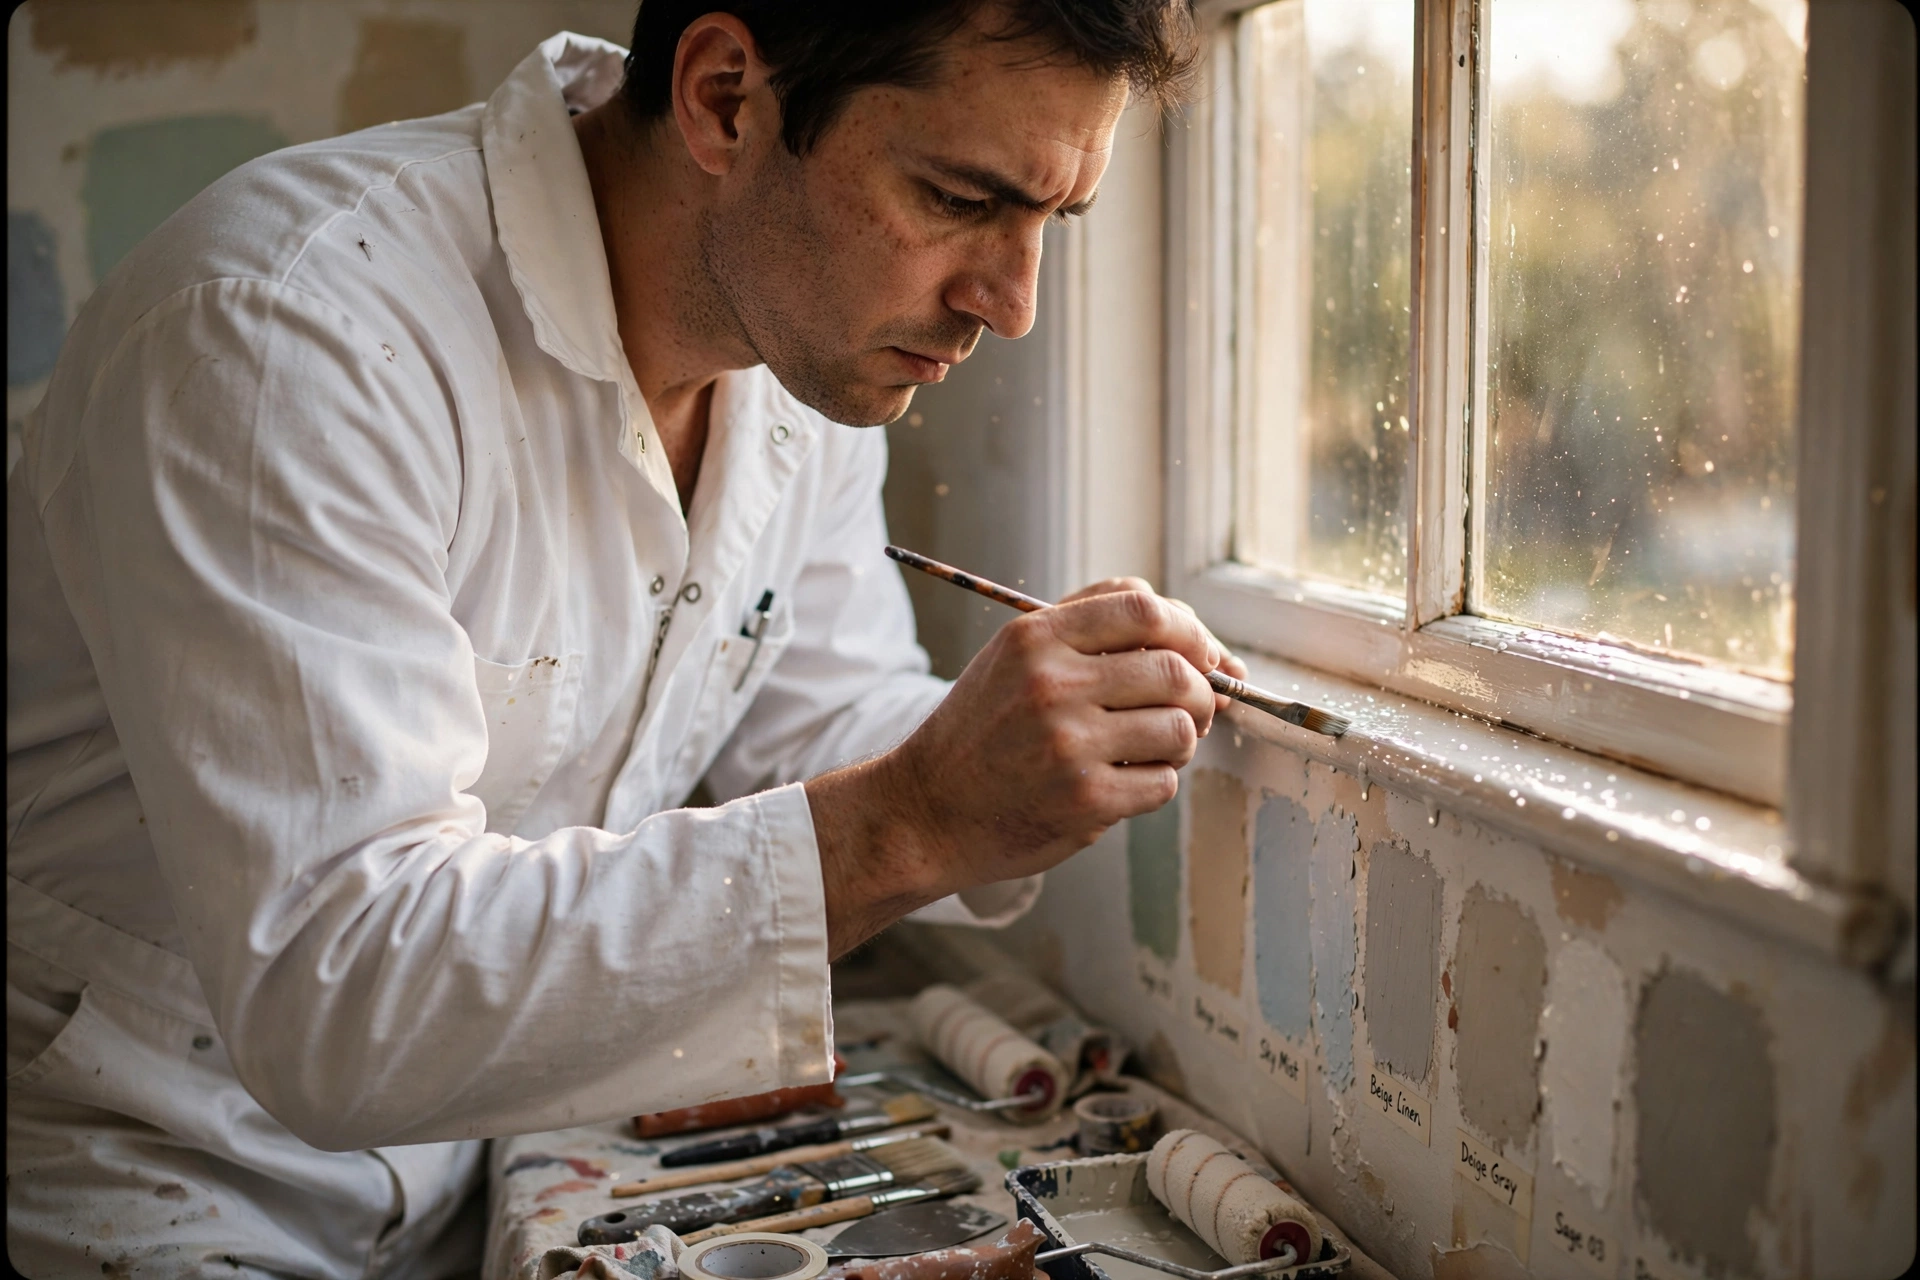
This is a dangerous assumption. There are "warm" whites (with yellow/red undertones) and "cool" whites (with blue/green undertones). In the foggy light of a San Francisco morning, a cool white can make a room feel clinical and cold. A warm white, however, can make the space feel inviting. Always test a 2x2 foot swatch on the wall and observe it at different times of the day before committing to the whole room.
Myth 4: "Painting is a quick way to hide wall damage."
Paint highlights flaws; it does not hide them. If you have a dent or a crack in the drywall, painting over it will only make the shadow of that defect more prominent. This is why the mechanical repair phase—which we see handled expertly by Multi-Family Painters Niles - Fremont, CA—is the most important part of the process.
Frequently Asked Questions
How many coats of paint are typically needed for a professional finish?
In most residential settings, two coats are the industry standard. The first coat serves to build the base and establish the color, while the second coat ensures full opacity and a uniform sheen. According to technical data from Benjamin Moore, the number of coats may increase if you are transitioning from a very dark color to a light color, often requiring a dedicated primer coat followed by two topcoats. Applying a third coat is rarely necessary unless the substrate is extremely porous or the paint has low pigment density.
What is the best way to choose a paint sheen for different rooms?
The rule of thumb is to match the sheen to the room's moisture and traffic levels. Ceilings almost always get a "Flat" finish to hide imperfections. Living rooms and bedrooms benefit from "Eggshell" or "Satin," which offer a soft glow and basic washability. Kitchens and bathrooms require "Semi-Gloss" or "High-Gloss" because these finishes create a non-porous barrier that resists steam and grease. Using a flat paint in a bathroom is a mistake I see constantly, as it allows moisture to seep into the drywall, leading to peeling and mold.
How do I handle painting in a home with high ceilings or vaulted roofs?
Painting vaulted ceilings requires specialized equipment like telescopic extension poles and scaffolding to ensure safety and a consistent finish. The key is to work from the top down, painting the ceiling first and then the walls. This prevents paint from dripping onto already finished surfaces. If the ceiling is over 12 feet, we recommend using an airless sprayer to achieve a uniform coat without the "stutter" marks that can happen with a roller on a long pole. This is a standard procedure for Commercial Painting Cabrillo - Fremont, CA 2026 projects.
How can I tell if my interior walls contain lead-based paint?
If your home was built before 1978, there is a high probability of lead-based paint. You cannot tell by looking at the paint; you must use a lead testing kit or hire a certified professional. If lead is detected, you must not sand or scrape the paint without proper containment, as this releases toxic dust into the air. Professionals follow the EPA RRP guidelines to safely encapsulate lead paint or remove it using HEPA-filtered vacuums. This is a critical safety step for any renovation in older Bay Area neighborhoods.
Why does my paint feel "tacky" or sticky even after it seems dry?
This is usually a result of "blocking," which happens when paint hasn't fully cured or when the wrong product was used for the environment. Many people confuse "dry to the touch" with "fully cured." While most paints feel dry in 4 hours, they can take up to 30 days to reach maximum hardness. This is especially true in the humid climate of the coast. To prevent tackiness, ensure you are applying paint within the manufacturer's recommended temperature and humidity ranges and avoid adding too much water to a latex paint.
Final Thoughts on Your Interior Painting Journey
Achieving a professional-grade interior is not a matter of luck; it is a matter of process. By prioritizing the decontamination of the substrate and following a strict sequence of priming and layering, you move from "DIY quality" to "Architectural quality." Whether you are refreshing a single bedroom or managing a large complex, the physics of paint remain the same: preparation is everything.
If the scale of your project feels overwhelming, or if you are dealing with complex substrates and high ceilings in the Bay Area, the most efficient path is to partner with a licensed expert. At World Pro Painting, we bring the technical precision of a master contractor to every wall we touch, ensuring a finish that lasts for years, not months.
For a total transformation of your property, we invite you to schedule a free on-site estimate. From the initial power wash of the exterior to the fine-detail brushwork of the interior, we handle the entire lifecycle of your home's aesthetic. For those specifically looking at the outside of their home, explore our Exterior Painting in Lakeside, Newark, CA: for 2026 for complementary tips on curb appeal.
Ready to elevate your space? Visit worldpropainting.com to get started today.
Recommended Readings
To deepen your understanding of these topics, we recommend reading the following articles:
- Interior House Painters
- Step by Step
- Interior Painting in Colma, CA
- Interior Painting in Corte Madera, CA
Commercial Painting Cost Calculator & Color Guide
Get an instant estimation checklist for painting your office, warehouse, or house. Learn how to choose colors that boost productivity.