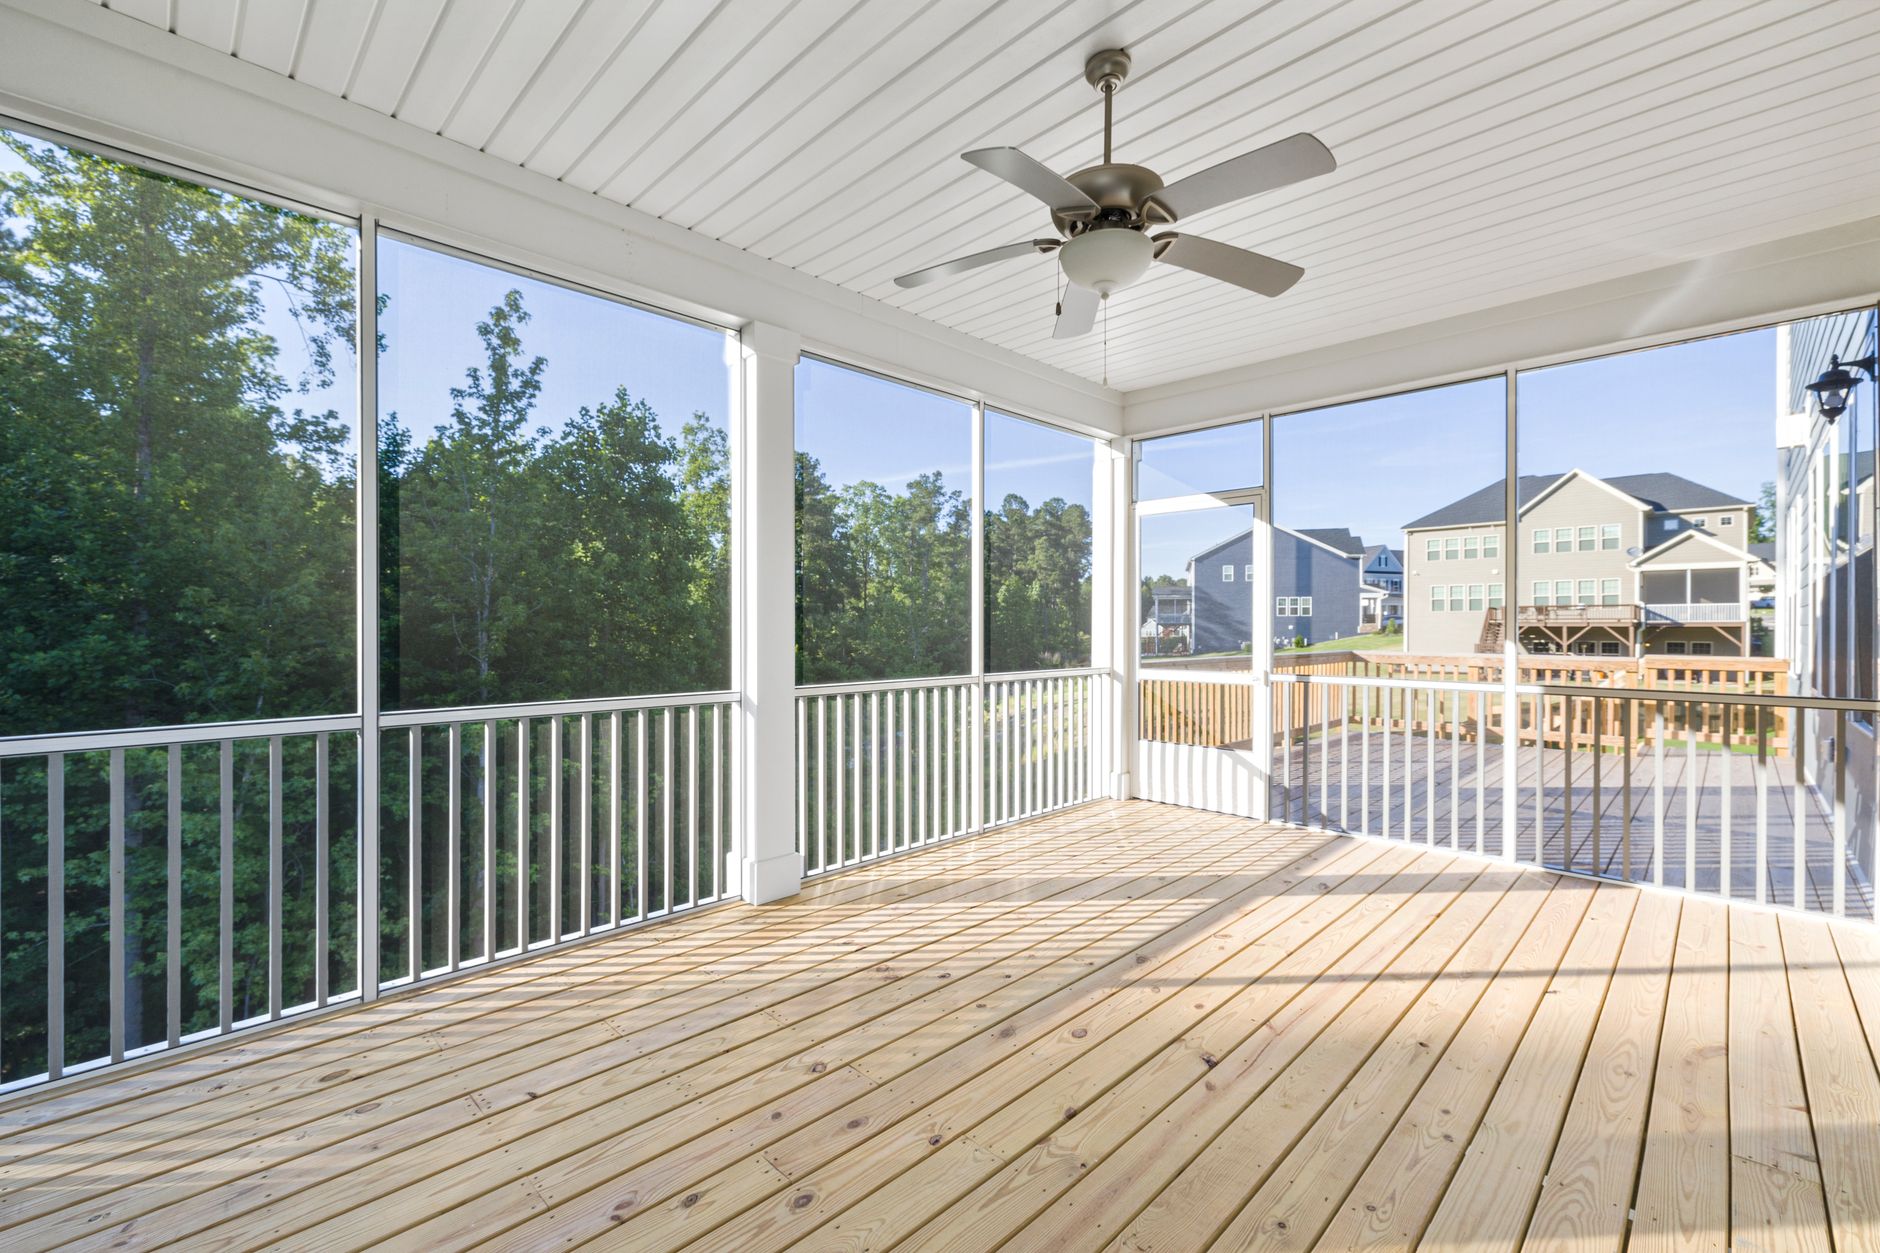
Mastering the Final Coat: Deck Staining Best Practices Part 4
After all the prep work—cleaning, sanding, and priming—the final stain application is where skill and knowledge make all the difference. In deck staining best practices part 4, we focus on the techniques that separate a professional-grade finish from a DIY disappointment. Whether you're coating a new redwood deck or refreshing a weathered Douglas fir surface, understanding temperature windows, stain chemistry, and application mechanics is crucial. Over the years, I've tested dozens of products and methods on hundreds of decks across the Bay Area. The patterns are clear: most failures happen in the last 24 hours. Let's fix that.
For comprehensive context, see our Ultimate Guide to Deck Staining in the Bay Area for foundational knowledge.
Why Application Technique Matters More Than the Stain Brand
I've seen homeowners spend hundreds on premium stains only to ruin the finish with poor application. In deck staining best practices part 4, the core principle is: technique trumps product. A properly applied mid-grade stain will outlast a poorly applied premium stain by years.
💡
Key Takeaway
No stain can compensate for rushed application. The final coat's longevity depends on correct temperature, even coverage, and proper drying conditions.
According to the Paint Quality Institute, 85% of coating failures are due to improper application rather than product defects. This aligns with what I've observed in the field: decks fail at lap marks, thin edges, and areas applied too thickly. The goal is a uniform film that bonds with the wood fibers without pooling.
Always apply stain in thin, even coats. Thick coats may look rich initially but will peel and crack within a season. Use long, uninterrupted strokes, and maintain a wet edge to avoid lap marks. Work in manageable sections—about two to three boards wide—and complete each section before moving on.
Understanding Stain Types and Their Application Windows
Not all stains are created equal, and each type has its own best practices. In deck staining best practices part 4, we break down the three main categories:
Transparent Stains: These penetrate without forming a surface film. They require perfect surface prep and cannot hide imperfections. Apply only when temperatures are between 50°F and 90°F and humidity is below 70%. They dry quickly, so work fast.
Semi-Transparent Stains: A balance of pigment and penetration. They offer UV protection while allowing the wood grain to show. Best applied in temperatures 60°F–85°F. Avoid direct sunlight as it can cause the stain to dry too fast, creating lap marks.
Solid Stains: Act like paint, forming a protective film. They can be applied in a wider temperature range (40°F–95°F) but require careful back-brushing to avoid bubbles and uneven texture.
📚
Definition
Back-brushing is the technique of brushing stain into the wood after spraying or rolling, ensuring penetration and uniformity.
A 2024 report from the American Coatings Association highlights that semi-transparent stains account for 70% of professional deck projects due to their durability and aesthetic appeal. In my experience, they are the most forgiving for DIYers—but only if you respect the temperature window.
Check the weather forecast before you start. Ideally, you want two consecutive days with no rain, moderate temperatures, and low wind. Stain applied during a heatwave or cold snap will fail prematurely.
For more on selecting the right product, see our Deck Staining Best Practices Part 1: The Ultimate Guide for 2026.
Choosing Between Sprayer, Roller, and Brush
The tool you use directly impacts the finish. Many homeowners ask me which method is best. The answer: a combination.
Sprayer: Fast but risks overspray and thin coverage. Only use an airless sprayer with a low-pressure tip (e.g., 211 or 311). Never spray on windy days. Even with spraying, back-brushing is mandatory.
Roller: Good for large open areas but can create bubbles and uneven texture on rough wood. Use a 3/8-inch nap roller for smooth surfaces and 1/2-inch for textured wood. Always roll with the grain.
Brush: The most reliable tool for corners, edges, and detailed areas. A high-quality 4-inch brush with natural bristles (for oil-based stains) or synthetic bristles (for water-based) ensures control.
Best Practice Step-by-Step:
- Cut in edges and corners with a brush.
- Spray or roll the field area, working in sections.
- Immediately back-brush each section while the stain is wet.
- Check for puddles and tip-offs—spread any pooled stain.
In deck staining best practices part 4, we emphasize that the brush is your most important tool. A sprayer saves time, but a brush saves the job.
Related guidance: Cabinet Refinishing Best Practices Part 3: Advanced Techniques for a Flawless Finish for similar finishing principles.
Temperature, Humidity, and Sunlight: The Unseen Saboteurs
You can do everything right—proper prep, quality stain, even application—but if the weather is wrong, the finish will fail. In deck staining best practices part 4, we treat climate as a variable you can control.
Ideal Conditions:
- Air temperature: 60°F–80°F
- Surface temperature: Below 90°F (use a laser thermometer)
- Humidity: 40%–60%
- Wind: Below 10 mph
- No rain for 24 hours before and 48 hours after
Problems Outside This Range:
- Too hot: Stain dries before it can penetrate, leading to peeling.
- Too cold: Stain thickens, won't absorb, and may develop a cloudy finish.
- Too humid: Water-based stains trap moisture, causing blushing.
- Too windy: Overspray and rapid drying create uneven texture.
A 2023 study by the Forest Products Laboratory confirms that surface temperature above 100°F reduces stain adhesion by up to 40%. I've seen deck finishes fail within six months because the homeowner applied stain in direct afternoon sun. Always work on the shady side of the house, or start early in the morning.
For those in the Bay Area, remember our microclimates: the fog belt requires different timing than the East Bay heat. Check your specific city forecast, not just the region.
See our Custom Painting Best Practices Part 4: Advanced Techniques for a Flawless Finish for professional tips on working with varying conditions.
Common Mistakes and How to Avoid Them
Even experienced painters make errors. Here are the top five I see frequently, along with solutions:
1. Skipping Back-Brushing
Spraying alone leaves thin spots and misses. Always back-brush each section immediately. It adds 20% to the time but doubles the lifespan.
2. Applying Too Thickly
Thick coats look tempting but become brittle. Thin to moderate coats allow the wood to breathe and flex with temperature changes.
3. Ignoring End Grain
The cut ends of deck boards absorb stain like a sponge. Apply a second coat to end grains to prevent moisture intrusion and rot.
4. Working in Direct Sun
As mentioned, this causes flash drying. Use shade tents or work in early morning/late afternoon.
5. Not Stirring Enough
Pigments settle. Stir thoroughly before and during application. Use a mechanical mixer for consistency.
💡
Key Takeaway
Most deck stain failures are preventable. Attention to these details turns a two-year finish into a five-year finish.

For investment insights, read Why California Bay Area Painting to understand the value of a professional finish.
How World Pro Painting Ensures a Flawless Finish Every Time
At World Pro Painting, we've refined our process over thousands of projects across 42 Bay Area cities. Our deck staining protocol includes: precise weather monitoring with on-site tools, exclusive use of Sherwin-Williams and Benjamin Moore stains, and a 6-step QA check after each coat. We back every project with a 6-Year Guarantee—one of the longest in California. When you hire us, you're not paying for paint; you're paying for the expertise that makes it last.
We serve Fremont, Pleasanton, San Ramon, and all of Alameda and Contra Costa counties. From small residential decks to large HOA common areas, we handle it with the same obsessive attention to detail.
Learn more about our process at our comprehensive deck staining guide or visit our contact page.
How to Apply Deck Stain Like a Pro: A Step-by-Step Guide
Follow this practical step-by-step guide to apply deck stain using the techniques from deck staining best practices part 4.
- Check the Weather: Ensure a 48-hour window with temperatures 60°F–80°F, humidity 40%–60%, no rain, and low wind.
- Prepare the Deck: Ensure surfaces are clean, dry, and sanded. Remove all dust with a tack cloth.
- Stir the Stain Thoroughly: Use a mechanical mixer on a low speed to incorporate settled pigments without introducing air bubbles.
- Start with Edges: Use a 4-inch brush to cut in along railings, posts, and house walls.
- Apply to Deck Boards: Work in 2–3 board sections. Apply stain with a roller or sprayer, keeping a wet edge.
- Back-Brush Immediately: After applying to a section, use a brush to work the stain into the wood and ensure even coverage.
- Check for Puddles: Spread any pooled stain immediately to prevent uneven drying.
- Allow Dry Time: Follow manufacturer's instructions—typically 4–6 hours for water-based, 24 hours for oil-based.
- Apply Second Coat (if needed): For solid stains or high-traffic areas, apply a second coat after the first is fully dry.
- Inspect and Touch Up: After drying, inspect for missed spots or thin areas and touch up as needed.
For more detailed preparation techniques, see our Exterior Painting Cupertino, CA: Complete Homeowner Guide for related surface prep advice.
Frequently Asked Questions
How long does deck stain typically last before needing reapplication?
Depending on stain type, climate, and foot traffic, deck stain lasts 2–5 years. Transparent stains may need reapplication every 1–2 years, while solid stains can last 3–5 years. Semi-transparent falls in between. In the Bay Area's mild climate, you can expect 3–4 years with proper application. Using high-quality products and following best practices from deck staining best practices part 4 can extend this. At World Pro Painting, our finishes often outlast competitors' due to our meticulous prep and application.
Can I apply stain over old stain without stripping?
Yes, if the old stain is in good condition (adhering well, no peeling). Lightly clean and sand to provide a profile for the new stain. If the old stain is peeling or worn through, complete stripping is necessary. A simple test: apply water—if it beads, the surface is still sealed and may not accept new stain well. In such cases, use a stain stripper or consult a professional. For best results, follow the steps in deck staining best practices part 4.
What is the difference between oil-based and water-based deck stains?
Oil-based stains penetrate deeper, enhancing the wood grain, and are more durable in high-traffic areas. They take longer to dry (24+ hours) and require mineral spirits for cleanup. Water-based stains are easier to apply, dry faster (4–6 hours), and have lower VOCs. They form a more surface-level film, so they may not penetrate as deeply. For redwood or cedar, oil-based often yields richer results. For speed and eco-friendliness, water-based is preferred. Both can be applied using the techniques in this guide.
How do I protect my deck from sun damage after staining?
Stain itself provides UV protection, but regular maintenance extends the finish. Use UV-resistant stains (often labeled as containing UV blockers). Reapply a top coat of clear UV-protective sealant every 2–3 years. Additionally, use outdoor rugs, furniture pads, and shade structures to reduce direct exposure. In high-sun areas like the East Bay, consider a solid stain for maximum protection. Our Deck Staining Best Practices Part 1 covers UV protection in depth.
Should I stain the underside of my deck boards?
Yes, if the underside is visible or if moisture is a concern. Staining the underside prevents warping and rot from ground moisture and makes the deck look finished from below. Use a sprayer or roller for ease. However, if the underside is completely enclosed and dry, it may not be necessary. For optimal protection, treat all exposed wood. This is a mark of a professional finish, as noted in deck staining best practices part 4.
For more answers, see our Ultimate Guide to Deck Staining in the Bay Area.
Reference Sources
For deeper context on this topic, these sources provide additional authoritative perspectives:
- Wikipedia — general knowledge reference
- GitHub — development and technology documentation
- The New York Times — news and journalistic updates
These references help establish a complete view of the subject matter.
Conclusion
In deck staining best practices part 4, we've covered the critical final steps: choosing the right tools, respecting weather conditions, and avoiding common mistakes. The difference between a finish that lasts three years and one that lasts ten is in the details—temperature monitoring, back-brushing, and proper coat thickness. I've seen it firsthand with hundreds of decks across the Bay Area.
Whether you're a DIY enthusiast or hiring a professional, these guidelines will help you achieve a durable, beautiful deck. And if you want guaranteed results without the hassle, World Pro Painting is here to help. We bring decades of experience, premium materials, and a 6-Year Guarantee to every project.
Ready to transform your deck? Schedule your free on-site estimate at worldpropainting.com today.
Return to our main guide for more resources: Ultimate Guide to Deck Staining in the Bay Area.
About the Author
World Pro Team is the Painting Experts at World Pro Painting. With years of experience servicing over 42 cities in the California Bay Area, they specialize in high-end residential and commercial painting, including expert deck staining that stands up to local microclimates.
Commercial Painting Cost Calculator & Color Guide
Get an instant estimation checklist for painting your office, warehouse, or house. Learn how to choose colors that boost productivity.