

📖This article is part of the complete guide to Interior House Painters.
How to Successfully Manage a Professional Interior Painting Project
Peeling paint and outdated colors aren't just aesthetic failures; they are often signs of substrate degradation that can lower a home's valuation. To execute a high-end interior transformation, you must move beyond simply picking a color and focus on the systemic preparation of the surface. When homeowners search for everything about interior house painters, they are usually looking for a roadmap to avoid the common pitfalls of "cheap" paint jobs that bubble or flake within two years. The secret to a professional finish lies in the 80/20 rule: 80% of the effort must be spent on preparation, and only 20% on the actual application of paint.
For those managing larger properties or complexes, understanding the logistics of scale is vital. For instance, coordinating Multi-Family Painters in Weibel - Fremont, CA requires a different approach to scheduling and paint consistency than a single-family home. The process starts with a comprehensive surface analysis, followed by mechanical cleaning, priming, and the application of premium-grade coatings.
What Does a Professional Interior Painting Process Actually Entail?
A professional interior project is a technical operation, not just a cosmetic one. It involves the strategic application of chemical bonds to a substrate to ensure longevity and a smooth, gallery-grade finish. Most homeowners mistake "painting" for the act of rolling paint on a wall, but the actual craft is centered on surface chemistry and geometry.
📚
Definition
Substrate is the underlying surface (drywall, plaster, wood, or masonry) that is being coated. The compatibility between the substrate and the paint chemistry determines whether the finish will adhere or peel.
In my experience working with Victorian-era homes in San Francisco and modern builds in San Jose, the most common failure is the omission of a dedicated primer. Many "paint-and-primer-in-one" products are insufficient for high-stain areas or drastic color changes. According to the Painting Contractors Association (PCA), proper surface preparation—including the removal of gloss and the filling of imperfections—is the single most important factor in the lifespan of a coating. Without this, you are essentially applying a decorative layer over a flawed foundation.
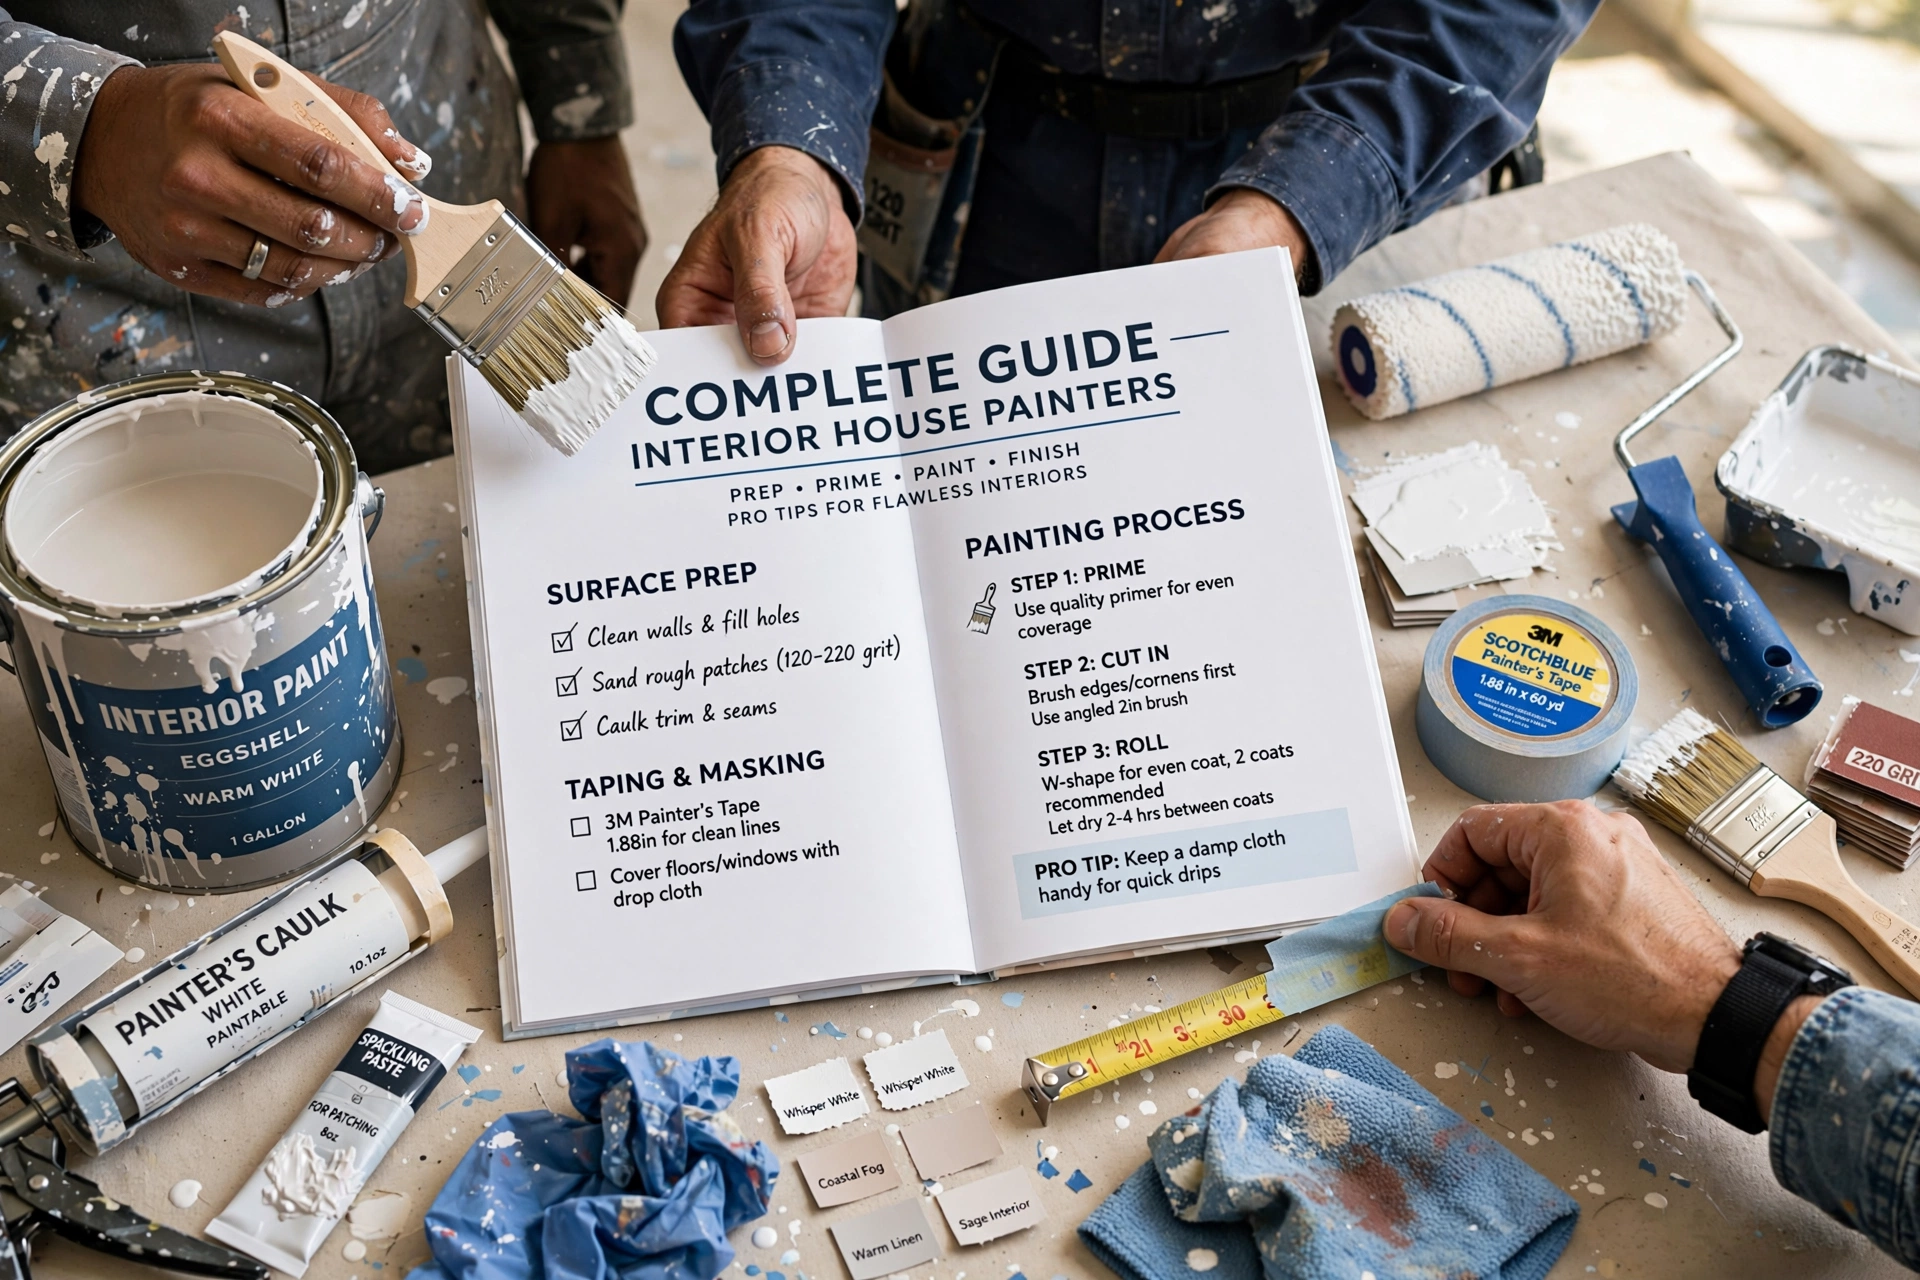
A professional approach involves a 5-step sequence: power cleaning or sanding, patching/caulking, priming, cutting-in, and rolling. If you are managing a larger renovation, you might find that How to Use California Bay Area Painting services can streamline this process by providing the necessary crew size to maintain a tight timeline without sacrificing the curing time between coats.

Why Does Professional Interior Painting Impact Home Value and Health?
Investing in a professional interior paint job is a financial decision as much as a design choice. The quality of the finish directly correlates to the perceived value of the property during a walkthrough. A crisp, clean line at the ceiling and a flawless sheen on the trim signal to a buyer that the home has been meticulously maintained.
Beyond aesthetics, the chemistry of the paint affects indoor air quality. Modern professional painters prioritize Low-VOC (Volatile Organic Compounds) paints to protect the health of the inhabitants. According to the Environmental Protection Agency (EPA), especially in older Bay Area homes, the risk of disturbing lead-based paint during interior sanding is a serious health hazard. Professional contractors are trained in RRP (Renovation, Repair, and Painting) rules to ensure that toxic dust does not contaminate the living space.
From a financial perspective, the ROI on interior painting is one of the highest in home improvement. Data suggests that a fresh, neutral palette can increase a home's listing price by 2% to 5% in competitive markets like the California Bay Area. The cost of a professional job is offset by the fact that it typically lasts 7 to 10 years, whereas a DIY job using low-grade materials often requires a refresh every 3 years. This longevity is achieved through the use of industrial-grade materials from brands like Sherwin-Williams or Benjamin Moore, which offer superior hide and scrubbability.
Practical Application: The Step-by-Step Guide to a Flawless Interior
If you want a result that mimics a luxury hotel or a high-end gallery, you must follow a strict operational sequence. Here is exactly how a professional project is executed at World Pro Painting.
Step 1: Environment Control and Protection
The first step isn't painting; it's protection. We move furniture to the center of the room and cover it with plastic sheeting. Floors are protected with heavy-duty drop cloths. We use "painter's tape" not just for edges, but to protect light switches and outlets. This phase prevents the "collateral damage" often seen in low-budget paint jobs.
Step 2: Surface Remediation
We inspect every square inch for cracks, nail pops, and dents. We use a high-grade spackle or joint compound to fill holes, followed by a precision sand. If there is peeling paint, we scrape it back to the stable layer. This is where the "magic" happens; the smoothness of the final wall is decided here.
Step 3: Priming and Sealing
We apply a primer specifically chosen for the substrate. For example, we use oil-based primers for blocking tannins in wood or high-hide acrylic primers for covering dark colors. Priming seals the porosity of the drywall, ensuring that the topcoat is absorbed evenly and doesn't leave "flashing" marks.
Step 4: The "Cut-In" Phase
Using a precision angled brush, we paint the edges where the wall meets the ceiling, baseboards, and corners. This requires a steady hand and high-quality brushes. Cutting in first allows the roller to overlap the edges, hiding any brush marks and creating a seamless transition.
Step 5: The Roll-Out
We apply the paint using a medium-nap roller, working in "W" or "N" patterns to ensure even distribution. We avoid "over-rolling," which can create lap marks. Two coats are mandatory—the first for coverage and the second for depth and uniformity.
💡
Key Takeaway
Never skip the sanding phase between the first and second coat of trim paint. A light "scuff sand" removes microscopic bumps, resulting in a finish that feels like glass to the touch.
For those managing larger residential portfolios, such as those requiring Multi-Family Painters Brookvale - Fremont, CA, this process is replicated across units to ensure a standardized look and feel throughout the property.
Comparing Interior Painting Approaches: DIY vs. Budget vs. Professional
Many homeowners struggle to decide whether to tackle the project themselves or hire a contractor. The difference isn't just in the toolset, but in the outcome and the duration of the result.
| Feature | DIY Approach | Budget Contractor | World Pro Painting Approach |
|---|---|---|---|
| Surface Prep | Basic cleaning, minimal patching | Quick filling, no sanding | Full remediation, sanding, & priming |
| Material Quality | Consumer-grade (Big Box) | Mid-grade acrylics | Premium Low-VOC (Sherwin-Williams/BM) |
| Edge Precision | Visible brush marks/overlaps | Moderate "cut-in" quality | Laser-straight, gallery-grade lines |
| Durability | 2-4 years before fading | 4-6 years | 7-10 years with guarantee |
| Cleanliness | High risk of spills/splatters | Basic drop cloths | Full site containment & protection |
| Best For | Small accent walls | Rental properties | High-value homes & commercial spaces |
Now, here's where it gets interesting: the "Budget Contractor" is often the most expensive option in the long run. Why? Because they typically skip the primer and the sanding. Within 24 months, the paint begins to peel at the edges, requiring a full strip and repaint. By choosing a professional standard, you are paying for the chemistry and the labor of preparation, which protects the asset.

Common Questions and Misconceptions about Interior Painting
Most guides get this wrong by focusing on "color trends" instead of "coating performance." Here are the most frequent myths debunked by professional data.
Myth 1: "One coat of high-quality paint is enough."
This is a marketing claim, not a technical reality. Even the most expensive paints have a specific "mil thickness" (the thickness of the wet film). A single coat leaves the substrate vulnerable and often results in "holidays"—tiny gaps in coverage that only become visible when the light hits the wall at an angle. Two coats are essential for a uniform refractive index, which is what gives a wall that professional "glow."
Myth 2: "Eggshell finish is always the best for every room."
This is a generalization. While eggshell is great for living rooms, it is often too glossy for ceilings (where it reveals every imperfection) and not durable enough for bathrooms. In my experience, we use semi-gloss for trim and baseboards because it can withstand the friction of vacuum cleaners and mopping. In bathrooms, we use a satin or semi-gloss finish to resist moisture and mildew.
Myth 3: "Painting over a dark color with a light color only takes one coat of white."
This is the fastest way to waste paint. Applying white over dark navy or charcoal often results in a "grayish" tint or streaks. The professional solution is to use a high-hide gray-tinted primer. This neutralizes the dark base and allows the final light color to "pop" with far fewer coats, saving time and material.
Myth 4: "The cheapest paint is the most cost-effective."
Actually, lower-cost paints have a lower solids-to-solvent ratio. This means they are "thinner" and require more coats to achieve the same opacity. When you calculate the cost per square foot of coverage, premium paints from Benjamin Moore are often cheaper because they provide superior coverage in fewer passes.
Frequently Asked Questions
How do I know if I need a professional interior painter or if I can do it myself?
The answer depends on the scale and the desired finish. If you are painting a small bedroom with a simple color change and are comfortable with basic masking, DIY is an option. However, if your project involves high ceilings, ornate crown molding, extensive drywall repair, or the need for a durable finish in high-traffic areas, a professional is necessary. Professionals bring industrial equipment—like high-reach ladders and airless sprayers—and a level of precision in "cutting-in" that is nearly impossible for an untrained eye to achieve. Furthermore, if you are dealing with an older home in the Bay Area, the risk of lead paint requires a certified professional to avoid EPA violations and health risks.
What is the difference between Flat, Eggshell, Satin, and Semi-Gloss finishes?
The "sheen" refers to how much light the paint reflects. Flat paint has no reflection and is ideal for ceilings or hiding wall imperfections, but it is difficult to clean. Eggshell has a slight glow and is the gold standard for living rooms and bedrooms. Satin is more durable and moisture-resistant, making it perfect for kitchens and bathrooms. Semi-Gloss is highly reflective and hard, designed specifically for trim and doors to resist scuffing and scrubbing. Choosing the wrong sheen can make a room feel "cold" or make a wall look "greasy" under artificial lighting.
Why is the preparation phase so long and expensive?
Preparation is where the actual quality of the job is determined. Filling a nail hole takes seconds, but sanding that hole to be perfectly flush with the wall, cleaning the dust, and applying a sealing primer takes time. If you skip this, the "bump" will be visible through the paint, especially in the Bay Area's bright sunlight. Professional prep ensures that the paint bonds chemically to the wall rather than just sitting on top of it. This prevents the peeling and cracking that plague low-budget jobs. At World Pro Painting, we spend more time on the sandpaper than the paintbrush.
How long does it actually take for interior paint to fully cure?
There is a critical difference between "dry to the touch" and "fully cured." Most acrylic paints are dry to the touch in 2 to 4 hours, which is why people think they can move furniture back immediately. However, the paint takes 21 to 30 days to fully cure—meaning the resins have completely hardened and reached their maximum durability. If you scrub a wall or lean heavy furniture against it too early, you will create "burnish marks" or permanent indentations. We always advise clients to be gentle with their walls for the first month after a project.
How do I choose the right colors for a Bay Area home?
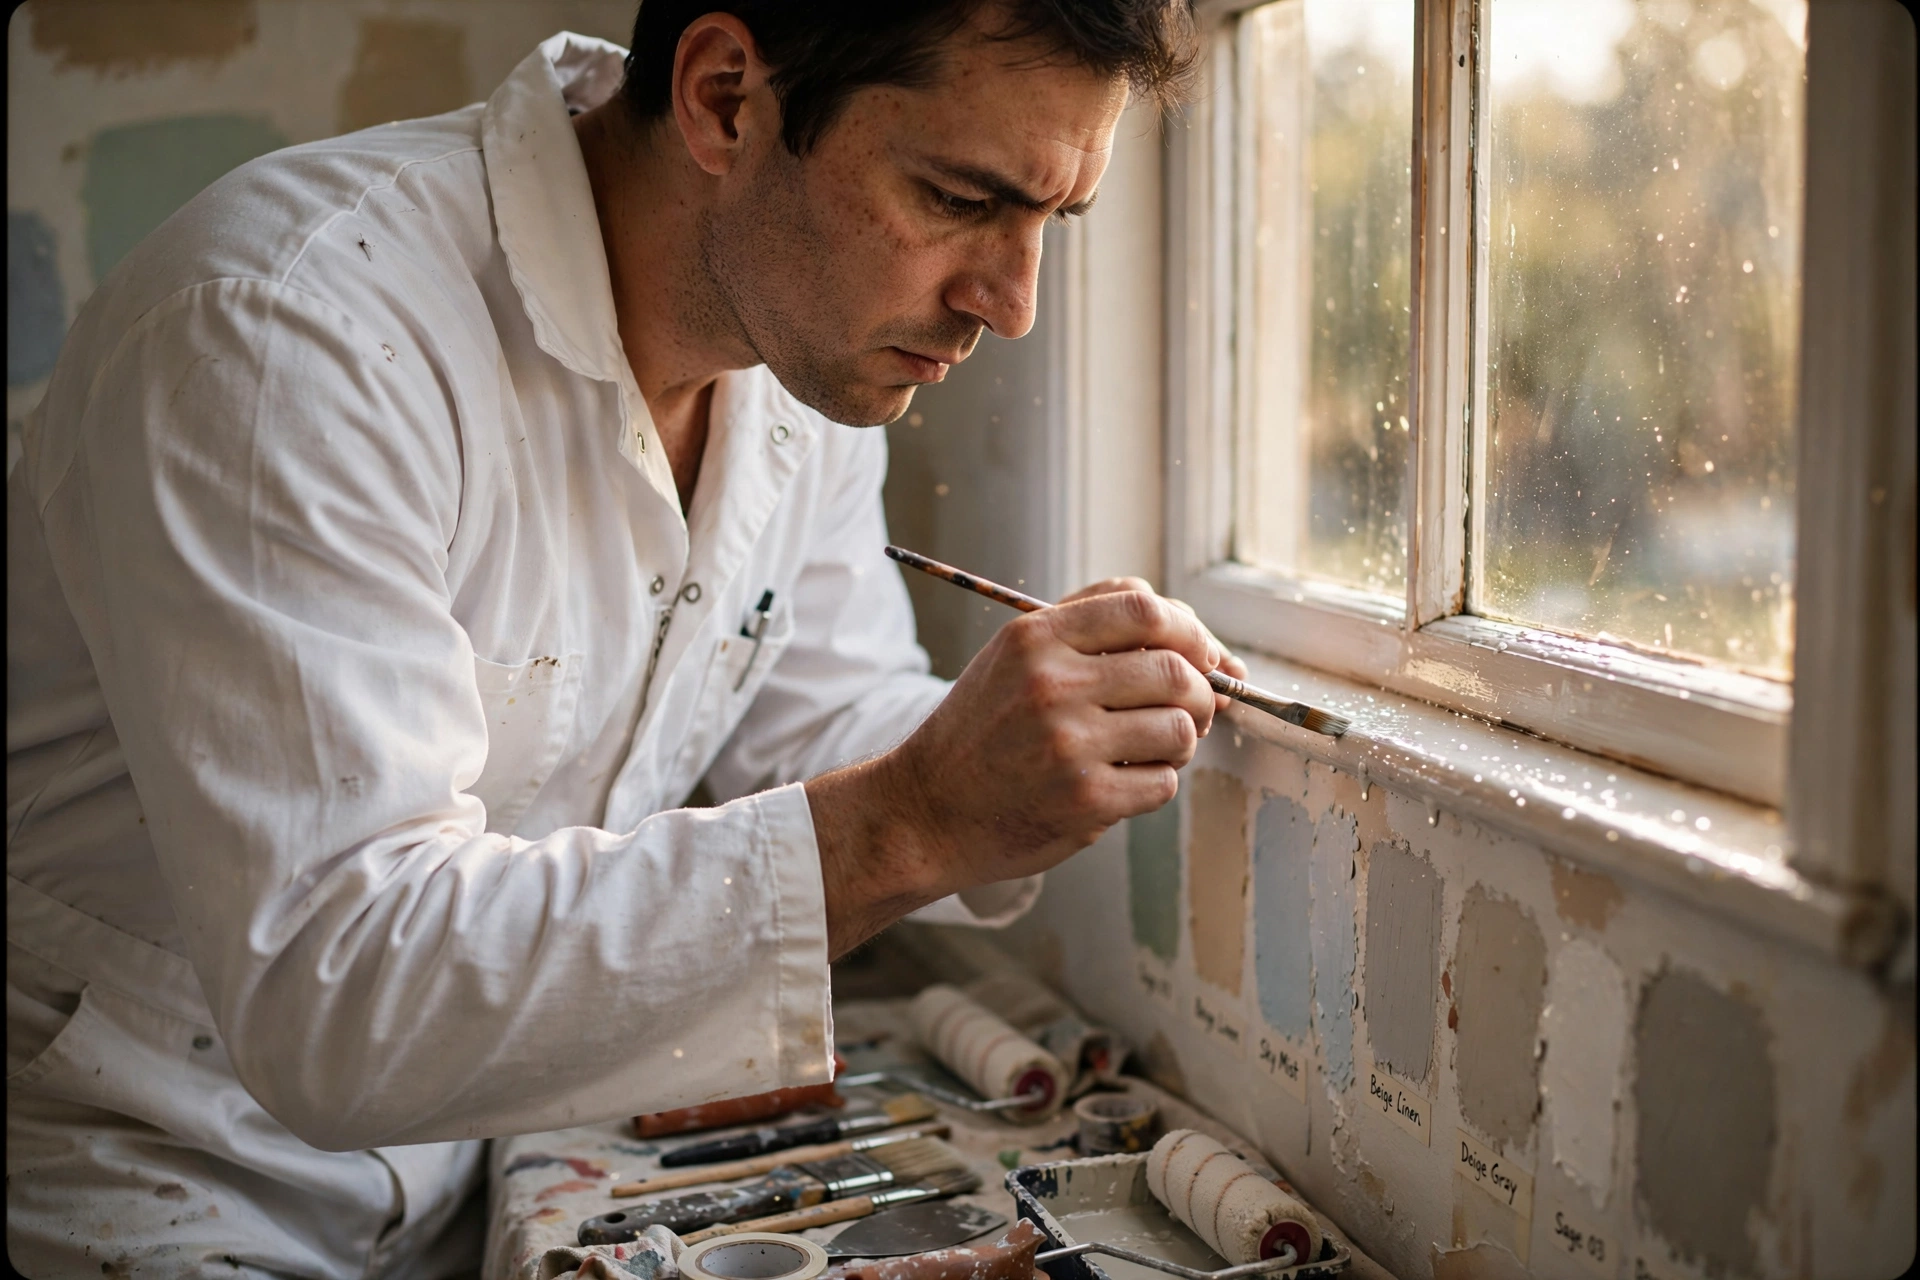
Lighting varies wildly across the California Bay Area. A color that looks perfect in the foggy morning light of San Francisco may look neon and overwhelming in the intense midday sun of Fremont or Livermore. The best approach is to use "swatch testing." We apply 2-foot by 2-foot samples on different walls of the room to see how the color shifts from 8:00 AM to 8:00 PM. We also consider the "temperature" of the room; cooler blues and greens work well in sunny rooms to create a sense of calm, while warmer taupes and creams can make a foggy, coastal room feel more inviting.
Final Thoughts on Interior House Painters
When you look for everything about interior house painters, the most important lesson is that you aren't paying for paint—you are paying for the precision of the application and the longevity of the result. A professional interior project is an investment in the home's envelope, protecting the drywall and enhancing the psychological feel of the space. By focusing on rigorous preparation, choosing the correct sheen for the environment, and utilizing low-VOC, premium materials, you ensure a finish that remains flawless for a decade.
Whether you are managing a single-family residence or coordinating Commercial Painting Cabrillo - Fremont, CA 2026, the standards of excellence remain the same: zero drips, razor-sharp lines, and a perfectly smooth surface. Don't let a "budget" paint job compromise the value of your property.
If you are ready to transform your space with a team that understands the chemistry of a perfect finish, contact World Pro Painting for a free on-site estimate. We serve over 42 cities across the Bay Area, providing a 6-year guarantee on our craftsmanship.
Visit us at worldpropainting.com to schedule your consultation and ensure your home receives the professional care it deserves.
Commercial Painting Cost Calculator & Color Guide
Get an instant estimation checklist for painting your office, warehouse, or house. Learn how to choose colors that boost productivity.