When it comes to achieving a flawless, long-lasting paint job, the difference between a mediocre result and an exceptional one often comes down to the details. In this installment of house painting best practices part 3, we dive deep into advanced techniques that professional painters use to ensure every project meets the highest standards. Whether you're a seasoned DIYer or a property manager overseeing a commercial repaint, these insights will help you avoid common pitfalls and achieve a finish that stands the test of time.
For comprehensive context, see our complete guide on house painting best practices part 3.

What Is House Painting Best Practices Part 3?
📚
Definition
House painting best practices part 3 refers to the third installment of a series covering advanced strategies for residential and commercial painting projects, focusing on surface preparation, material selection, application techniques, and quality control.
This guide builds on foundational knowledge and addresses the nuanced challenges that often arise during painting projects in the California Bay Area. From managing microclimate effects on paint adhesion to selecting the right sheen for high-moisture areas, house painting best practices part 3 equips you with the knowledge to make informed decisions. In my experience working with dozens of homeowners and HOA boards across Fremont and San Jose, the most common cause of premature paint failure is skipping the steps outlined here. According to the Paint Quality Institute, 85% of paint failures are attributed to inadequate surface preparation. This statistic underscores the importance of a methodical approach that many standard contractors overlook.
Why Advanced Preparation Matters
Many homeowners underestimate the importance of thorough surface preparation. In house painting best practices part 3, we emphasize that preparation is not just a step—it's the foundation of a durable finish. The Bay Area’s unique microclimates, from coastal fog in San Francisco to the dry heat of East Bay, impose different stresses on paint. A study by the Paint Quality Institute found that proper surface preparation can extend paint life by up to 10 years compared to minimal prep.
The 5-Step Preparation Process
- Power Washing: Remove dirt, mildew, and loose paint. For Bay Area homes, this is critical due to fog and coastal moisture. Use a pressure washer with a wide fan tip at 1500–2000 PSI.
- Scraping: Eliminate all flaking paint. Use a carbide scraper for stubborn areas and a wire brush for intricate details.
- Sanding: Smooth rough edges and feather the transition between bare wood and existing paint. Use 80–120 grit sandpaper for heavy work and 150–220 grit for finishing.
- Caulking: Seal gaps around windows, doors, and trim to prevent moisture intrusion. Use a high-quality acrylic latex caulk that remains flexible.
- Priming: Apply a high-quality primer to ensure adhesion and uniform color. For bare wood, use an oil-based primer; for previously painted surfaces, a water-based primer works well.
💡
Key Takeaway
Skipping any of these steps compromises the longevity of your paint job. Invest the time upfront to save on costly repaints later.
Benefits of a Thorough Prep
- Increased Paint Lifespan: Properly prepared surfaces can extend the life of your paint by 5–10 years.
- Better Adhesion: Reduces the risk of peeling and blistering, especially in humid areas like bathrooms and kitchens.
- Smoother Finish: Eliminates imperfections that show through paint, such as bumps, nail pops, and old patch marks.
For more on the value of quality work, check out our article on Cabinet Refinishing Best Practices Part 3 which delves into similar techniques for cabinetry.
How to Choose the Right Paint for Your Project
Selecting the right paint is as important as proper preparation. House painting best practices part 3 advises using only premium brands like Sherwin-Williams or Benjamin Moore. These paints offer superior coverage, durability, and color retention. A Consumer Reports study in 2024 rated Sherwin-Williams Duration and Benjamin Moore Regal Select as top performers for both interior and exterior use. Low-VOC options from these brands also meet California’s strict air quality standards and improve indoor air quality.
Factors to Consider
- Sheen: Flat or matte for low-traffic areas; satin or semi-gloss for kitchens, bathrooms, and trim. High-gloss for doors and cabinets.
- Finish: Eggshell is popular for living rooms; semi-gloss for high-moisture areas.
- Eco-Friendly Options: Low-VOC paints are safer for families and comply with California’s VOC limits. They also reduce odor during application.
Paint Comparison Table
| Paint Sheen | Best Use | Durability | Cleanability |
|---|---|---|---|
| Flat/Matte | Ceilings, low-traffic walls | Low | Difficult |
| Eggshell | Living rooms, bedrooms | Medium | Moderate |
| Satin | Kitchens, bathrooms, hallways | High | Easy |
| Semi-Gloss | Trim, doors, cabinets | Very High | Very Easy |
| High-Gloss | Accent features, furniture | Excellent | Very Easy |
By investing in top-tier materials, you ensure that your paint job not only looks fantastic but also withstands the Bay Area's unique weather conditions. For more on paint selection, see our guide on Custom Painting Best Practices Part 4, which covers advanced color theory and material selection.
Advanced Application Techniques
Even with the best preparation and paint, poor application can ruin the outcome. Here are advanced techniques that set pros apart.
Brushing and Rolling
- Brushing: Use a high-quality angled brush for cutting in. Load the brush about 1/3 of the way and tap off excess. For smooth lines, use a 2–2.5 inch brush with synthetic bristles for latex paints.
- Rolling: Use a roller with the correct nap (3/8" for smooth walls, 1/2" for textured). Apply paint in a "W" pattern to ensure even coverage, then fill in without lifting the roller.
Spraying
For large areas or intricate surfaces, spraying offers a uniform finish. However, it requires masking and proper ventilation. In my experience, spraying exteriors in the Bay Area is best done on calm, dry days to avoid overspray drift. Use an airless sprayer with a .015–.021 tip for most paints. Always back-roll after spraying to ensure adhesion.
Common Mistakes to Avoid
- Overloading the brush or roller: Leads to drips and runs.
- Rushing between coats: Allow adequate drying time (4 hours minimum for latex, 24 hours ideal).
- Inconsistent pressure: Causes lap marks. Maintain a wet edge by working from top to bottom and left to right.
For a deeper dive on application techniques for specific surfaces, see our Ultimate Guide to Cabinet Refinishing in the Bay Area.
House Painting Best Practices Part 3 vs. Standard Approaches
| Aspect | Standard Approach | Best Practices Part 3 |
|---|---|---|
| Surface Prep | Minimal scraping and priming | Exhaustive 5-step process |
| Paint Quality | Mid-range brands | Premium Sherwin-Williams or Benjamin Moore |
| Application | Quick, one-coat methods | Multiple thin coats with proper drying |
| Guarantee | 1–3 years | Up to 6 years |
| Cleanup | Left to homeowner | Daily cleanup, zero mess |
The differences are stark. By following house painting best practices part 3, you ensure a result that outlasts standard approaches by years.
Best Practices for a Flawless Finish
Here are actionable tips to elevate your painting project:
- Test Colors in Situ: Lighting changes throughout the day; paint a 2x2 foot swatch and observe at different times. Natural light, artificial light, and shadows all affect perception.
- Maintain a Wet Edge: Work from top to bottom, left to right, to avoid lap marks. This is crucial with fast-drying paints.
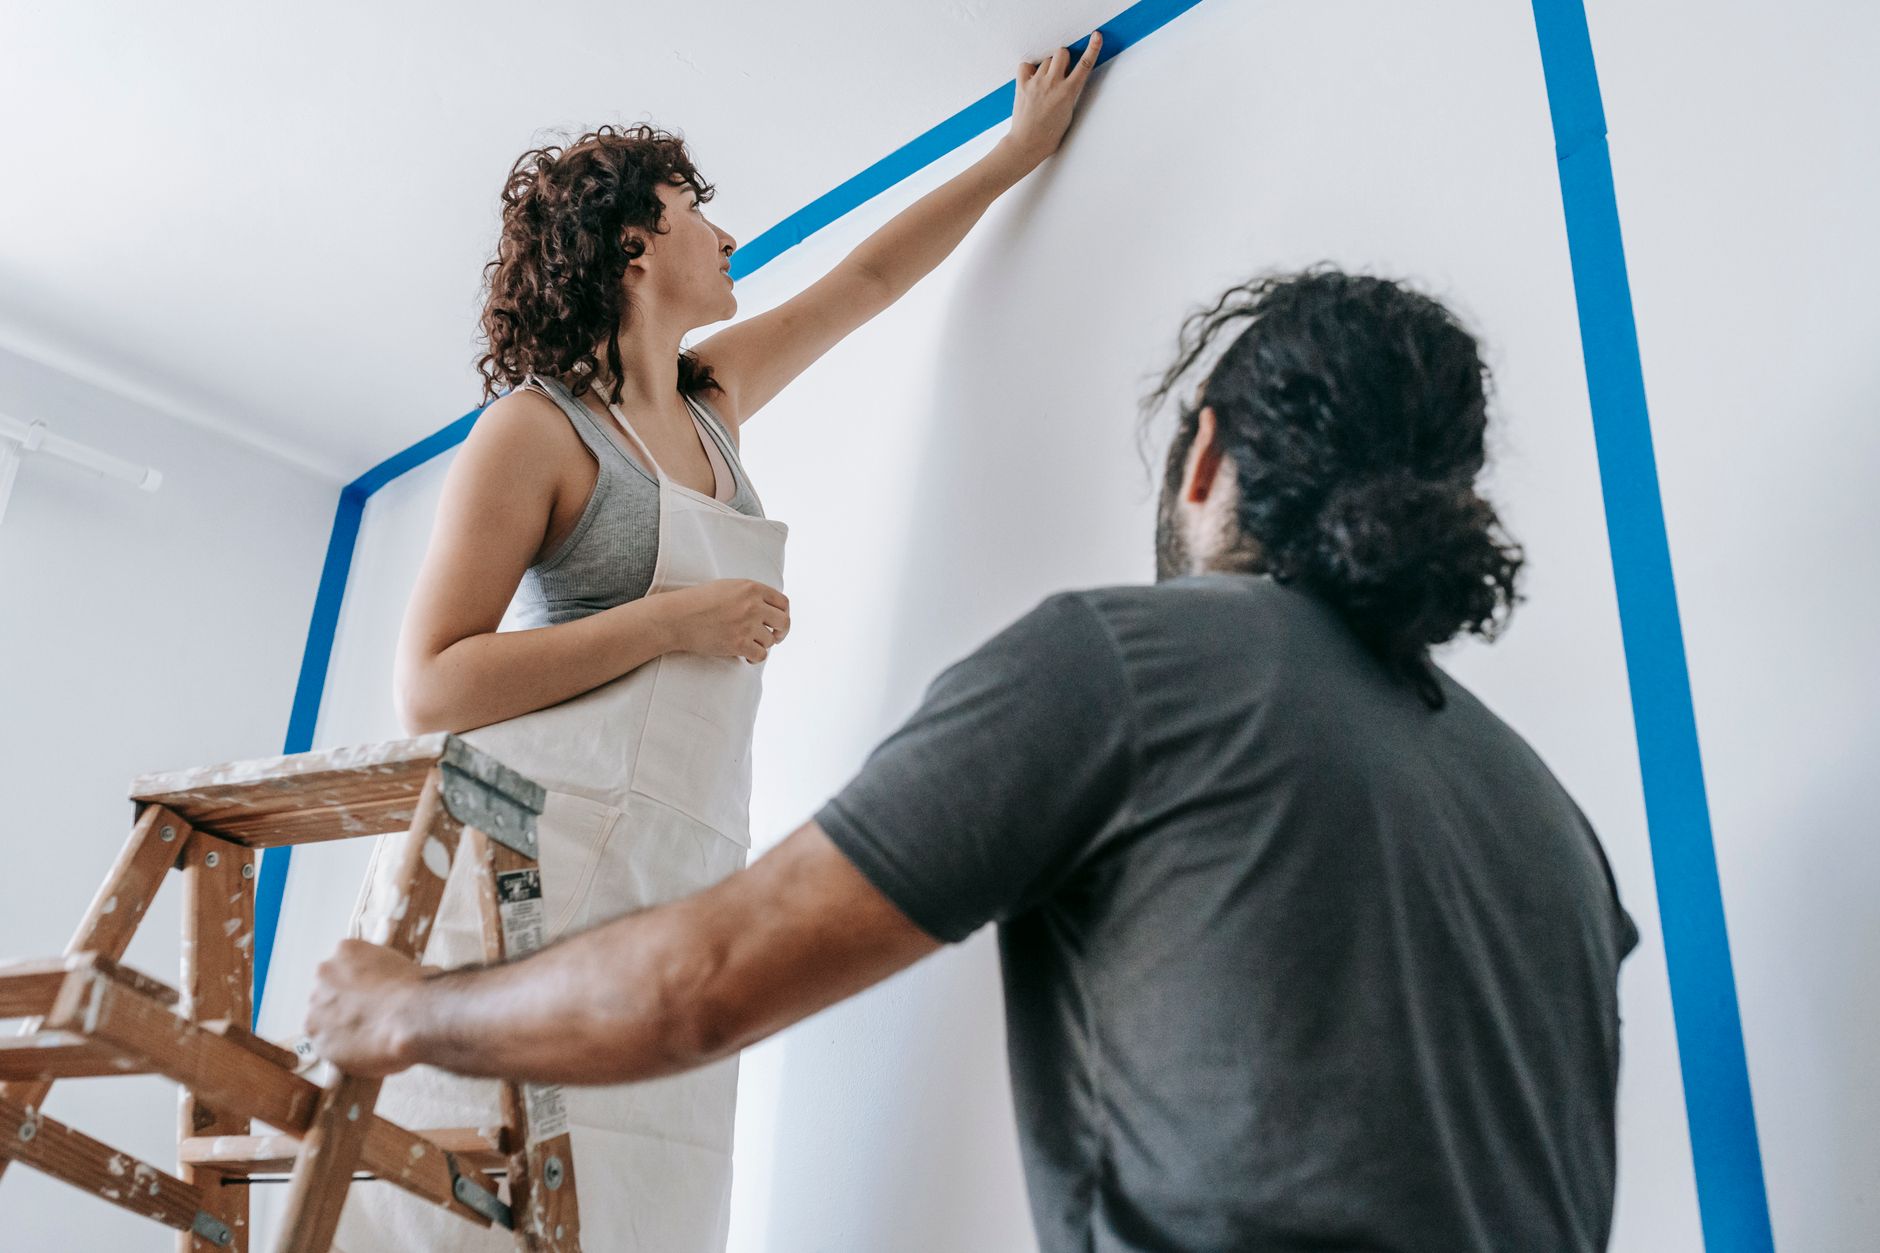
- Use Painter's Tape Carefully: Remove it while the paint is still slightly wet for crisp lines. For delicate surfaces, use low-adhesion tape.
- Control Temperature and Humidity: Ideal conditions are 60–75°F and below 50% humidity. Use dehumidifiers or fans if needed.
- Inspect Under Different Lighting: Use a flashlight to spot missed areas or imperfections. This helps catch flaws before the paint dries.
💡
Key Takeaway
Attention to these details transforms a good paint job into an exceptional one. Don't cut corners.
For more advanced strategies, read our article on Exterior Painting in Cupertino, CA: Complete Homeowner Guide which applies these principles to exterior projects.
Frequently Asked Questions
Question 1: How long should I wait between coats of paint?
Waiting times depend on the paint type, temperature, and humidity. For water-based (latex) paints, at least 4 hours is recommended, but 24 hours is ideal to ensure full cure. Oil-based paints require longer—usually 24 hours between coats. In the Bay Area's foggy conditions, allow extra time for proper drying to prevent adhesion issues. Always check the manufacturer's label for specific recoat times. Using a fan or dehumidifier can speed up drying in humid conditions.
Question 2: Can I paint over old paint without priming?
Yes, but only if the existing paint is in excellent condition (no peeling, chalking, or staining). However, for best results, especially when changing colors drastically or painting over glossy surfaces, always use a primer. Primer ensures uniform absorption and enhances color richness. It also blocks stains and prevents tannins from bleeding through. Our house painting best practices part 3 always includes priming as a non-negotiable step.
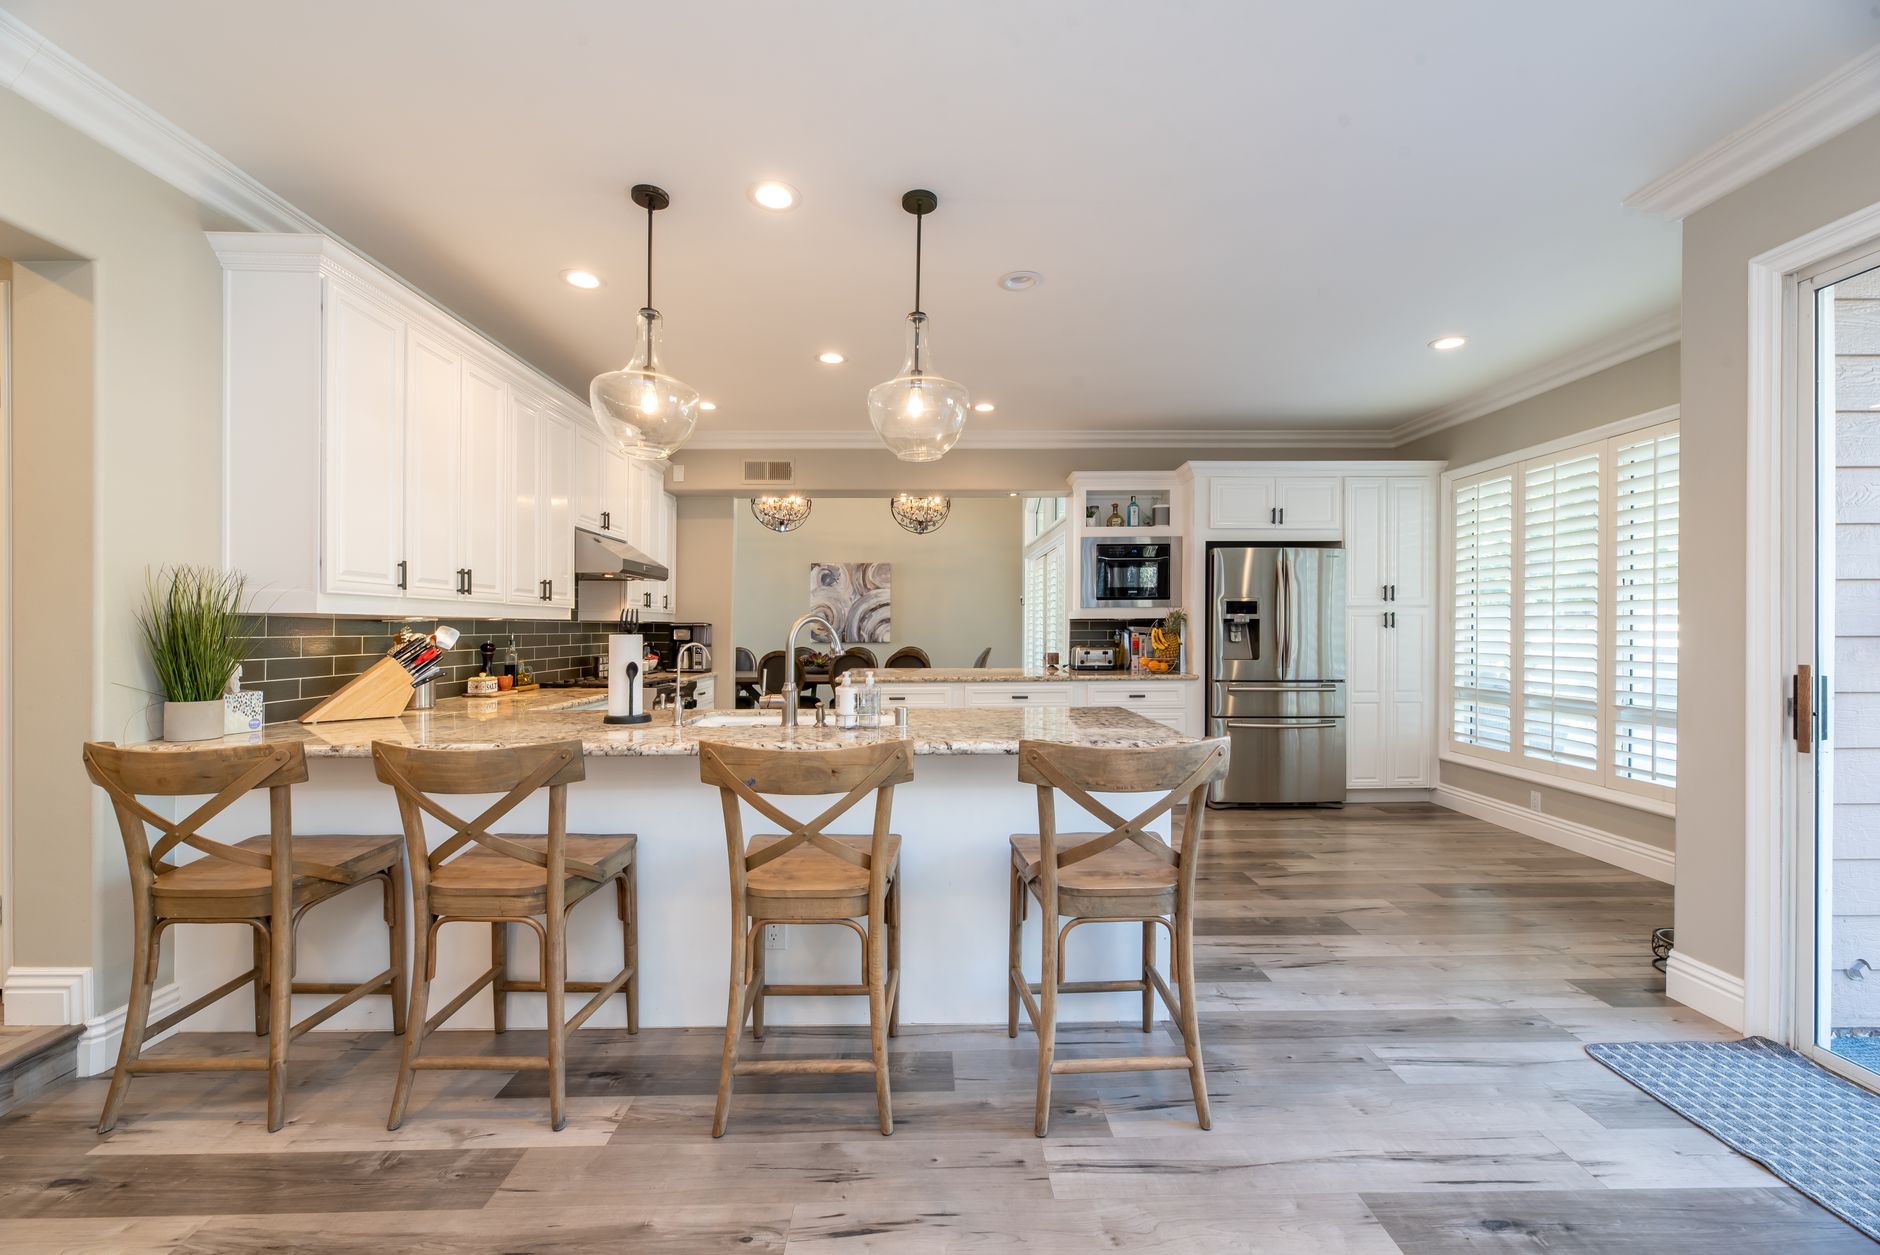
Question 3: What is the best paint finish for a kitchen?
Satin or semi-gloss finishes are ideal for kitchens because they are easy to clean and resist moisture, grease, and stains. Flat finishes are not recommended as they absorb grime and are difficult to wipe. For cabinets, a semi-gloss or high-gloss paint offers durability and a sleek look. Many homeowners in the Bay Area choose semi-gloss for both walls and cabinets to create a cohesive, modern aesthetic.
Question 4: How do I prevent brush marks on trim?
Use a high-quality brush with synthetic bristles for water-based paints. Apply paint in thin, even coats and avoid over-brushing. Let the brush do the work—don't press too hard. For an ultra-smooth finish, consider using a foam brush or spraying the trim. Light sanding between coats with 220 grit sandpaper also helps eliminate brush marks. Additionally, using a paint conditioner like Floetrol can improve leveling and reduce brush marks.
Question 5: Is it necessary to power wash before painting exterior?
Yes, especially in the Bay Area where mildew, salt spray, and pollution accumulate on surfaces. Power washing removes contaminants that prevent paint adhesion. Use a pressure washer with a wide tip and keep the nozzle at least 12 inches from the surface to avoid damage. Allow the surface to dry completely before painting—typically 24–48 hours depending on weather. Skipping this step can lead to peeling within months.
Conclusion
House painting best practices part 3 offers a roadmap to achieving professional-quality results that last. From thorough surface preparation to selecting premium materials and employing advanced application techniques, every step matters. Whether you're tackling a DIY project or managing a commercial property, following these guidelines will save you time, money, and frustration.
For a free, no-obligation estimate and expert execution of these best practices, visit World Pro Painting. Our licensed, bonded team serves 42 cities across the Bay Area with a 6-Year Guarantee. Let us transform your home or business with precision and care. Schedule your free on-site estimate today!
About the Author
World Pro Team is the founder and painting expert at World Pro Painting. With over a decade of experience serving 42 cities in the Bay Area, they specialize in high-end residential and commercial painting using premium materials and advanced techniques.
Commercial Painting Cost Calculator & Color Guide
Get an instant estimation checklist for painting your office, warehouse, or house. Learn how to choose colors that boost productivity.