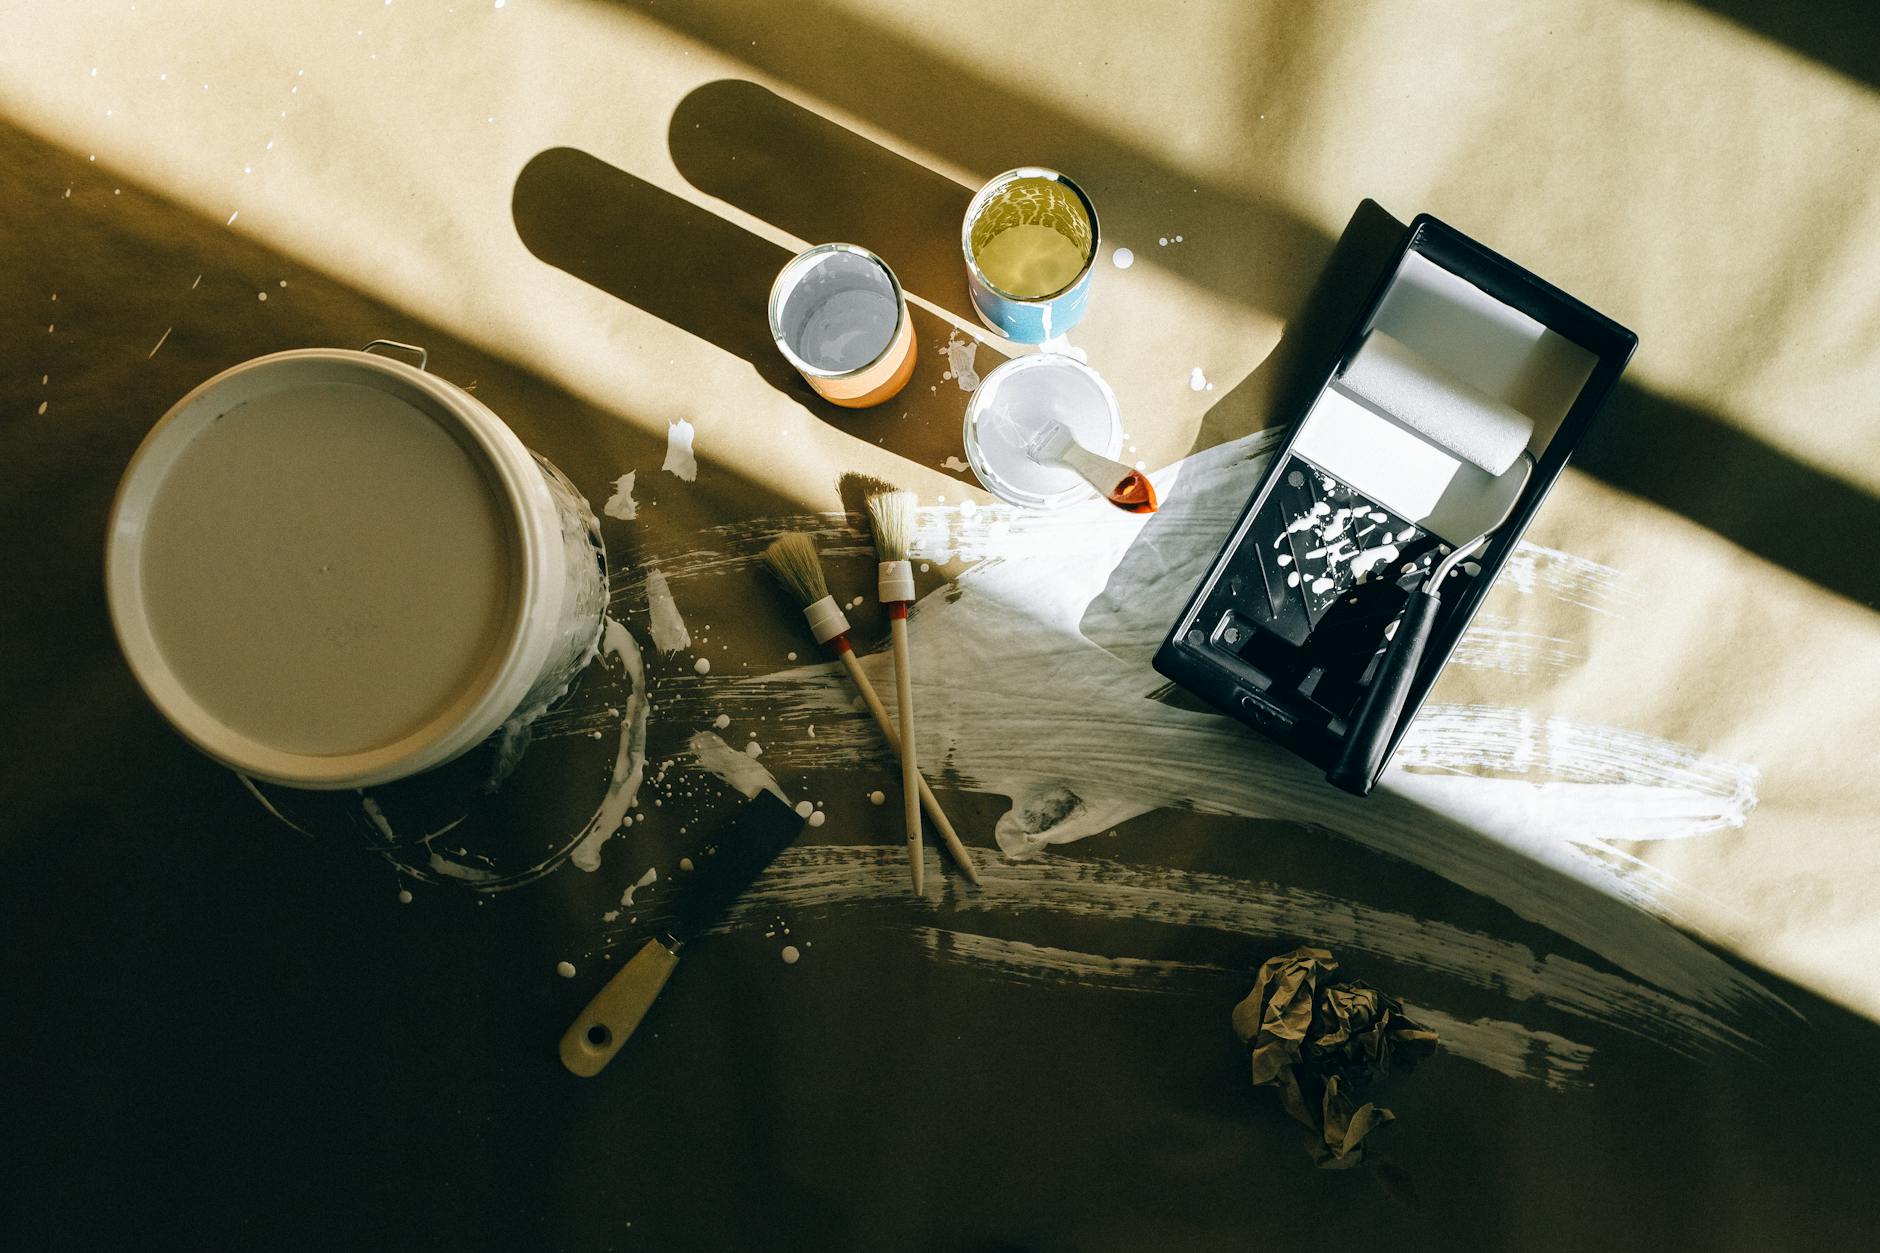
House painting is more than just rolling paint onto a wall. It's a craft that demands patience, the right tools, and an understanding of how each step contributes to the final result. In this article — house painting best practices part 4 — we focus on the advanced techniques that separate amateur jobs from professional-grade finishes. Whether you're a DIY enthusiast looking to up your game or a homeowner overseeing a project, these insights will help you achieve a flawless outcome that lasts.
For a comprehensive overview of the entire house painting process, check out our guide on the
best California Bay Area painting: How to Choose the Right Pro for Your Home.
What Are House Painting Best Practices Part 4?
Definition: House painting best practices part 4 refers to the set of advanced techniques and considerations that apply to the final stages of a painting project — including precise trim cutting, proper roller technique, paint selection for specific surfaces, and finishing touches that ensure durability and aesthetic excellence.
While earlier phases of house painting cover surface preparation, priming, and basic application, part 4 dives into the details that make the difference between a good paint job and a great one. These practices are the culmination of years of professional experience and are essential for anyone who wants their painted surfaces to look uniform, last longer, and resist common issues like brush marks, lap marks, and uneven coverage.
💡Key Takeaway
The difference between a professional finish and a DIY look often comes down to the techniques used in the final coat — proper brush handling, roller loading, and paint conditioning.
Why These Best Practices Matter
In my experience working with hundreds of homeowners across the Bay Area, I've seen recurring problems that could have been avoided with a few simple adjustments. Here's why mastering these final techniques is critical:
1. Eliminates Brush and Roller Marks
Brush marks and stippling from rollers are the most common signs of an amateur paint job. According to a 2025 study by the Paint Quality Institute, improper application technique accounts for nearly 60% of callbacks in residential painting. Using the right brush angle and consistent pressure eliminates these imperfections.
2. Maximizes Paint Durability
A flawless finish isn't just about looks — it's about longevity. When paint is applied correctly, it adheres uniformly, reducing the risk of peeling, cracking, or blistering. The Sherwin-Williams 2024 Durability Report found that correctly applied paint lasts up to 40% longer than poorly applied coats.
3. Enhances Aesthetic Appeal
Smooth, even coverage enhances the architectural features of your home. Light reflects evenly off perfectly painted walls, making rooms appear larger and more inviting.
4. Saves Time and Money
Getting it right the first time eliminates the need for touch-ups and additional coats. This is especially important for large areas and high ceilings where rework is costly.
💡Key Takeaway
Investing time in learning proper technique pays off in both appearance and longevity. For more on the value of quality work, read our piece on the investment in California Bay Area painting.
How to Execute House Painting Best Practices Part 4
Step 1: Master the Cut-In
Cutting in is the technique of painting edges and corners with a brush before using a roller. For a professional look:
- Use a high-quality 2.5-inch angled sash brush with synthetic bristles (for water-based paints) or natural bristles (for oil-based).
- Load the brush by dipping it about one-third into the paint, then tap off excess on the inside of the bucket.
- Hold the brush at a 45-degree angle and use a steady, smooth motion. Start about an inch from the edge, then push toward the cut line.
- Work in 3- to 4-foot sections. This keeps the paint wet and avoids visible start/stop marks.
Step 2: Perfect Your Roller Technique
Rolling seems straightforward, but most DIYers make two critical mistakes: overloading the roller and using the wrong nap length.
- Nap selection: Use a 1/2-inch or 3/8-inch microfiber roller for smooth walls; 3/4-inch for textured surfaces. A 2023 Consumer Reports test found that microfiber rollers reduce splatter by 30% compared to traditional lamb's wool.
- Loading: Dip the roller into the paint tray, then roll it back and forth on the ramp until it's evenly saturated but not dripping. The roller should feel heavy but not wet.
- Application: Apply paint in a "W" pattern, then fill in without lifting the roller. This distributes paint evenly and prevents lap marks.
- Finish each section while wet: Maintain a wet edge by overlapping roller strokes into the previous section. Work in vertical strips the width of the roller.
Step 3: Use Paint Additives for Better Flow
Professional painters often use additives like Floetrol (for water-based paints) or Penetrol (for oil-based) to improve flow and leveling. These reduce brush marks and extend open time, especially in warm weather. Follow the manufacturer's recommended ratio — typically 4-8 ounces per gallon.
Step 4: Apply Multiple Thin Coats
One thick coat never looks as good as two thin coats. Thin coats dry evenly, reduce drips, and cure harder. Wait the recommended recoat time (usually 2-4 hours for latex, 24 hours for oil) between coats.
Step 5: Maintain Proper Temperature and Humidity
Ideal painting conditions: temperature between 50°F and 85°F, humidity below 50%. High humidity slows drying and can cause tackiness. Low humidity accelerates drying, increasing the risk of lap marks.
💡Key Takeaway
Preparation and environment control are just as important as application. For a deeper dive into cost considerations, see our California Bay Area painting price guide.
Best Practices for Different Surfaces
| Surface | Recommended Paint | Technique | Notes |
|---|
| Drywall (smooth) | Flat or eggshell latex | Roller 3/8" nap | Prime first to avoid flashing |
| Wood trim | Semi-gloss or satin | Brush cut-in, then roll | Use oil-based for durability |
| Cabinets | High-gloss acrylic | Spray or foam roller | Light sanding between coats |
| Exterior stucco | Elastomeric or acrylic | Roller 3/4" nap | Apply in cool weather |
| Metal doors | Oil-based enamel | Brush with fine bristles | Use rust-inhibitive primer |
Common Mistakes and How to Avoid Them
Mistake 1: Skipping Back-Rolling on Exteriors
When spraying exterior paint, always back-roll with a roller to embed the paint into the surface and ensure uniform thickness.
Mistake 2: Painting Over Dirty Surfaces
Even after power washing, microscopic dust can remain. Wipe surfaces with a tack cloth before painting.
Mistake 3: Using Low-Quality Painter's Tape
Cheap tape bleeds, leaving jagged lines. Use frog tape or Scotch Blue with Edge-Lock technology.
Mistake 4: Ignoring Caulk Shrinkage
Caulk can shrink after application, leaving gaps. Apply caulk at least 24 hours before painting to allow complete curing.
Mistake 5: Not Stirring Paint Properly
Pigments settle. Stir paint thoroughly with a stirring stick or use a drill attachment. The Paint Quality Institute reports that proper stirring improves color consistency by 15%.
💡Key Takeaway
Avoiding these common pitfalls will save you time and frustration. For more on selecting the right professional, read about why California Bay Area painting matters.
Frequently Asked Questions
How do I prevent brush marks when painting trim?
Brush marks are usually caused by using too thick paint, wrong brush, or incorrect technique. Use a high-quality angled brush (like Purdy or Wooster) and thin the paint slightly with Floetrol (for latex) or Penetrol (for oil). Apply paint in thin, even strokes and avoid going back over drying paint. If marks appear after drying, lightly sand with 220-grit sandpaper and apply a second thin coat.
What is the best roller nap for smooth walls?
For smooth walls (like drywall with fine texture), use a 3/8-inch microfiber roller cover. Microfiber holds paint well and leaves a smooth, fine stipple. For slightly textured walls, a 1/2-inch nap works better. Avoid longer naps on smooth surfaces, as they create an orange-peel texture.
Should I sand between coats of paint?
Yes, lightly sanding between coats — especially on trim and cabinets — creates a smooth surface and improves adhesion. Use 220-grit sandpaper or a sanding sponge. Wipe away dust with a tack cloth before applying the next coat. For walls, sanding between coats is optional but recommended for a glass-smooth finish.
How long should I wait between coats of latex paint?
Recoat time depends on temperature, humidity, and paint brand. Most latex paints are dry to the touch in 1-2 hours and can be recoated in 2-4 hours. However, it's best to wait at least 4 hours in ideal conditions (70°F, 50% humidity). In cooler or more humid conditions, wait 6-8 hours. Always check the manufacturer's label.
Can I paint over old paint without priming?
If the existing paint is in good condition — no peeling, cracking, or stains — and you're painting a similar color, you can skip priming. However, if you're making a drastic color change, painting over glossy surfaces, or covering stains, primer is essential. Latex bonding primers work well for most surfaces.
Recommended Readings
To deepen your understanding of these topics, we recommend reading the following articles:
Conclusion
Mastering house painting best practices part 4 transforms a routine paint job into a showcase of professionalism and durability. From precision cutting and roller technique to paint additives and environmental control, these strategies ensure your project stands the test of time. Whether you're tackling a single room or a whole house, applying these methods will deliver results that rival the best in the industry.
For homeowners who want perfection without the hassle, World Pro Painting brings decades of expertise to every project. We use premium Sherwin-Williams and Benjamin Moore paints, backed by a 6-Year Guarantee and 100% satisfaction commitment. Our clean, uniformed crews serve 42 cities across the Bay Area, from Fremont to Palo Alto.
Contact us today for a free on-site estimate and let us make your vision a reality.
Commercial Painting Cost Calculator & Color Guide
Get an instant estimation checklist for painting your office, warehouse, or house. Learn how to choose colors that boost productivity.