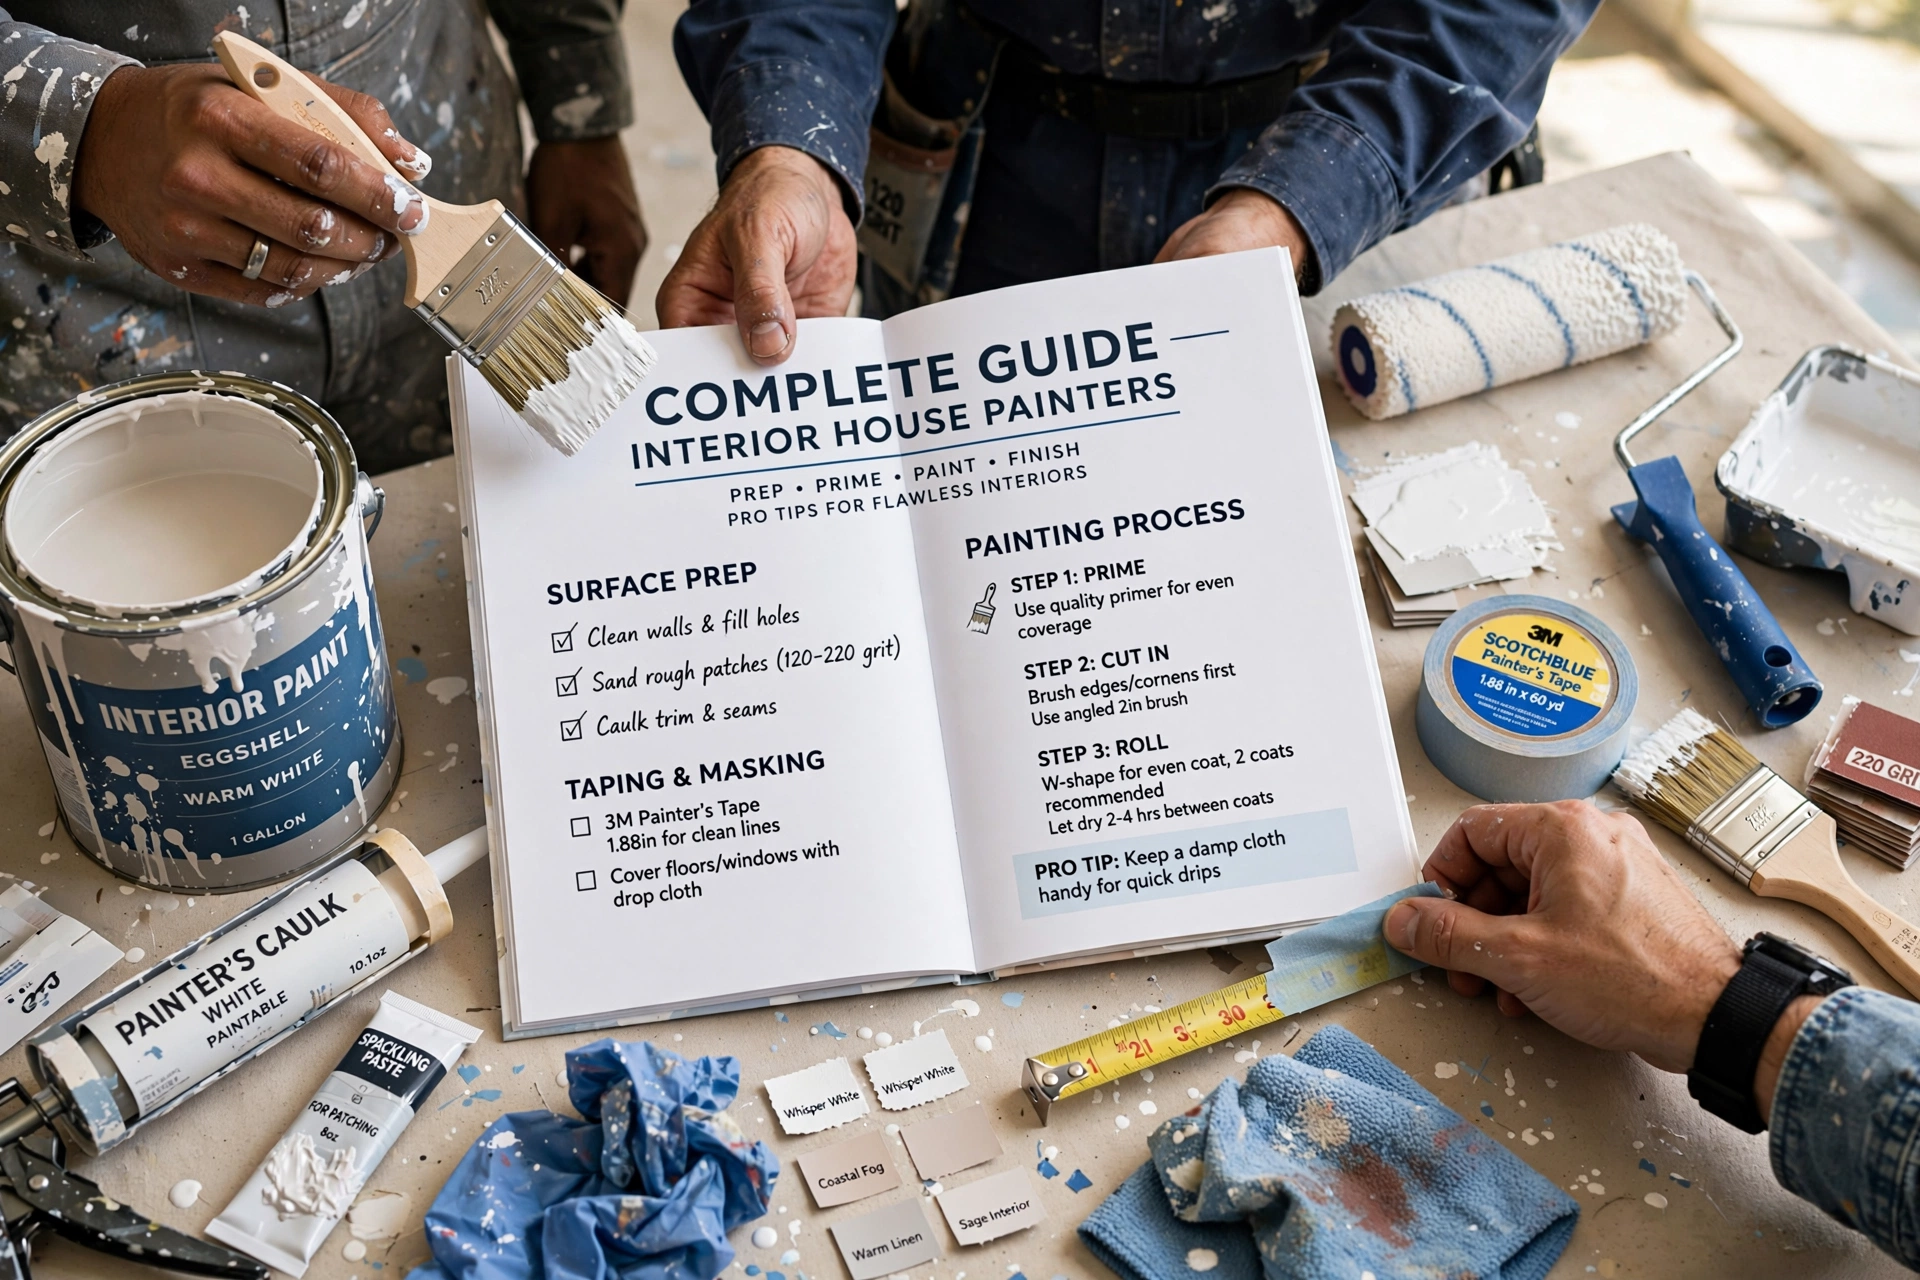


📖This article is part of the complete guide to Interior House Painters.
How Do Professional Interior House Painters Transform a Space?
Walking into a room with uneven paint streaks or visible brush marks is a common frustration for homeowners who attempt a DIY project. The secret to a gallery-grade finish isn't just the paint choice, but the rigorous sequence of surface preparation and application techniques that professional interior house painters explained through their results every day. To achieve a flawless interior, you must follow a strict order: deep cleaning, meticulous patching, precision priming, and systematic layering. This process ensures that the paint bonds chemically to the surface rather than just sitting on top of dust and old debris.
For those managing larger properties, understanding these standards is essential, which is why many developers seek Multi-Family Painters in Weibel - Fremont, CA to ensure consistency across dozens of units. When the process is handled correctly, the result is a durable, washable finish that lasts years longer than a standard amateur coat.
What is the Professional Standard for Interior Painting?
Professional interior painting is not simply the act of applying color to a wall; it is a multi-stage engineering process designed to protect the substrate and maximize aesthetic longevity. At its core, the professional standard focuses on "film integrity," which refers to how well the paint adheres and resists peeling, cracking, or fading over time.
📚
Definition
Substrate is the underlying surface—such as drywall, plaster, or wood—that is being painted. The condition of the substrate determines the type of primer and paint required for a successful bond.
In my experience working with Victorian-era homes in San Francisco and modern builds in San Jose, the biggest difference between a "good" job and a "professional" job is the prep work. Most homeowners believe that painting starts when the brush hits the wall, but in reality, 70% of the labor should happen before the first drop of paint is opened. This includes the removal of all hardware, the filling of nail holes with high-grade spackle, and the sanding of surfaces to a level 4 or 5 finish.
According to the Painting Contractors Association (PCA), proper surface preparation is the single most important factor in the lifespan of a coating. Without it, even the most expensive paints from premium brands will fail. For example, applying a high-gloss paint over a poorly sanded wall will actually highlight every single imperfection rather than hiding them. This is why professional crews spend hours masking floors with drop cloths and using high-precision painter's tape to ensure lines are razor-sharp.
Why Does Professional Interior Painting Matter for Your Property Value?
The visual impact of a fresh interior is immediate, but the financial implications are deeper. A professionally painted interior increases the perceived value of a home by creating a sense of "move-in readiness." When a buyer sees crisp edges and a uniform sheen, they subconsciously associate it with a well-maintained home, which reduces the likelihood of them negotiating the price down based on "deferred maintenance."
The data supports this. While specific percentages vary by market, general real estate trends indicate that a neutral, professionally executed paint job can yield a significant return on investment. Furthermore, the use of Low-VOC (Volatile Organic Compounds) paints, which are mandatory in many California Bay Area jurisdictions to comply with environmental regulations, ensures a healthier indoor air quality.
Beyond aesthetics, the professional approach prevents costly future repairs. For instance, if you are dealing with older homes, the risk of encountering lead-based paint is high. According to the Environmental Protection Agency (EPA), failing to follow RRP (Renovation, Repair, and Painting) guidelines when dealing with lead paint can lead to severe health risks and legal liabilities. A licensed contractor knows how to test for lead and contain the area, protecting the inhabitants and the property.
Now here's where it gets interesting: the "cost of the cheap option" usually manifests within 24 months. Amateur jobs often suffer from "flashing"—where certain areas look shinier than others—or peeling due to improper priming. When you hire experts like those providing Commercial Painting Cabrillo - Fremont, CA 2026, you aren't paying for the paint; you are paying for the guarantee that the paint won't fail.
How to Execute a Professional Interior Paint Job: Step-by-Step
Achieving a professional result requires a systematic approach. If you are managing a project or overseeing a contractor, this is the workflow that should be followed to ensure the highest quality.
Step 1: Surface Decontamination
Walls must be wiped down with a mild detergent or TSP (trisodium phosphate) to remove oils, fingerprints, and dust. Paint cannot bond to grease. If you paint over a fingerprint, that spot will eventually peel.
Step 2: Repair and Leveling
Every crack and hole must be filled. I've seen too many "professionals" simply paint over holes, which creates a shadow effect. Use a high-quality joint compound, allow it to dry, and sand it flush with the wall using a fine-grit sandpaper.
Step 3: Precision Masking
Use professional-grade blue or green painter's tape. The key is to press the edge of the tape down firmly with a putty knife to prevent "bleed-through," where paint seeps under the tape.
Step 4: The Priming Phase
Priming is non-negotiable, especially when changing colors or painting over new drywall. A primer seals the porous surface, ensuring the topcoat is absorbed evenly. For high-moisture areas like kitchens or bathrooms, a moisture-resistant primer is essential.
Step 5: Cutting In and Rolling
Start by "cutting in"—painting the edges, corners, and around trim with a brush. Then, use a roller to fill in the large areas. The trick is to maintain a "wet edge," meaning you always overlap the last stroke while it is still wet to avoid lap marks.
Step 6: Final Inspection and Touch-ups
Once the second coat is dry, use a high-intensity work light to check for "holidays" (missed spots) or drips.
💡
Key Takeaway
The quality of the finish is decided during the preparation phase. If the surface isn't perfectly smooth and clean, the paint will only emphasize the flaws.
For those who don't have the time or tools to manage this 6-step process, World Pro Painting provides a comprehensive service that handles everything from the initial mask to the final cleanup, ensuring a CSLB-standard finish. If you are coordinating multiple properties, you might also look into Multi-Family Painters Brookvale - Fremont, CA to streamline the process across several units.
Choosing the Right Interior Paint: Options and Variations
Not all paints are created equal. The choice between a flat, eggshell, or satin finish depends entirely on the room's function and the amount of light it receives.
| Finish | Pros | Cons | Best For |
|---|---|---|---|
| Flat/Matte | Hides imperfections, no glare | Hard to clean, scuffs easily | Ceilings, adult bedrooms |
| Eggshell | Soft glow, washable | Slight sheen may show bumps | Living rooms, dining areas |
| Satin | Very durable, moisture resistant | Shows more surface flaws | Kitchens, hallways, kids' rooms |
| Semi-Gloss | Extremely durable, easy to wipe | High glare, shows every bump | Trim, baseboards, bathrooms |
When selecting a brand, we typically lean toward Sherwin-Williams or Benjamin Moore because of their superior pigment density and hide. A higher pigment load means fewer coats are needed to cover a dark color, saving both time and money.

That said, the "best" paint is useless if applied incorrectly. For example, applying a satin finish in a room with uneven walls will make those walls look wavy because the light reflects off the sheen. In those cases, a matte finish is the professional choice to "cheat" the eye into seeing a flatter surface.
Common Questions and Misconceptions About Interior Painting
Most guides get this wrong: they suggest that "two coats are always better than one." In reality, if you are using a high-hide professional paint and a matching primer, a single coat may suffice for some colors. However, for deep saturations or drastic color changes, two coats are mandatory for depth and durability.
Another common myth is that you don't need to prime if you're using "Paint + Primer" in one. While these products are convenient for quick refreshes, they are not a substitute for a dedicated primer when dealing with stains, odors, or raw drywall. A dedicated primer creates a chemical bond that "Paint + Primer" products simply cannot match.
Finally, many believe that using the cheapest brushes and rollers is fine since "it's all the same paint." This is a mistake I see constantly. Cheap rollers leave "stipple" or fuzz on the wall, and cheap brushes leave streaks. Professional-grade synthetic brushes and microfiber rollers are essential for a smooth, factory-like finish.
Frequently Asked Questions
How long does it actually take for interior paint to dry before I can move furniture back?
While paint may feel "dry to the touch" within 1 to 4 hours, it is not "cured." Curing is the chemical process where the paint reaches its maximum hardness. According to technical data from Sherwin-Williams, most interior latex paints take 2 to 4 weeks to fully cure. I always advise clients to wait at least 24 to 48 hours before pushing heavy furniture against a wall, as the paint can still be soft enough to "block" or stick to the furniture, leaving permanent marks.
Why is my new paint job peeling or bubbling in certain areas?
Peeling or bubbling is almost always a sign of poor adhesion, usually caused by painting over a contaminated surface. If the walls weren't cleaned of oils or if a water-based paint was applied directly over an old oil-based paint without a transition primer, the layers will separate. This is why we emphasize the cleaning and priming stages. If you see bubbles, it means the paint is lifting away from the substrate, and the only permanent fix is to scrape the affected area and restart the prep process.
Should I use a different paint for my ceilings than for my walls?
Yes, in almost every scenario. Ceilings should typically be painted with a "Flat White" or a specific ceiling paint. Flat paint is essential for ceilings because it doesn't reflect light, which hides the seams of the drywall and any imperfections in the ceiling's plane. If you used a satin or eggshell finish on a ceiling, every single bump and joint would be highlighted by the overhead lighting, creating an uneven, distracting look.
How do I know if I need a professional or if I can do it myself?
The decision usually comes down to the complexity of the space and the desired finish. If you have high vaulted ceilings, intricate crown molding, or walls that require significant repair, a professional is essential. DIY projects often overlook the "hidden" steps like sanding and caulking. For those who want a guaranteed result without the stress of a failed project, investing in a licensed contractor is the safer bet. You can see how we handle complex projects through our How to Use California Bay Area Painting () resource.
What is the best way to choose a color that doesn't look different at night?
Metamerism is the phenomenon where a color looks different under different light sources (LED vs. sunlight). To avoid this, never choose a color based on a small swatch in a store. Always paint a 2x2 foot sample on at least two different walls—one that gets direct sunlight and one that is in shadow. Observe these samples at 8 AM, 1 PM, and 8 PM. This ensures that the hue you love in the morning doesn't turn an unpleasant shade of grey or yellow under your evening lamps.
Final Thoughts on Professional Interior Painting
Understanding how interior house painters explained their process reveals that the "magic" of a beautiful room is actually just disciplined execution. From the initial decontamination of the substrate to the final cured layer, every step is designed to ensure the finish survives the wear and tear of daily life. Whether you are refreshing a single bedroom or managing a large-scale project with Multi-Family Painters Mission San Jose - Fremont, CA, the principles remain the same: prioritize preparation over application.
If you want a flawless finish without the risk of peeling, flashing, or uneven lines, trust the experts. World Pro Painting brings CSLB-licensed precision to every room, ensuring your home looks its best for years to come.
Ready to transform your space with a professional touch? Visit World Pro Painting today to schedule your free on-site estimate. For those needing specialized services, we also offer Exterior Painting in Lakeside, Newark, CA: for 2026 and Multi-Family Painters Niles - Fremont, CA to keep your entire property in peak condition.
Commercial Painting Cost Calculator & Color Guide
Get an instant estimation checklist for painting your office, warehouse, or house. Learn how to choose colors that boost productivity.