

📖This article is part of the complete guide to Interior House Painters.
How to Master Interior Painting: A Comprehensive Guide for Beginners
Painting a room seems straightforward until you're staring at a drip on your hardwood floor or a visible brush mark on a focal wall. To achieve a professional finish, you must shift your focus from the actual painting to the preparation; the secret to a flawless interior is 80% prep and 20% application. For those exploring the basics of interior house painters for beginners, the process involves a systematic approach of cleaning, priming, and utilizing the correct cutting-in techniques to ensure crisp lines and a durable coat.
In my experience working with high-end residential projects across the San Francisco Bay Area, I've seen countless homeowners rush the process only to spend three times as long fixing "lap marks" (where the paint dries and leaves a visible line). The mistake I made early on—and that I see constantly—is relying on "paint and primer in one" products for heavily stained or bare drywall. While convenient, they rarely provide the adhesion and sealing power of a dedicated primer, especially in the varying humidity levels we see from San Francisco to the East Bay. If you want a result that doesn't peel in two years, you have to follow the professional sequence: clean, patch, sand, prime, and paint.
For those managing larger properties, seeing how Multi-Family Painters in Weibel - Fremont, CA handle scale can provide perspective on why systematic staging is essential even for a single bedroom.
What Should You Know Before Starting Your First Interior Project?
Before you open a single can of paint, you need to understand that interior painting is a chemical process as much as an aesthetic one. The interaction between the substrate (your wall) and the coating determines whether the job looks like a professional masterpiece or a DIY disaster. Most beginners focus on the color, but professional interior house painters for beginners emphasize the "sheen" and the "bond."
📚
Definition
Paint Sheen refers to the level of light reflection a dried paint film produces, ranging from Flat (no reflection) to High Gloss (mirror-like reflection).
Choosing the wrong sheen is a common error. For example, using a High Gloss paint in a hallway with imperfect walls will act like a spotlight on every dent and scratch. Conversely, using Flat paint in a kitchen or bathroom will lead to moisture absorption and staining. According to technical documentation from Sherwin-Williams, selecting the correct resin base—such as acrylic for most interiors—ensures the paint can expand and contract with the building's natural movement without cracking.
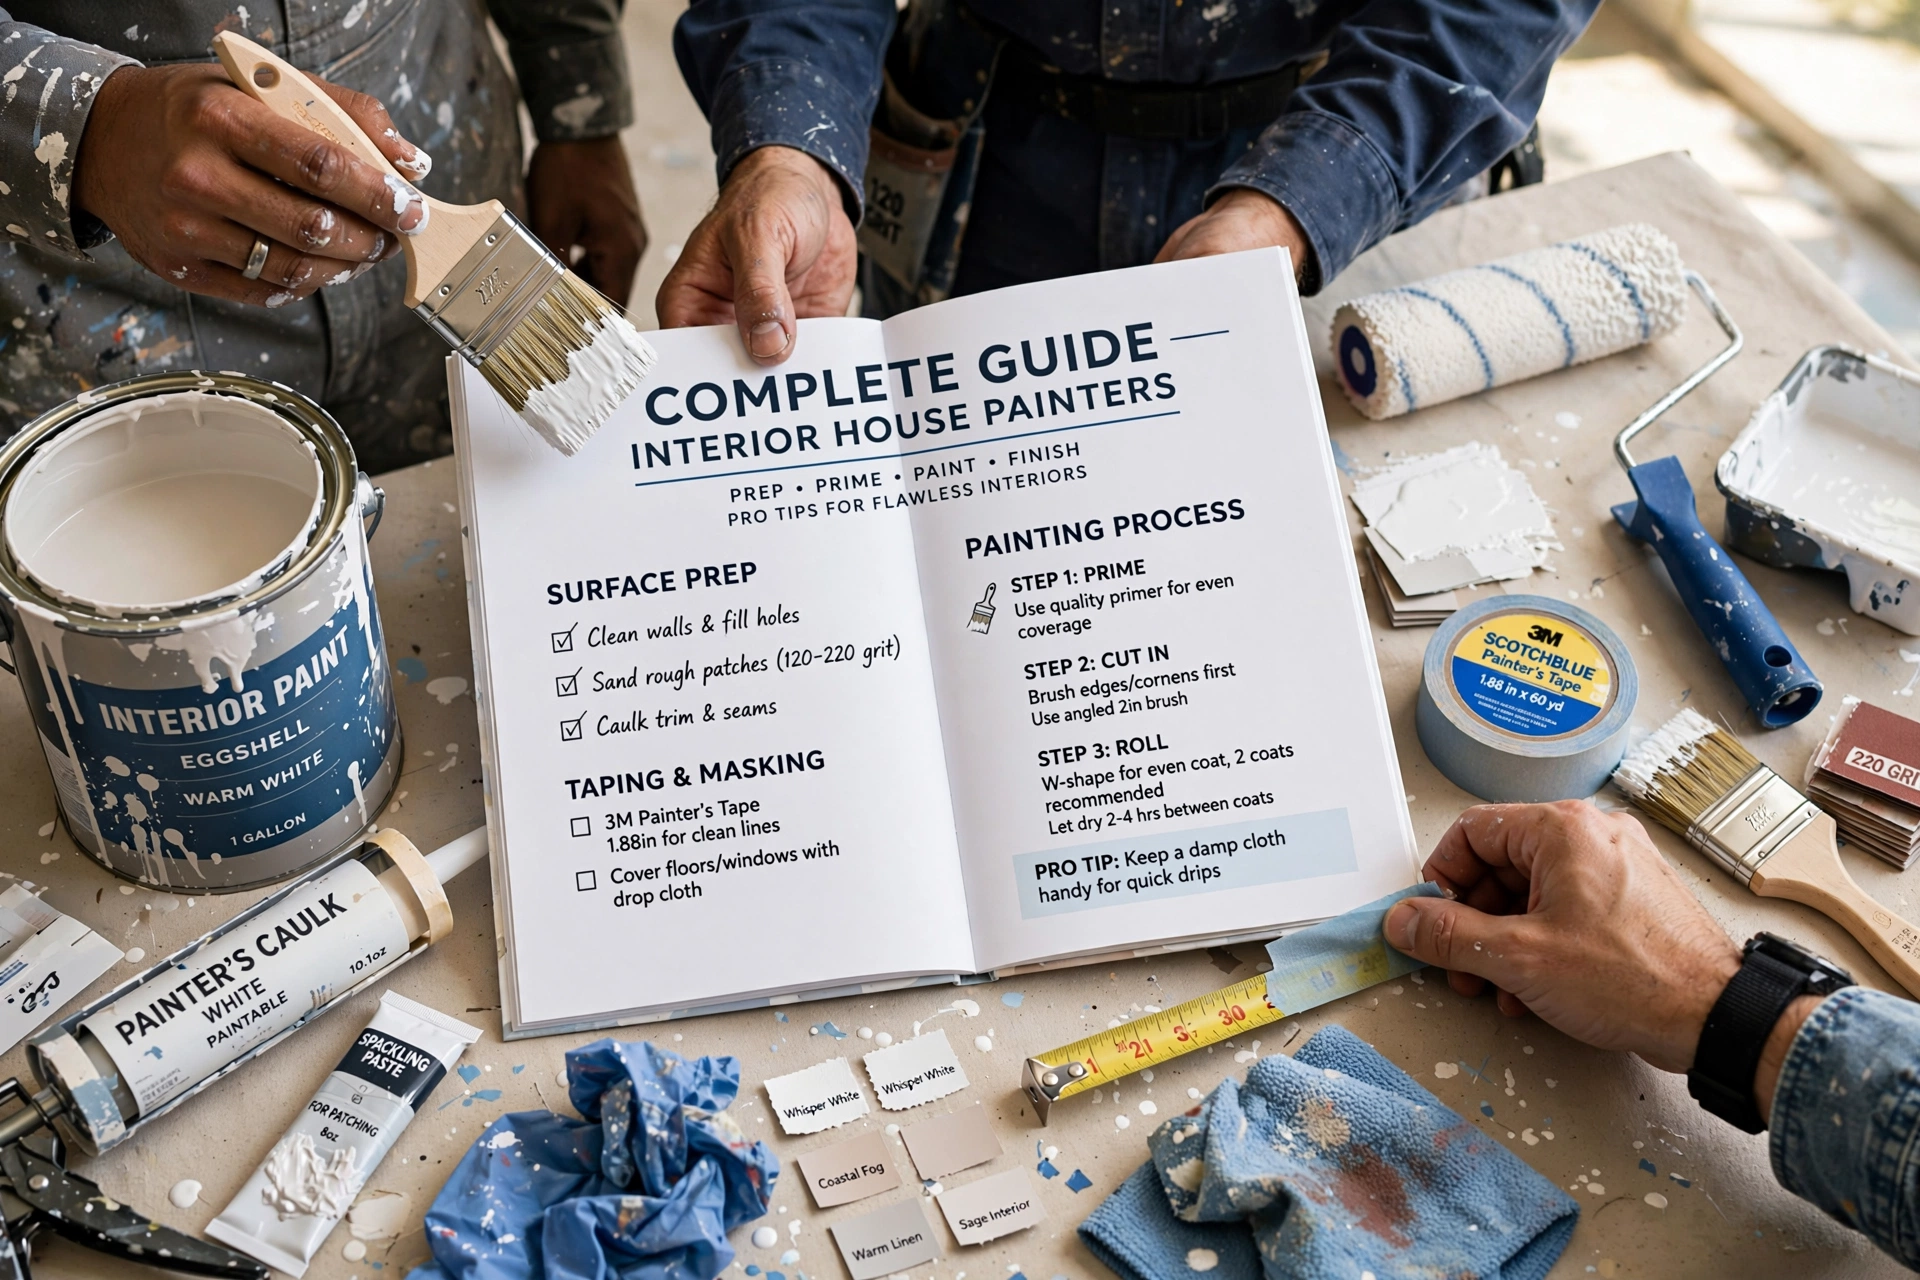
When you begin, you'll need a specific kit: a high-quality 2.5-inch angled sash brush for "cutting in," a 9-inch roller frame with a 3/8-inch nap for standard walls, a paint tray, painter's tape (the gold or green variety), and a drop cloth. Avoid the cheap plastic sheets; they slide across the floor and offer zero protection against spills. Heavy-duty canvas drop cloths are the only way to ensure your flooring remains pristine.

Why Does Proper Preparation Impact Your Long-Term ROI?
The financial impact of a poor paint job extends far beyond the cost of the paint itself. When a project is rushed, the result is often "failure of adhesion," where the paint peels away in sheets. This doesn't just look bad; it can expose underlying issues like moisture damage or old lead-based paint. According to the Environmental Protection Agency (EPA), working with older homes—especially the Victorian-era houses common in San Francisco—requires strict adherence to RRP (Renovation, Repair, and Painting) rules to prevent lead dust from contaminating the living space.
From a property value perspective, a professional-grade interior increases the perceived "move-in readiness" of a home. Data from real estate trends suggests that neutral, high-quality interior finishes can increase a home's appraisal value by 2% to 5% because buyers associate a clean, professional paint job with general home maintenance. If the paint is peeling or the lines are crooked, buyers subconsciously assume the plumbing or electrical systems are also neglected.
Moreover, using the wrong materials leads to "re-do" costs. If you apply a water-based latex paint over an old oil-based paint without a transition primer, the new coat will peel off within months. This is where many beginners fail. They spend $200 on paint only to realize they need to spend another $300 on primer and a full second coat. By investing in the correct preparation phase—sanding the surface and applying a bonding primer—you eliminate the risk of total failure. This is the same standard of excellence we apply at World Pro Painting to ensure our 6-year guarantee remains valid.
For those who eventually transition to the outside of the home, understanding Exterior Painting in Lakeside, Newark, CA: for 2026 will show how these same prep principles are amplified to fight coastal fog and UV rays.
Practical Application: The Step-by-Step Interior Painting Process
To execute a professional interior finish, you must follow a rigid sequence. Skipping one step is an invitation for failure. Here is the exact workflow we use to ensure a factory-smooth finish.
Step 1: Surface Decontamination
Paint does not stick to dust, grease, or cobwebs. Use a damp cloth or a TSP (trisodium phosphate) solution to wipe down the walls. In kitchens, this is non-negotiable; cooking oils create a microscopic barrier that prevents paint from bonding.
Step 2: Patching and Sanding
Fill every nail hole and crack with a high-quality spackle. Once dry, sand the patches flush with the wall using 220-grit sandpaper. If the wall feels "grainy," the paint will highlight that texture. Sand until the transition between the patch and the wall is invisible to the touch.
Step 3: The "Cut-In" Phase
Cutting in is the process of painting the edges, corners, and around trim where a roller cannot reach. Use your angled brush to create a clean line. Pro tip: do not paint the entire perimeter of the room and let it dry before rolling. Instead, cut in one wall at a time, then immediately roll into the "wet edge." This prevents a visible line, known as a "picture frame" effect.
Step 4: Rolling with the "W" Technique
Load your roller evenly. Instead of painting in straight vertical lines, apply the paint in a large "W" or "M" pattern, then fill in the gaps. This ensures an even distribution of paint and prevents "roping" at the edges.
Step 5: Final Inspection and Touch-ups
Wait for the paint to dry completely. Use a bright LED light held parallel to the wall to spot any "holidays" (missed spots) or drips.
💡
Key Takeaway
The "wet edge" technique is the most important skill for beginners. Always roll your walls while the cut-in paint is still wet to ensure a seamless blend.
If you find the process overwhelming or are dealing with a large-scale project, our team at World Pro Painting handles everything from the grueling prep work to the final coat, ensuring a level of precision that is nearly impossible to achieve without industrial-grade equipment.

Comparing DIY Approaches vs. Professional Standards
Many beginners struggle to decide whether to tackle a project themselves or hire a licensed contractor. The difference isn't just the tools; it's the chemistry of the materials and the efficiency of the application.
| Feature | Traditional DIY Approach | Generic "Cheap" Contractor | World Pro Painting Standard |
|---|---|---|---|
| Preparation | Basic dusting, minimal sanding | Fast patching, no cleaning | 5-step prep (wash, scrape, sand, caulk, prime) |
| Materials | Store-brand latex | Budget-tier acrylics | Premium Sherwin-Williams/Benjamin Moore |
| Technique | Vertical stripes, uneven edges | Fast rolling, visible lap marks | Wet-edge blending, precision cutting |
| Durability | 1-3 years before peeling | 2-4 years | 6-Year Guarantee |
| Cleanliness | Plastic sheets, paint drips | Basic drop cloths | Full-site protection and vacuuming |
While a DIY approach is tempting for a small bathroom, the risk of "over-painting" (applying too many coats) can actually weaken the paint film and lead to cracking. Professional standards involve calculating the exact Gallons Per Square Foot (GPSF) to ensure the film thickness is optimal for the specific environment of the California Bay Area.
If you are managing multiple units in a complex, checking out Multi-Family Painters Brookvale - Fremont, CA can help you understand the logistical differences between a single-room DIY and a professional multi-unit rollout.
Common Questions and Misconceptions
Most "beginner guides" give generic advice that doesn't hold up under professional scrutiny. Here are the most common myths I encounter when consulting with homeowners.
Myth 1: "You always need two coats of paint."
Most guides get this wrong. While two coats are standard for a color change, if you have used a high-quality bonding primer and are using a premium paint with high pigment load, a single coat may be sufficient. Over-applying paint can lead to "sagging" or "curtaining," where the paint pulls away from the wall due to gravity during the drying process.
Myth 2: "The more expensive the paint, the better the result."
Price does not always equal quality. A $100 gallon of high-gloss paint will look terrible on a rough wall, while a $40 gallon of flat paint will look great. The "better" paint is the one whose chemical properties match the substrate and the room's usage. Use a matte finish for ceilings and a semi-gloss for baseboards.
Myth 3: "Painter's tape prevents all leaks."
Tape is a tool, not a magic shield. If you don't "burnish" the edge of the tape (press it down firmly with a credit card or fingernail), paint will bleed under the tape. In my experience, the best way to get a perfect line is to tape the edge, paint the tape the color of the wall, let it dry, and then paint your new color. This "seals" the tape.
For those looking for more advanced techniques, exploring How to Use California Bay Area Painting () provides deeper insights into regional material choices.
Frequently Asked Questions
How do I stop paint from dripping on my floors?
The only reliable method is using heavy-duty canvas drop cloths. Plastic sheets are a liability because they are slippery and allow liquids to pool, which can then be tracked throughout the house. To further protect your floors, use a "masking" technique: tape the canvas drop cloth directly to the baseboards using low-tack painter's tape. This creates a physical barrier that prevents paint from seeping underneath the cloth. According to the Painting Contractors Association (PCA), site protection is the most overlooked aspect of residential painting, yet it is the primary factor in client satisfaction and project professionalism.
Why is my paint peeling shortly after application?
Peeling usually happens for one of three reasons: moisture, poor adhesion, or chemical incompatibility. If you painted over a glossy surface without sanding or priming, the new paint has nothing to "grip." Similarly, if there is moisture trapped in the drywall (common in the humid Bay Area), the paint will bubble and peel. To fix this, you must scrape the peeling areas, sand them smooth, and apply a high-quality bonding primer before repainting. This ensures the chemical bond is locked in.
What is the best way to choose a paint color for a dark room?
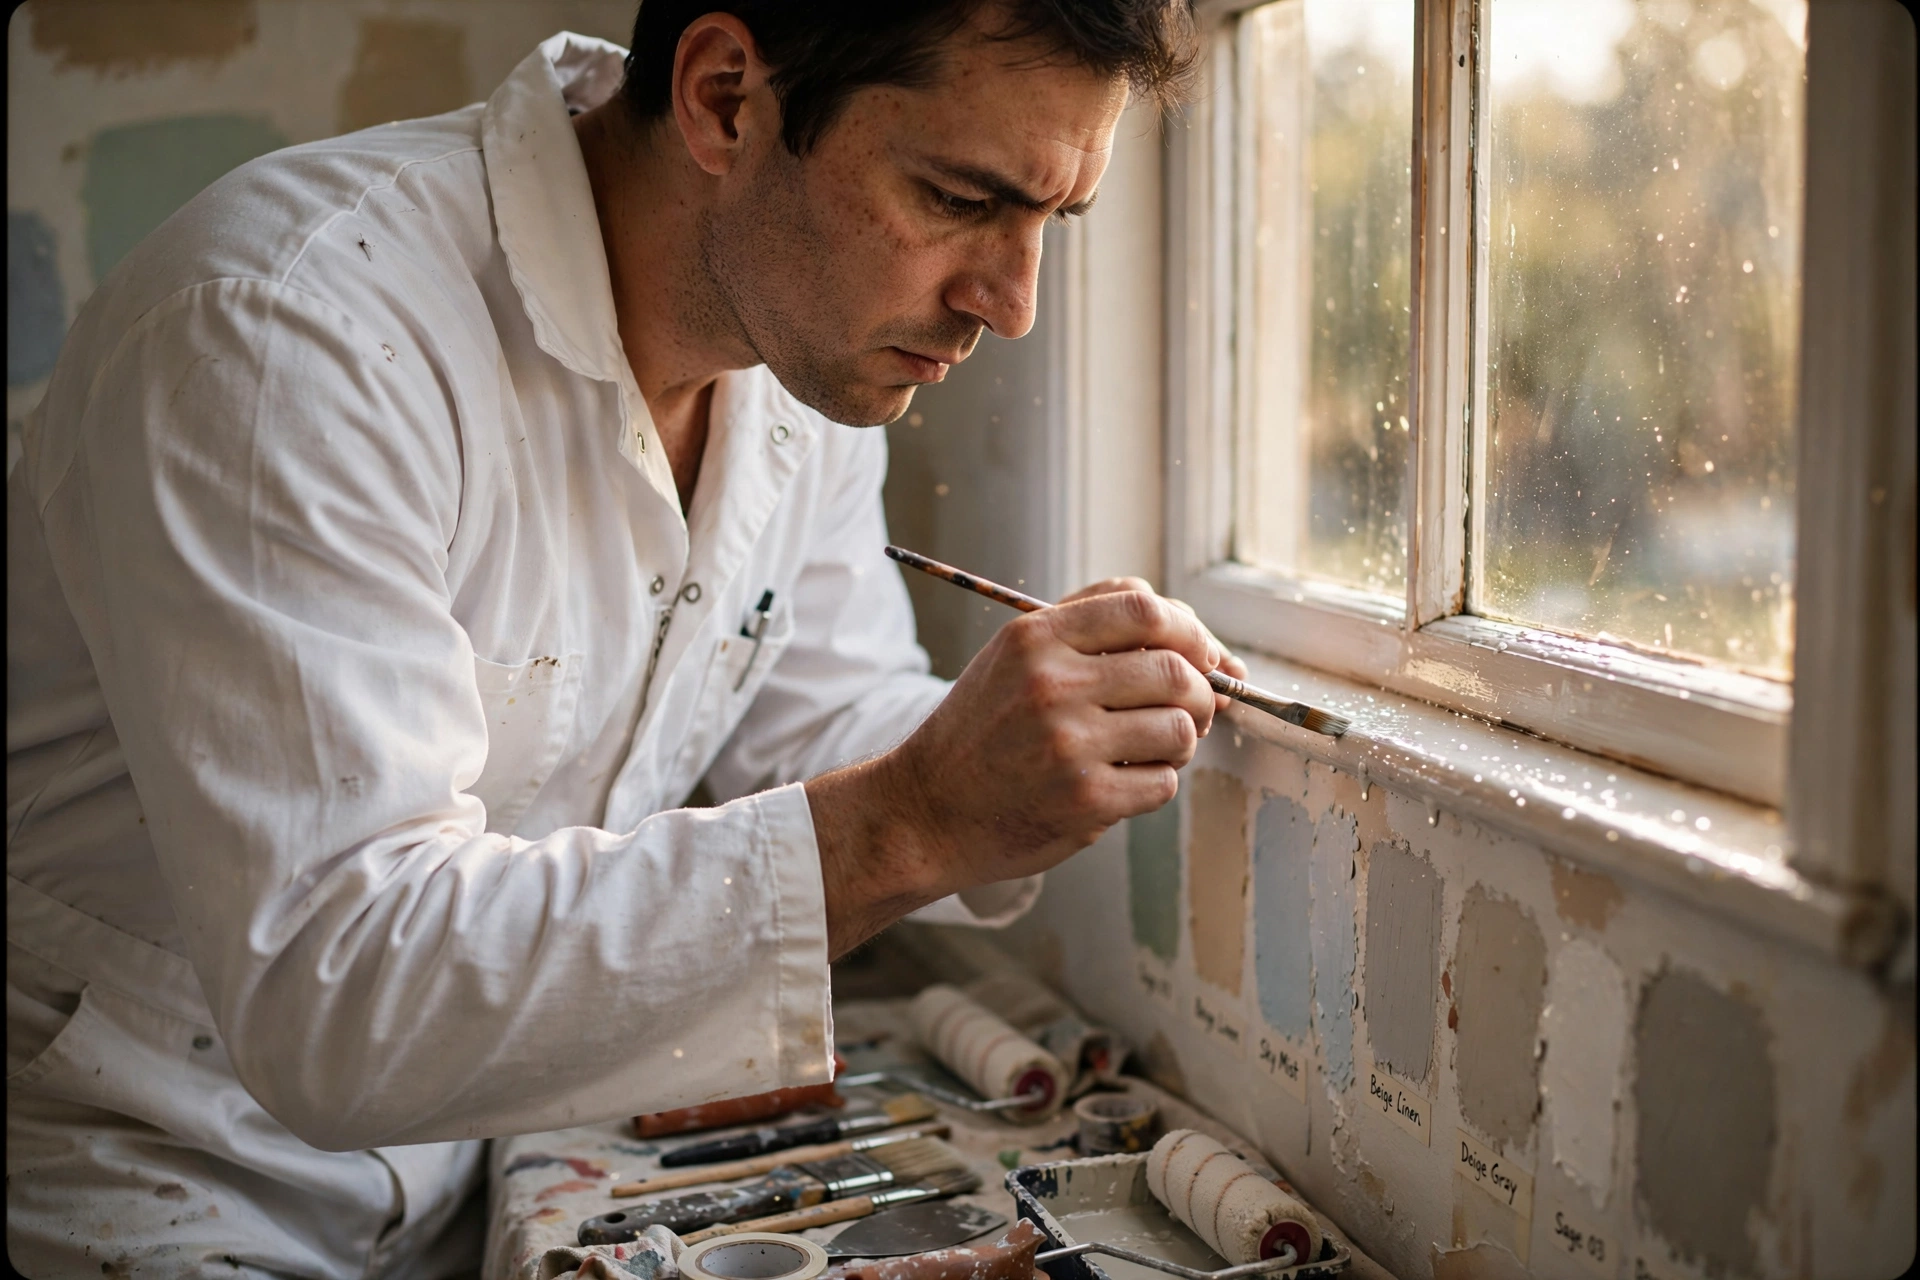
In dark rooms, avoid colors with heavy gray undertones, as they can make a space feel "muddy" or cold. Instead, look for colors with a higher Light Reflectance Value (LRV). According to Benjamin Moore, colors with a high LRV reflect more light, making a small room feel larger. I always recommend testing 2-foot by 2-foot swatches on different walls of the room and observing them at three different times of day (morning, afternoon, and evening) because the shifting light in California can drastically change how a color appears.
How do I remove paint drips from a window or door?
If the paint is still wet, use a damp microfiber cloth immediately. If the paint has dried, do not use a metal scraper, as this will gouge the wood or scratch the glass. Instead, use a plastic razor blade or a gentle solvent like mineral spirits on a cotton swab. For glass, a single-edge razor blade held at a 45-degree angle is the professional standard for removing "splatter" without scratching the pane.
How long should I wait between coats of interior paint?
You must follow the manufacturer's "re-coat" time, which is typically 2 to 4 hours for latex paints. However, the "dry to the touch" time is different from the "cure" time. If you apply a second coat too early, the first coat will "pull," creating textures and streaks. In the San Francisco Bay Area, higher humidity can extend these drying times. If you are unsure, wait 24 hours. This ensures the paint has fully gassed off and bonded, providing a smoother surface for the final layer.
Final Thoughts on Interior House Painters for Beginners
Mastering the art of interior painting is less about the brushstroke and more about the discipline of the process. By focusing on meticulous surface preparation, choosing the correct sheen, and maintaining a wet edge, you can transform any room into a professional-grade space. Remember that the tools you choose—from the nap of your roller to the quality of your tape—directly dictate the final outcome.
Whether you are refreshing a single bedroom in Fremont or updating a whole home in San Jose, the principles remain the same: don't rush the prep. If you find that your project is too large or the technical requirements—such as dealing with old lead paint or complex architectural trim—are too demanding, professional help is the safest investment.
For a flawless, guaranteed finish without the stress of DIY mistakes, contact World Pro Painting. We provide free on-site estimates and a 6-year guarantee on all our work across the Bay Area. Visit worldpropainting.com to schedule your consultation today and see why we are the trusted choice for residential and commercial excellence. For those managing larger properties, we also offer specialized services like Multi-Family Painters Mission San Jose - Fremont, CA or Multi-Family Painters Niles - Fremont, CA to keep your investments looking pristine.
Commercial Painting Cost Calculator & Color Guide
Get an instant estimation checklist for painting your office, warehouse, or house. Learn how to choose colors that boost productivity.