

📖This article is part of the complete guide to Interior House Painters.
How to Achieve a Professional Interior Finish: The Comprehensive Interior House Painters Guide
Many homeowners assume that interior painting is simply a matter of picking a color and applying it to the wall. In my experience working with high-end residences across the San Francisco Bay Area, I've seen that the difference between a "DIY look" and a professional finish isn't the paint itself, but the 80% of the work that happens before the brush ever touches the wall. This interior house painters guide provides the exact technical framework required to execute a flawless interior transformation, focusing on the critical sequence of preparation, material selection, and application techniques.
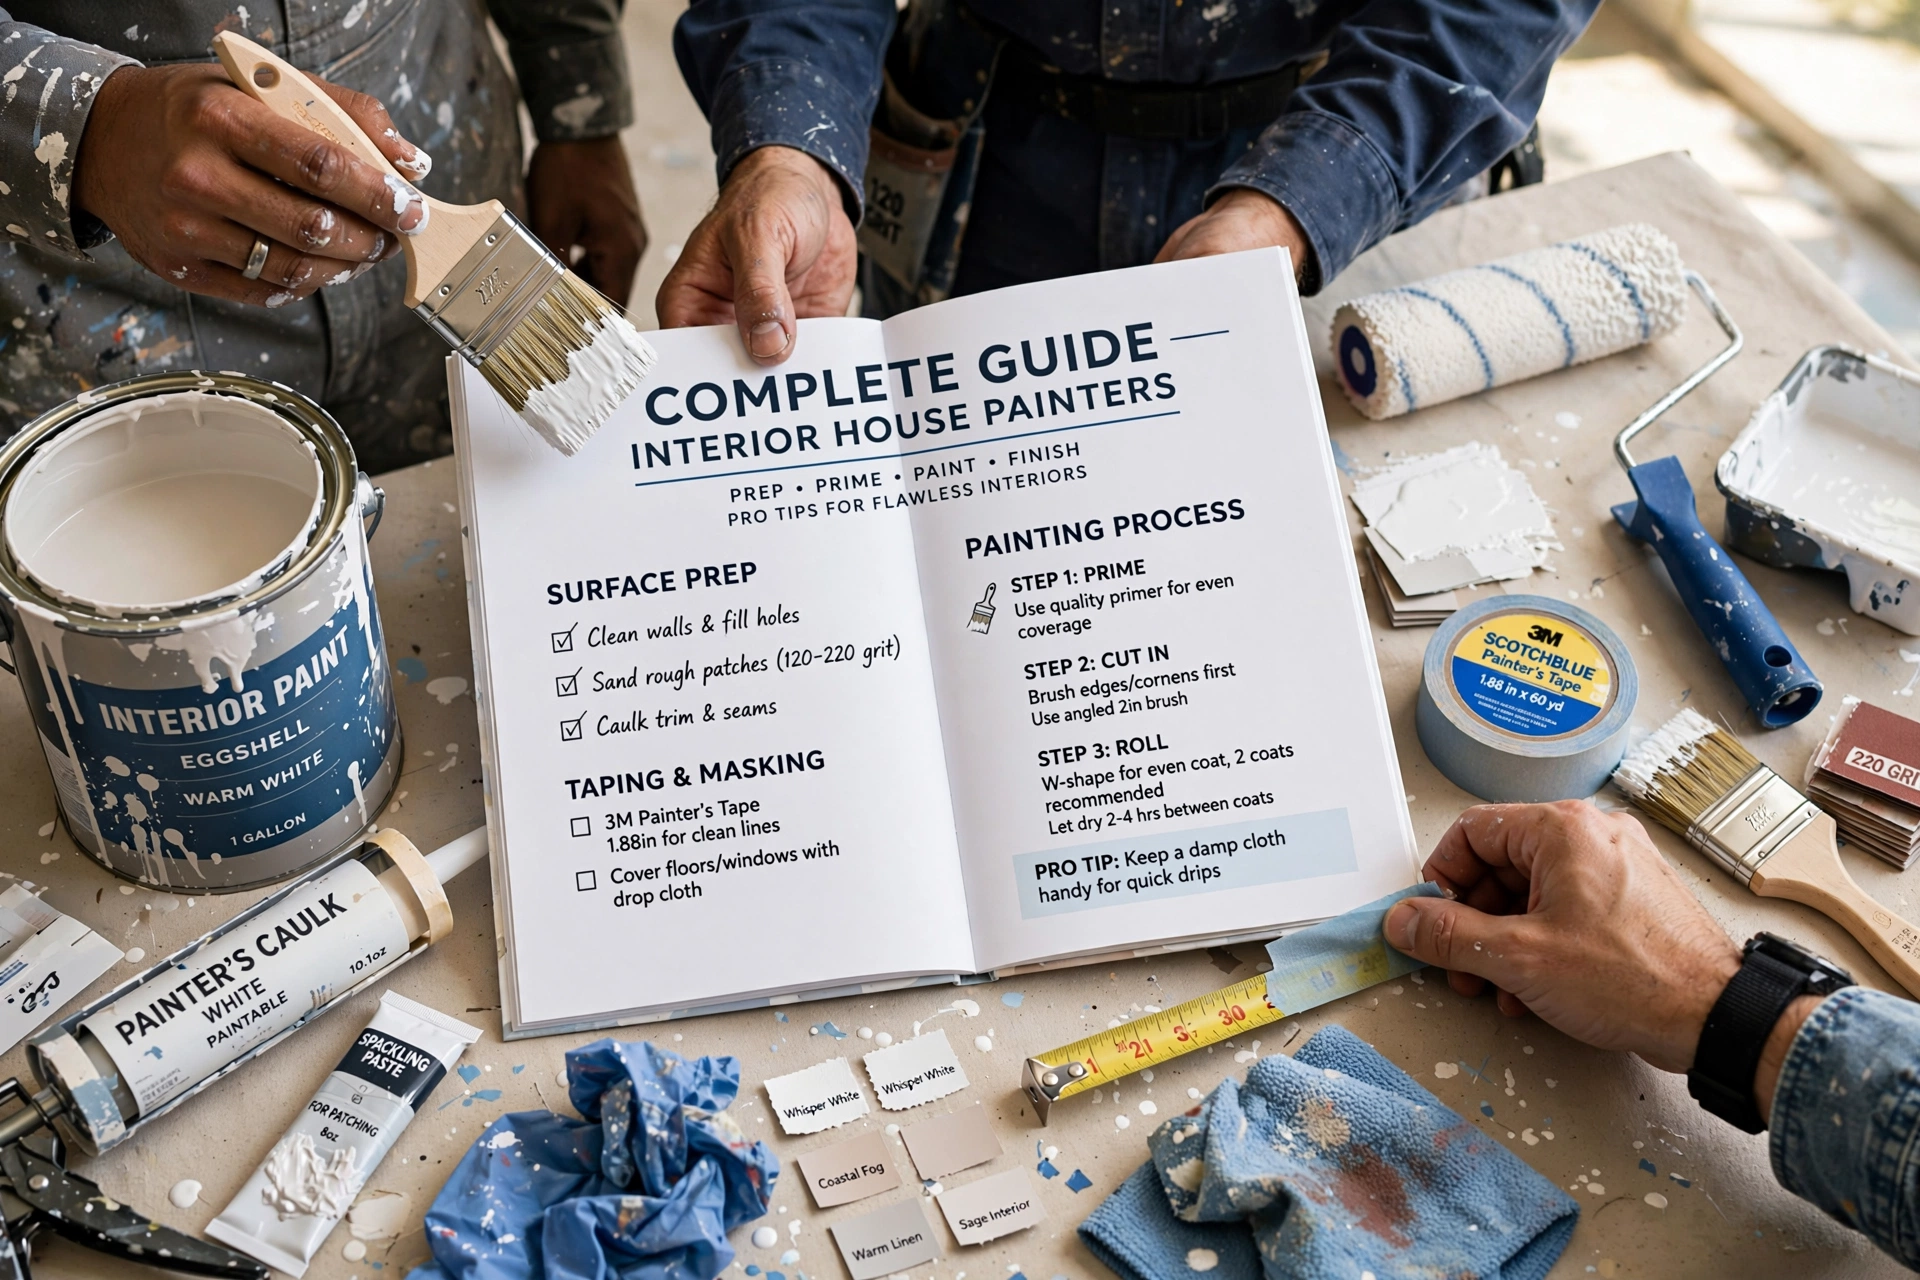
To get a professional result, you must follow a rigid five-step sequence: deep cleaning and degreasing, precision patching and sanding, strategic priming, controlled cutting-in, and structured rolling. Skipping any of these steps leads to "flashing," peeling, or visible brush marks that compromise the home's value. For those managing larger properties, coordinating with Multi-Family Painters in Weibel - Fremont, CA can ensure these standards are scaled across multiple units without losing quality.
What defines a Professional Interior Paint Process?
Achieving a high-end finish requires an understanding of the chemistry between the substrate and the coating. Professional interior painting is not just about color; it is about creating a durable, uniform membrane that resists wear and enhances the architectural lighting of a room.
📚
Definition
Substrate refers to the underlying surface being painted, such as drywall, plaster, or wood. The condition of the substrate determines the type of primer and paint required to ensure adhesion.
The process begins with a thorough assessment of the surface. In the California Bay Area, we often deal with a mix of historic plaster in San Francisco Victorians and modern drywall in Fremont or San Jose. Each requires a different approach. For instance, old plaster often requires a stabilizing primer to prevent the new paint from peeling due to moisture trapped in the walls. According to the Painting Contractors Association (PCA), improper surface preparation is the leading cause of paint failure in residential projects, accounting for a significant percentage of warranty claims.
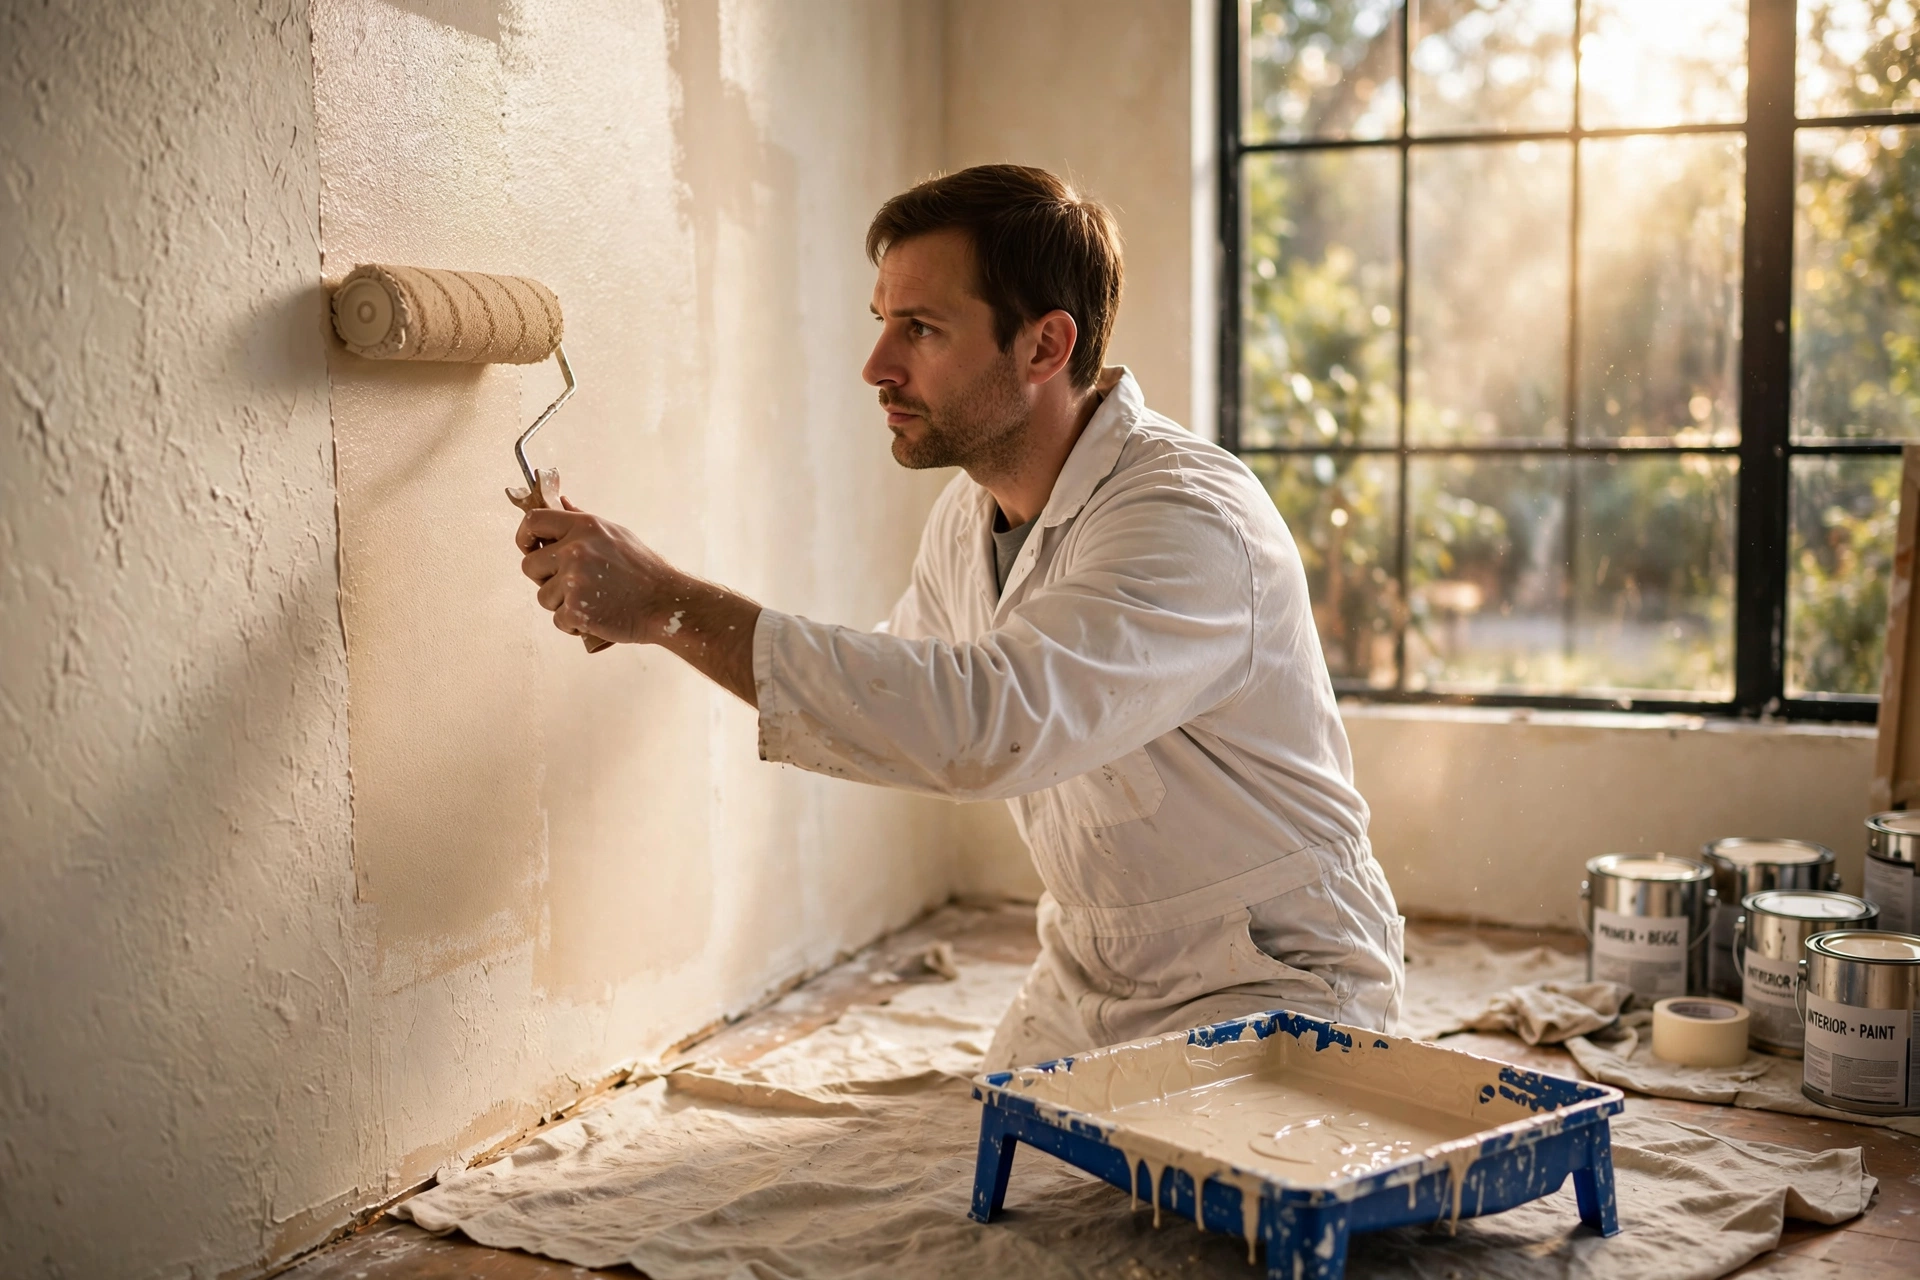
A professional approach involves "mechanical bonding," where the surface is lightly sanded to create microscopic grooves that the paint can grip. Without this, the paint sits on top of the surface rather than bonding with it, leading to premature chipping. When we execute projects at World Pro Painting, we utilize a specific grit sequence—starting with 80-grit for heavy imperfections and finishing with 220-grit for a buttery-smooth surface—ensuring that the final coat reflects light evenly across the wall.
Why Does Professional Interior Preparation Matter?
The financial and aesthetic implications of poor interior painting are far greater than most homeowners realize. A poorly executed paint job doesn't just look bad; it can actively degrade the interior environment by failing to seal surfaces or by using incompatible chemicals that off-gas into the living space.
From a value perspective, interior painting is one of the highest-ROI home improvements. However, that ROI is only realized when the finish is seamless. According to data from Benjamin Moore, high-quality coatings with the correct sheen can increase the perceived brightness of a room by up to 20%, which directly impacts the psychological appeal of a space during a home sale.
The risk of "cutting corners" is particularly high with lead-based paint in older Bay Area homes. The mistake I made early on—and that I see constantly—is assuming that a quick scrape is enough. In reality, working with lead requires strict adherence to safety protocols. The Environmental Protection Agency (EPA) mandates the RRP (Renovation, Repair, and Painting) rule to prevent lead dust from contaminating the home. Using non-certified methods to remove old paint can lead to severe health risks and legal liabilities for the homeowner.
Furthermore, the choice of paint chemistry affects long-term durability. Low-VOC (Volatile Organic Compounds) paints are now the industry standard in California to comply with BAAQMD regulations. Using a professional-grade paint like those from Sherwin-Williams ensures that the paint doesn't just look good on day one, but maintains its scrubbability for years. If you are updating a commercial space or a large complex, you might also consider Commercial Painting Cabrillo - Fremont, CA 2026 to ensure the materials used are rated for high-traffic durability.
Step-by-Step Practical Application: How to Paint Like a Pro
The "how" of interior painting is a disciplined sequence of operations. If you deviate from the order, you risk ruining the previous step. Here is the professional workflow utilized by World Pro Painting.
Step 1: The Cleanse and Clear
You cannot paint over dust, grease, or fingerprints. Use a TSP (trisodium phosphate) solution or a mild detergent to wipe down walls, especially in kitchens and bathrooms. Remove all hardware, including switch plates and outlet covers.
Step 2: Repair and Refine
Fill holes with a high-quality spackle. Once dry, sand the patch flush. I always recommend "back-sanding"—sanding slightly beyond the edges of the patch—to ensure there is no visible "halo" once the paint is applied. For those in the East Bay looking for precision, our Multi-Family Painters Brookvale - Fremont, CA teams specialize in these high-volume refinishing tasks.
Step 3: Strategic Priming
Priming is not optional. A primer seals the porous nature of the drywall and ensures the topcoat color is uniform. Use a staining-blocking primer for water stains or smoke damage. If you are painting a light color over a dark one, a high-hide white primer is essential to prevent "bleed-through."
Step 4: The "Cut-In" Phase
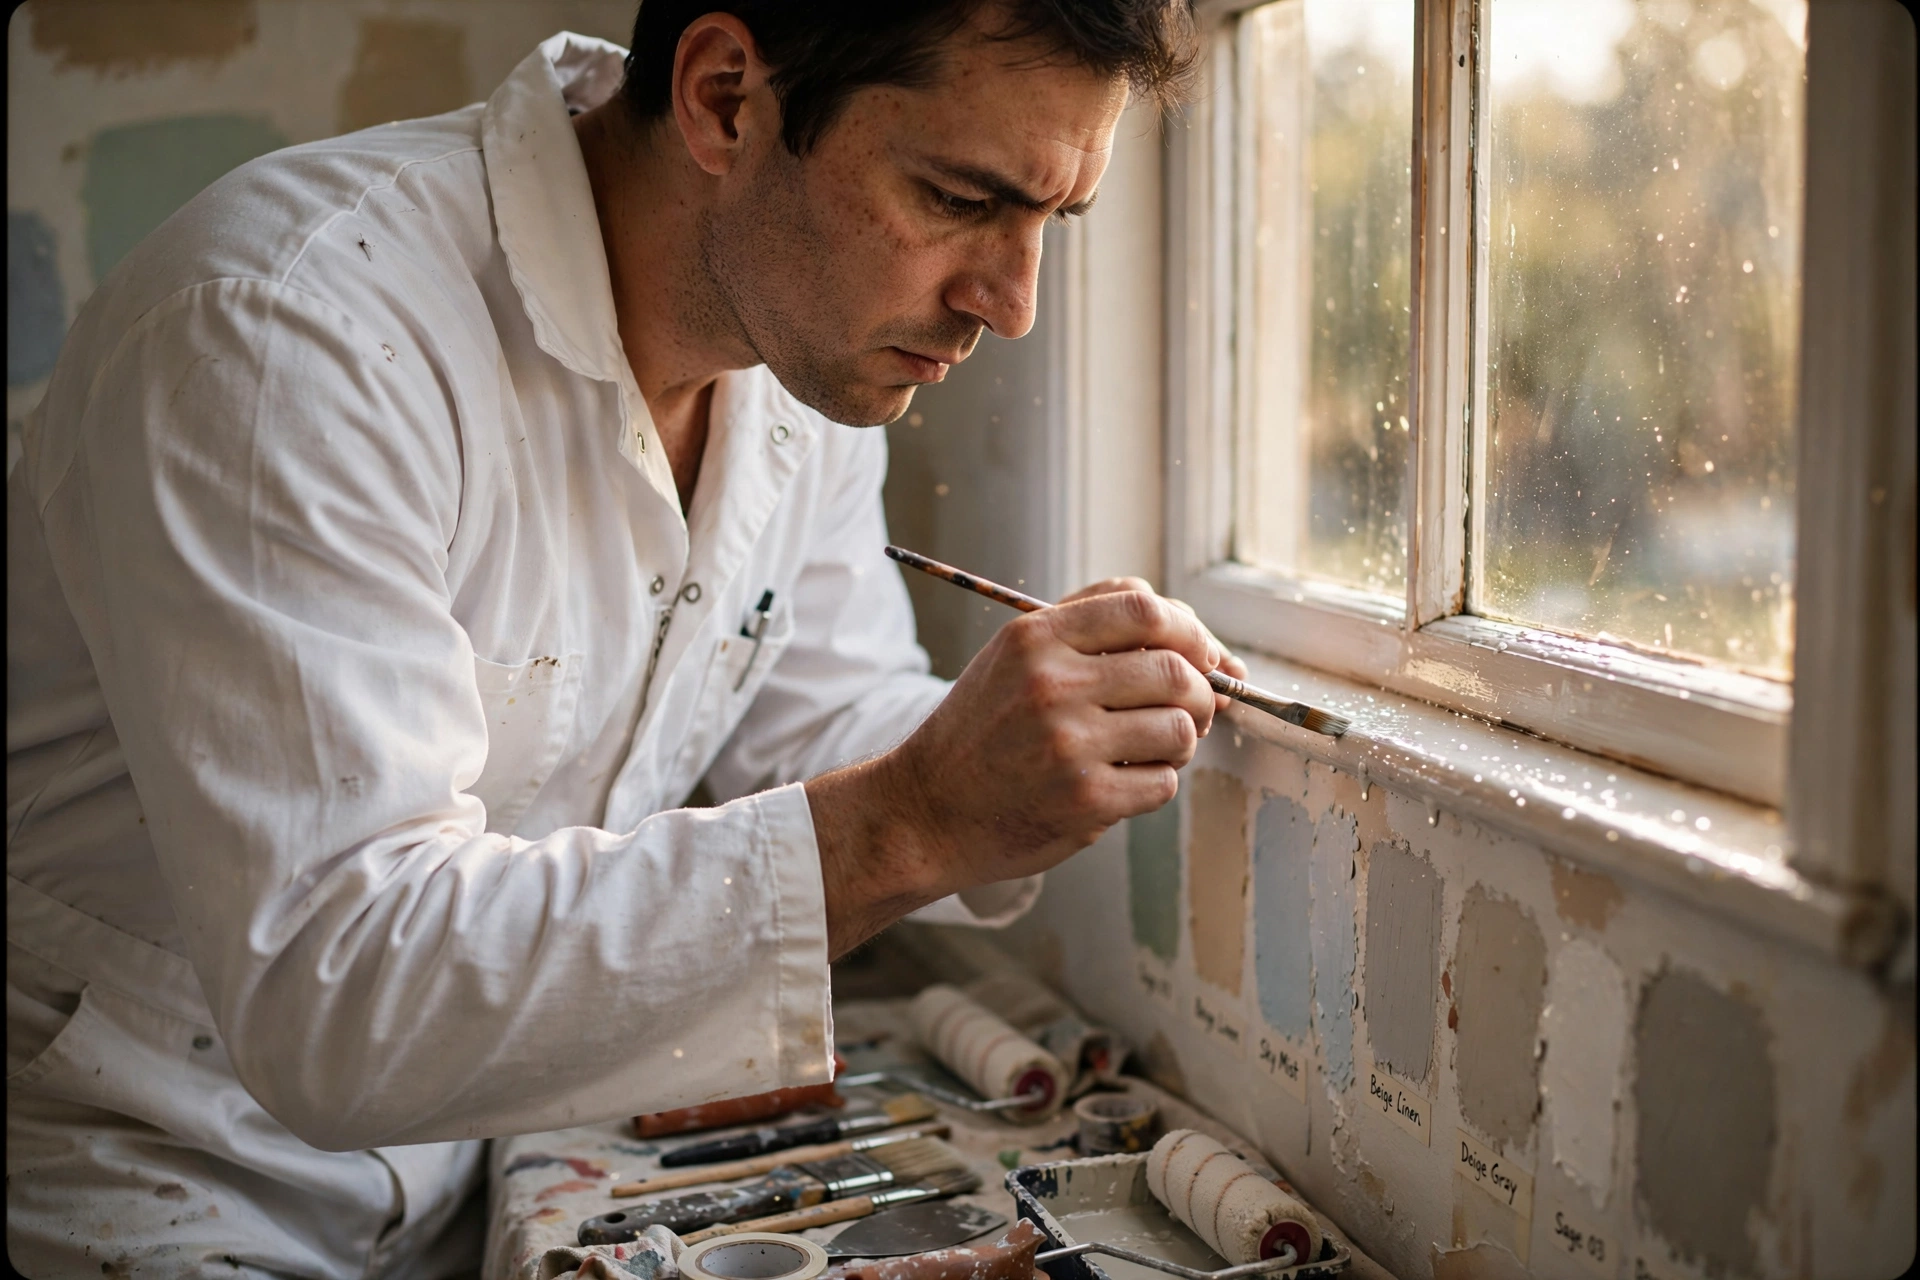
Cutting-in is the process of painting the edges where the roller cannot reach—corners, ceilings, and baseboards. Use a 2.5-inch angled sash brush. The secret is to paint the edges in small sections and begin rolling the main wall immediately after to "blend" the brush marks into the roller texture, preventing a visible line known as "picture framing."
Step 5: The Professional Roll
Load the roller evenly. Apply the paint in a "W" or "N" pattern, then fill in the gaps. This ensures an even distribution of paint. Always maintain a "wet edge," meaning you never let the paint dry before overlapping the next stroke.
💡
Key Takeaway
The most critical part of the process is the "wet edge" technique; allowing paint to dry before overlapping creates visible seams that cannot be fixed without sanding and repainting the entire wall.
For homeowners who find this process overwhelming, understanding How to Use California Bay Area Painting services can save weeks of frustration and ensure the 6-year guarantee that only licensed professionals can provide.
Comparing Interior Painting Options
Not all interior paint jobs are created equal. Depending on your budget and the intended use of the room, you will choose between different levels of service and material quality.
| Feature | DIY Approach | Low-Cost Contractor | World Pro Painting Standard |
|---|---|---|---|
| Prep Work | Minimal (usually just wiping) | Basic patching, no sanding | 5-step prep (clean, patch, sand, prime, caulk) |
| Materials | Store-brand acrylic | Mid-grade latex | Premium Sherwin-Williams/Benjamin Moore |
| Finish Quality | Visible laps & drips | Basic coverage, some streaks | Level 5 smooth finish, no "picture framing" |
| Durability | 2-3 years before wear | 3-5 years | 6-year guarantee with high-scrub finishes |
| Safety | Unregulated | Variable | Full CSLB compliance & EPA Lead-Safe certified |
Now, here's where it gets interesting: many homeowners choose the low-cost contractor to save 20% upfront, only to find that the paint begins to peel within 24 months. This results in a "double spend" where they eventually pay a professional to strip the poor-quality paint and do it correctly.
Common Questions & Misconceptions
Most guides get the basics right but fail on the nuances. Here are the most common myths I encounter in the field.
Myth 1: "Two coats are always better than one."
Actually, using a high-solids professional paint can often achieve full coverage in one coat if the primer is applied correctly. Forcing a second coat of a low-quality paint often leads to "over-working" the surface, which can cause the paint to pull or create unsightly textures.
Myth 2: "Satin finish is the best for every room."
That said, the sheen must match the room's function. While satin is great for kitchens due to its moisture resistance, it can highlight imperfections on a wall in a bedroom. A "flat" or "eggshell" finish is superior for ceilings and adult bedrooms because it absorbs light and hides wall flaws.
Myth 3: "You can just paint over everything."
This is the most dangerous misconception. Painting over glossy paint without sanding or using a bonding primer will lead to "alligatoring," where the new paint cracks and peels away in large flakes. You must break the surface tension of the existing paint for the new layer to adhere.
If you're planning a full home overhaul, don't forget the exterior. While we focus on the inside today, checking out Exterior Painting in Lakeside, Newark, CA: for 2026 is a great way to ensure your home's curb appeal matches its new interior elegance.
Frequently Asked Questions
How do I choose the right paint sheen for different rooms in my house?
The choice of sheen depends on the balance between durability and aesthetics. For bathrooms and kitchens, a semi-gloss or satin finish is mandatory because these surfaces require frequent cleaning and exposure to moisture. In living rooms and bedrooms, an eggshell or flat finish is preferred; it provides a softer look and hides the structural imperfections of the walls. In my experience, using a flat finish on ceilings is the only way to avoid "flashing," which occurs when light hits the ceiling at an angle and reveals roller marks.
How long does it actually take for interior paint to fully cure?
There is a massive difference between "dry" and "cured." Most interior paints are dry to the touch within 2 to 4 hours, but they do not fully cure for 30 days. During this curing period, the paint is still releasing solvents and is susceptible to "blocking"—where furniture or decorations stick to the wall. If you move a heavy dresser against a freshly painted wall too early, you will likely peel the paint. I always advise clients to wait at least 72 hours before hanging heavy art or pushing furniture flush against a wall.
Why is my paint peeling in the corners or near the baseboards?
Peeling in corners usually indicates one of two things: moisture intrusion or a lack of proper caulking. In the Bay Area's humid coastal climates, moisture can seep into the drywall, pushing the paint off from the inside. Additionally, if the gap between the wall and the baseboard wasn't sealed with a high-quality acrylic caulk, the paint will crack as the house naturally shifts. This is why World Pro Painting emphasizes the "caulking" phase of our preparation; it creates a flexible seal that prevents these exact failures.
Do I really need to prime if I'm painting the same color over the old paint?
Yes, priming is still essential for several reasons. First, primers provide a uniform "suction" across the wall, ensuring that the topcoat dries evenly. Without primer, the new paint may absorb into the wall differently in patched areas, leading to "flashing"—where the patches look duller than the rest of the wall. Second, a primer acts as a chemical barrier. If the previous paint was an oil-based product and you apply a water-based latex paint over it, the paint will peel off in sheets without a proper bonding primer.
How do I fix "lap marks" or visible lines in my paint job?
Lap marks occur when the paint begins to dry before you overlap the next stroke. To fix this, you cannot simply paint over the line; that usually makes it worse. The only professional solution is to lightly sand the affected area with 220-grit sandpaper to level the paint, apply a thin layer of primer to seal the sanded area, and then repaint the entire wall from corner to corner without stopping. This ensures the "wet edge" is maintained across the entire surface, eliminating the seams.
Final Thoughts on the Interior House Painters Guide
Executing a high-quality interior project requires more than just a steady hand; it requires a systematic approach to preparation and a deep understanding of material chemistry. By focusing on the five-step prep process—cleaning, patching, sanding, priming, and caulking—you move from a basic "home improvement" project to a professional-grade renovation.
Whether you are refreshing a single room or managing a large-scale project with Multi-Family Painters Mission San Jose - Fremont, CA, the principles of adhesion and surface tension remain the same. Don't let a lack of preparation ruin your investment. For those who want a guaranteed, flawless finish without the stress of DIY mistakes, World Pro Painting is ready to help.
For a professional consultation and a free on-site estimate, visit World Pro Painting today. If you're also updating your exterior, consider looking into Exterior Painting in Birch Grove, Newark, CA (2026) to complete your home's transformation.
Commercial Painting Cost Calculator & Color Guide
Get an instant estimation checklist for painting your office, warehouse, or house. Learn how to choose colors that boost productivity.