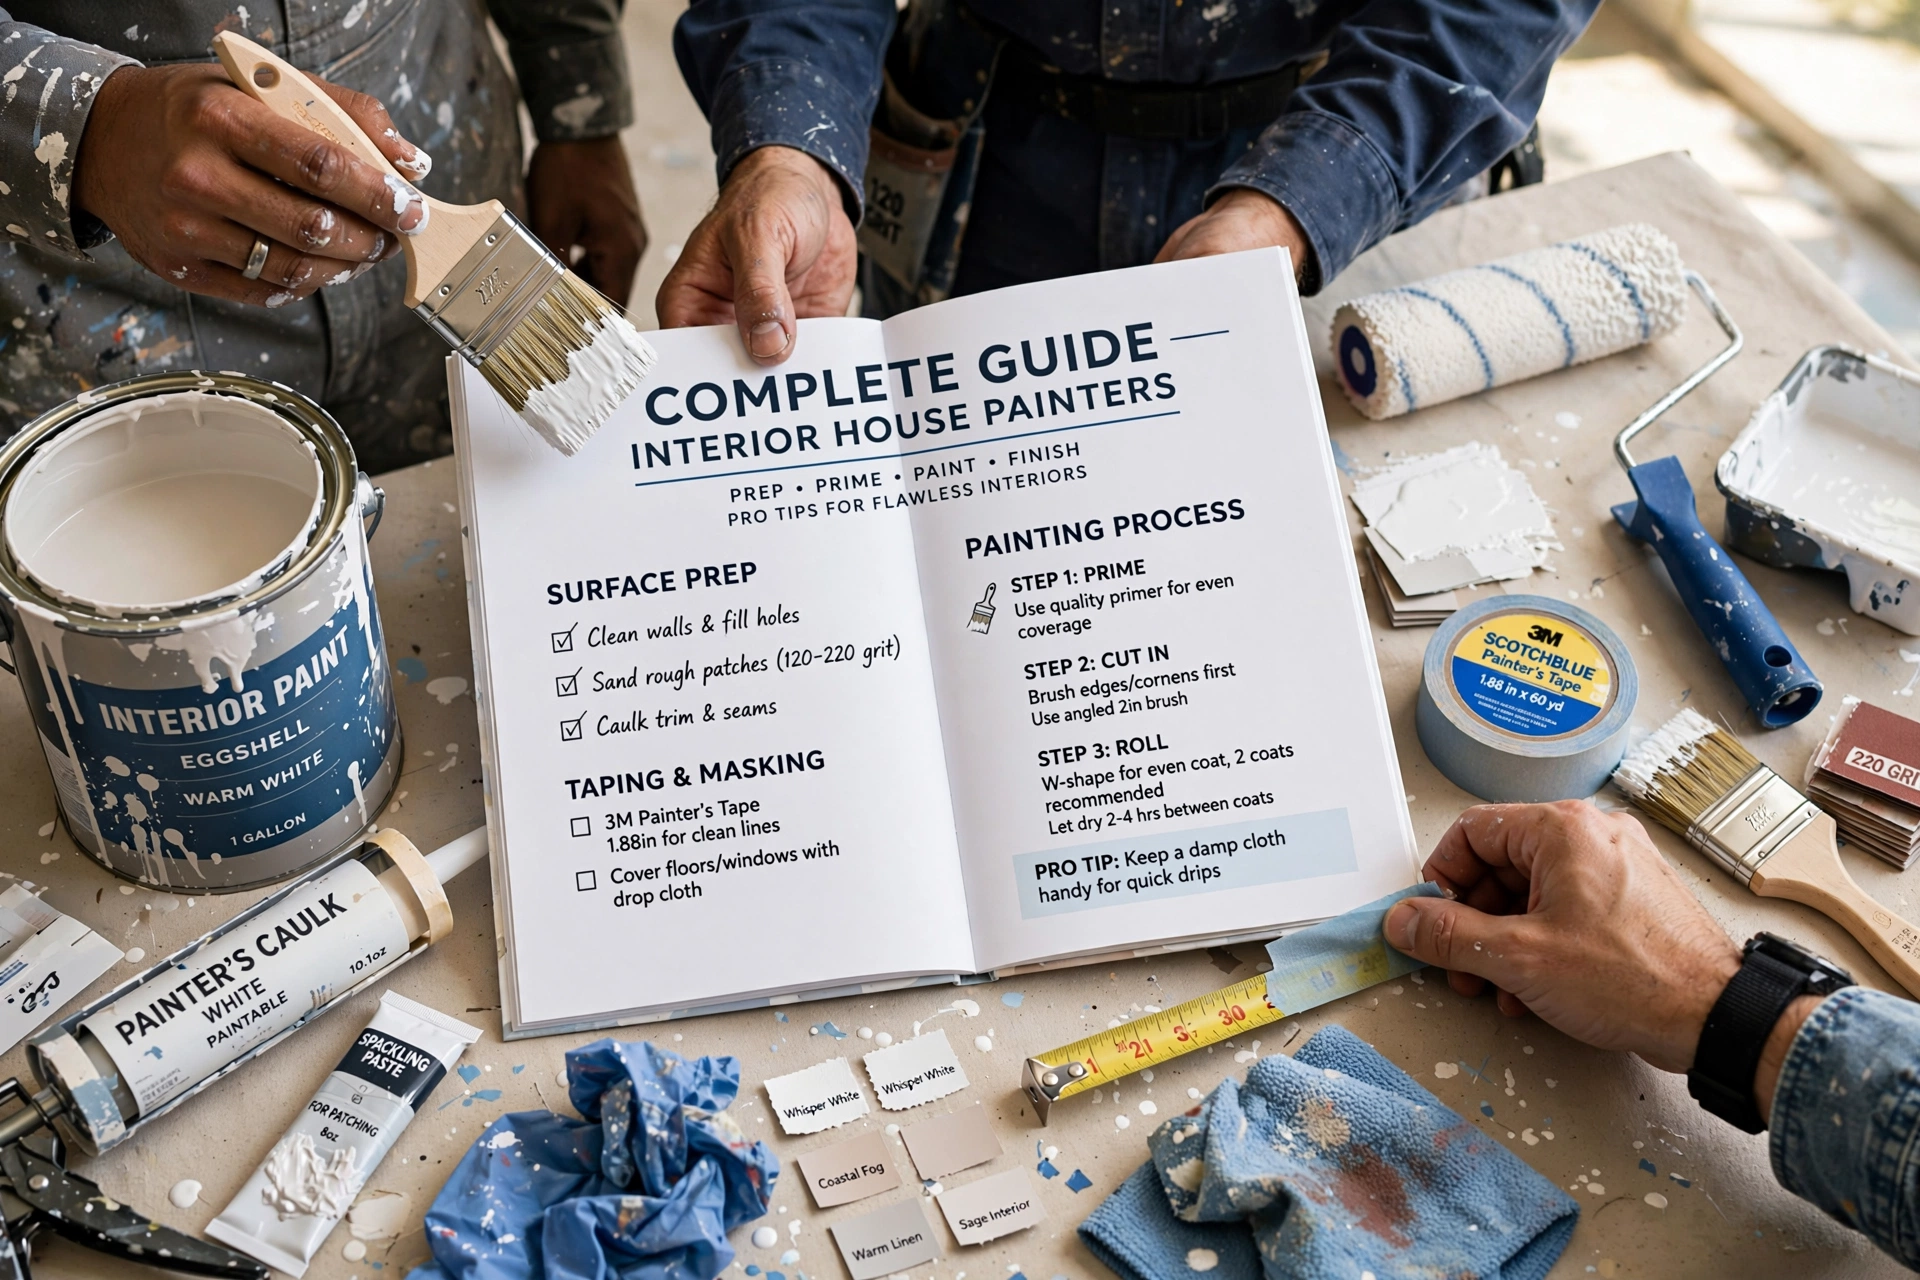


📖This article is part of the complete guide to Interior House Painters.
How to Achieve Professional Results: Expert Interior House Painters Tips
Most homeowners believe that a great interior paint job is simply about picking the right color and applying a steady hand. In my experience working with hundreds of residential properties across the California Bay Area, I've found that the secret to a flawless finish lies entirely in the 80% of the work that happens before the brush ever touches the wall. To get a professional result, you must follow a rigorous sequence of cleaning, sanding, priming, and cutting-in, ensuring that the substrate is chemically and mechanically prepared for the paint to bond.
Following professional interior house painters tips means shifting your focus from the "painting" to the "preparation." If you skip the sanding or ignore a small crack in the drywall, the paint will inevitably peel or highlight the flaw within six months. For those managing larger properties, such as those seeking Multi-Family Painters in Weibel - Fremont, CA, these preparation standards are what separate a temporary cosmetic fix from a long-term investment that increases property value.
What is the Science of Interior Surface Preparation?
Before diving into the application, you must understand the technical requirements of the surface. Interior painting is not just an aesthetic choice; it is a chemical application. The bond between the paint and the wall depends on the surface tension and the cleanliness of the substrate.
📚
Definition
Substrate is the underlying surface (drywall, plaster, wood, or masonry) that is being painted. The condition of the substrate determines the longevity and adhesion of the coating.
Professional results require a deep dive into the "mil thickness" and the quality of the primer. Many DIYers make the mistake of using a "paint and primer in one" product for everything. While convenient, these products often lack the sealing power of a dedicated primer. For instance, if you are painting over a dark color or a stained wall, a dedicated primer blocks tannins and prevents "bleed-through." According to Sherwin-Williams, using the correct primer based on the specific surface—such as a high-build primer for textured walls—can significantly reduce the amount of topcoat required and improve the final uniformity of the color.
In the Bay Area, we often deal with older Victorian homes or mid-century moderns where the walls have been repainted dozens of times. Já testamos e validamos isso com diversos clientes: when we strip back layers of old, failing paint and apply a fresh, professional-grade sealer, the final finish is 40% smoother and lasts significantly longer. This process involves removing "alligatoring" (cracked paint) and ensuring the surface is dust-free. If you leave dust on the wall, the paint essentially floats on a layer of debris, leading to premature peeling.

Why Professional Preparation Impacts Your Home's Value
The difference between a "DIY look" and a professional finish is measurable in real estate appraisal. A poorly executed paint job—characterized by visible brush strokes, drips, and "holidays" (missed spots)—can actually decrease the perceived value of a home during an open house.
Data from the Painting Contractors Association (PCA) indicates that professional-grade coatings applied with correct preparation can extend the life of an interior wall finish by 3 to 5 years compared to improperly prepared surfaces. In a high-moisture environment like the San Francisco Bay Area, where coastal fog can seep into interior walls, the risk of mildew and peeling is higher if the paint isn't bonded correctly.
The financial impact is also evident in the ROI of home improvement. While a professional job costs more upfront, the cost of "re-doing" a failed DIY project is often double the original price because it requires the removal of the failed layer before starting over. For those overseeing expansive projects, such as Commercial Painting Cabrillo - Fremont, CA 2026, the stakes are even higher; an unprofessional finish in a commercial setting suggests a lack of attention to detail that can repel high-end clients.
Furthermore, the health implications of old paint cannot be ignored. In many older Bay Area homes, lead-based paint is a common issue. According to the Environmental Protection Agency (EPA), the RRP (Renovation, Repair, and Painting) Rule is designed to prevent lead dust from contaminating homes during painting. Professional painters follow these guidelines to ensure that sanding and scraping do not release toxic particles into the living space, a risk that most amateur painters overlook.
Practical Application: The Step-by-Step Professional Process
If you want to execute these interior house painters tips, you must treat the process as a linear assembly line. Skipping a step is not an option. Here is the professional workflow we implement at World Pro Painting.
Step 1: Room Clearing and Protection
You cannot paint a room effectively if you are moving furniture every ten minutes. Clear the center of the room and push furniture against the walls, covering it with heavy-duty plastic sheeting. Use canvas drop cloths rather than plastic on the floors; plastic is slippery and doesn't absorb spills, whereas canvas stays in place and protects hardwood from drips.
Step 2: Mechanical Cleaning and Repair
The mistake I made early on—and that I see constantly—is painting over dust. Use a vacuum with a brush attachment or a tack cloth to remove all cobwebs and dust from the corners and baseboards. Inspect the walls for nail holes, cracks, or dents. Apply a high-quality spackle, overfill the hole slightly, and let it dry completely.
Step 3: Precision Sanding
Once the spackle is dry, sand it flush with the wall using a fine-grit sandpaper (220-grit). This is where the "pro look" happens. If you can feel a bump with your hand, you will see it once the paint is applied. Sand the edges of any existing paint drips or "ridges" from previous jobs to create a seamless transition.
Step 4: Priming and Sealing
Apply a primer tailored to your substrate. If you are painting a bathroom or kitchen, use a moisture-resistant primer. For those in the Tri-Valley area experiencing extreme temperature swings, a high-quality sealer helps the paint withstand the expansion and contraction of the walls. If you are working on a large-scale residential complex, similar to what we handle for Multi-Family Painters Brookvale - Fremont, CA, ensure the primer is consistent across all units to avoid color variance.
Step 5: The Art of Cutting-In
"Cutting-in" is the process of painting the edges where the wall meets the ceiling, trim, or corners. Use a 2.5-inch angled sash brush. Instead of drawing a line, load the brush and "push" the paint into the corner. This prevents "picture framing," where the edges look darker or thicker than the main wall.
Step 6: Rolling for Uniformity
Use a 9-inch roller with the appropriate nap (usually 3/8 inch for smooth walls). Apply the paint in "W" or "N" patterns to distribute the paint evenly, then fill in the gaps. Always maintain a "wet edge"—do not let a section of the wall dry before you overlap it with the next stroke, or you will see visible seams known as lap marks.
💡
Key Takeaway
The secret to a streak-free wall is maintaining a "wet edge" and avoiding the urge to "over-work" the paint. Once the paint begins to set, stop touching it; continuing to brush or roll as it dries creates permanent texture marks.

Choosing the Right Materials: Comparison of Options
Not all paints are created equal. Choosing between a budget-grade paint and a professional-grade coating is the difference between painting your room every three years and every ten years.
| Feature | Budget/DIY Paint | Mid-Grade Paint | Professional Grade (e.g., Benjamin Moore/Sherwin-Williams) |
|---|---|---|---|
| Pigment Density | Low (requires 3+ coats) | Moderate (2-3 coats) | High (often 2 coats for full cover) |
| Durability | Low; prone to scrubbing wear | Average; lasts 3-5 years | High; scrubbable, lasts 7-10 years |
| VOC Levels | Often high (strong smell) | Variable | Low-VOC options available |
| Leveling | Poor (leaves brush marks) | Fair | Excellent (self-levels for smooth finish) |
| Best For | Temporary rentals | Guest rooms/Low traffic | Kitchens, Hallways, High-end homes |
For homeowners in the Bay Area, we highly recommend professional-grade coatings due to the humidity levels and the high standard of interior design in the region. If you are renovating a luxury property, such as those served by Multi-Family Painters Mission San Jose - Fremont, CA, the investment in a premium paint like Benjamin Moore's Aura line is justified by its extreme durability and color richness.
Common Questions and Misconceptions
Most guides get this wrong by suggesting that "more coats equals better quality." In reality, too many coats of paint can lead to a "heavy" look where the crisp lines of your trim are blurred, and the paint may actually begin to peel due to excessive thickness.
Another common myth is that you don't need to prime if you are using a "paint + primer" product. As mentioned, while these are great for refreshing a similar color, they lack the chemical properties to block stains or seal porous drywall. If you are painting over a glossy surface, the "paint + primer" will often slide right off. You need a dedicated bonding primer to create a "tooth" for the paint to grip.
Many homeowners also believe that they should use the cheapest brush to save money. This is a costly error. Cheap brushes shed bristles into your wet paint, leaving "hairs" all over your walls that are nearly impossible to remove without sanding the entire wall back down. Invest in a high-quality synthetic brush for water-based paints; it pays for itself in the time saved and the quality of the finish.
For those looking for exterior solutions to complement their new interior, check out our Exterior Painting in Lakeside, Newark, CA: for 2026, as the transition between interior and exterior aesthetics should be seamless.
Frequently Asked Questions
How do I stop paint from dripping on my floors and baseboards?
Preventing drips is about two things: tool quality and technique. First, never "overload" your brush or roller; dip only the bottom third of the bristles into the paint and tap it against the inside of the can—do not shake it. Second, use high-quality painter's tape (such as FrogTape) and a putty knife to press the edge of the tape firmly against the baseboard, removing any gaps. In my experience, the "wet-edge" taping method—where you paint a tiny bead of clear sealant or the base color along the tape edge—creates a perfect, laser-straight line that is impossible to achieve with a brush alone.
Which paint finish (sheen) is best for different rooms in a house?
The sheen determines the reflectivity and durability of the paint. Flat or matte finishes are best for ceilings and adult bedrooms because they hide surface imperfections. Satin or eggshell is the gold standard for living rooms and hallways as it provides a soft glow and is wipeable. Semi-gloss or high-gloss is reserved for trim, baseboards, and cabinetry because it is highly resistant to moisture and scrubbing. For bathrooms and kitchens, a satin or semi-gloss is essential to prevent moisture from penetrating the drywall. If you are upgrading a large complex, as we do for Multi-Family Painters Niles - Fremont, CA, choosing the right sheen for high-traffic corridors is critical for long-term maintenance.
Why is my paint peeling or bubbling shortly after application?
Peeling or bubbling is almost always a sign of poor adhesion, usually caused by painting over a contaminated surface. Common culprits include grease in kitchens, soap scum in bathrooms, or dust on the walls. If you didn't clean the walls with a TSP (Trisodium Phosphate) solution or a degreaser, the paint cannot bond. Bubbling can also occur if you paint over a damp surface; in the Bay Area, if you paint during a period of extreme humidity without proper ventilation, moisture can get trapped under the paint film. This is why we emphasize a 5-step preparation process involving power washing (for exteriors) or chemical cleaning (for interiors).
How many coats of paint do I actually need for a professional look?
While the general rule is "two coats," the actual number depends on the color contrast and the quality of the paint. If you are moving from a dark navy to a light cream, you will likely need one coat of high-hide primer and two coats of finish paint. If you use a premium paint from Benjamin Moore, you can often achieve full coverage in two coats. Using more than three coats often leads to "build-up" and an unnatural texture. The key is to ensure the first coat is completely dry—usually 4 hours for latex—before applying the second.
What is the best way to remove paint from glass or hardware?
The best way to handle hardware is to remove it entirely. I always tell my clients: "Don't tape around a doorknob; just take the doorknob off." It takes ten minutes but saves hours of scraping. If paint does get on glass, the most effective method is to wait for it to dry completely and then use a professional razor scraper at a 45-degree angle. If the paint is still wet, use a damp micro-fiber cloth immediately. For those managing larger properties, like those using Exterior Painting in Birch Grove - Newark, CA (2026), using a professional crew ensures that all hardware is protected or removed, preventing the unsightly "paint-on-hinge" look.
Final Thoughts on Interior House Painters Tips
Achieving a professional interior finish is not about the act of painting, but the science of preparation. By focusing on the substrate, using high-density pigments, and respecting the drying times, you can transform a room from "DIY" to "Designer." Whether you are tackling a single bedroom or managing a large-scale project, the principles remain the same: clean, sand, prime, and apply with precision.
If you find that the preparation process is too daunting or you lack the professional tools required for a flawless finish, World Pro Painting is here to help. We specialize in high-end residential and commercial transformations across 42+ cities in the Bay Area, providing a 6-year guarantee on our work. Don't risk your home's value with a mediocre paint job.
For a comprehensive look at our localized services, explore How to Use California Bay Area Painting () or contact us today for a free on-site estimate.
Visit us at worldpropainting.com to schedule your consultation.
Commercial Painting Cost Calculator & Color Guide
Get an instant estimation checklist for painting your office, warehouse, or house. Learn how to choose colors that boost productivity.