

📖This article is part of the complete guide to Interior House Painters.
How Do You Properly Hire and Work With Interior House Painters?
Peeling paint and uneven coats often stem from a failure in the preparation phase, not the painting itself. Achieving a flawless finish requires a systematic approach to vetting professionals and managing the project timeline. For those seeking a deeper understanding of interior house painters, the process begins by shifting the focus from the lowest bid to the most comprehensive preparation plan. A professional result is guaranteed only when you prioritize surface stabilization, primer selection, and a verified licensing history.
In my experience working with high-end residential projects across the San Francisco Bay Area, I've seen homeowners lose thousands of dollars by hiring "budget" painters who skip the sanding and caulking phases. The result is always the same: paint that begins to crack or bubble within eighteen months. To avoid this, you must demand a detailed scope of work that explicitly lists the number of coats and the specific brand of paint to be used.
Whether you are managing a small renovation or coordinating with Multi-Family Painters in Weibel - Fremont, CA, the key is to treat the project as a technical installation rather than a simple cosmetic update.

What Defines Professional Interior House Painting?
Professional interior painting is the technical application of coatings to indoor surfaces to protect the substrate and enhance the aesthetic value of a property. It is a multi-stage engineering process that involves chemical cleaning, mechanical abrasion, and strategic layering.
📚
Definition
Substrate refers to the underlying surface—such as drywall, plaster, or wood—that is being painted. The quality of the final finish depends entirely on the condition and preparation of the substrate.
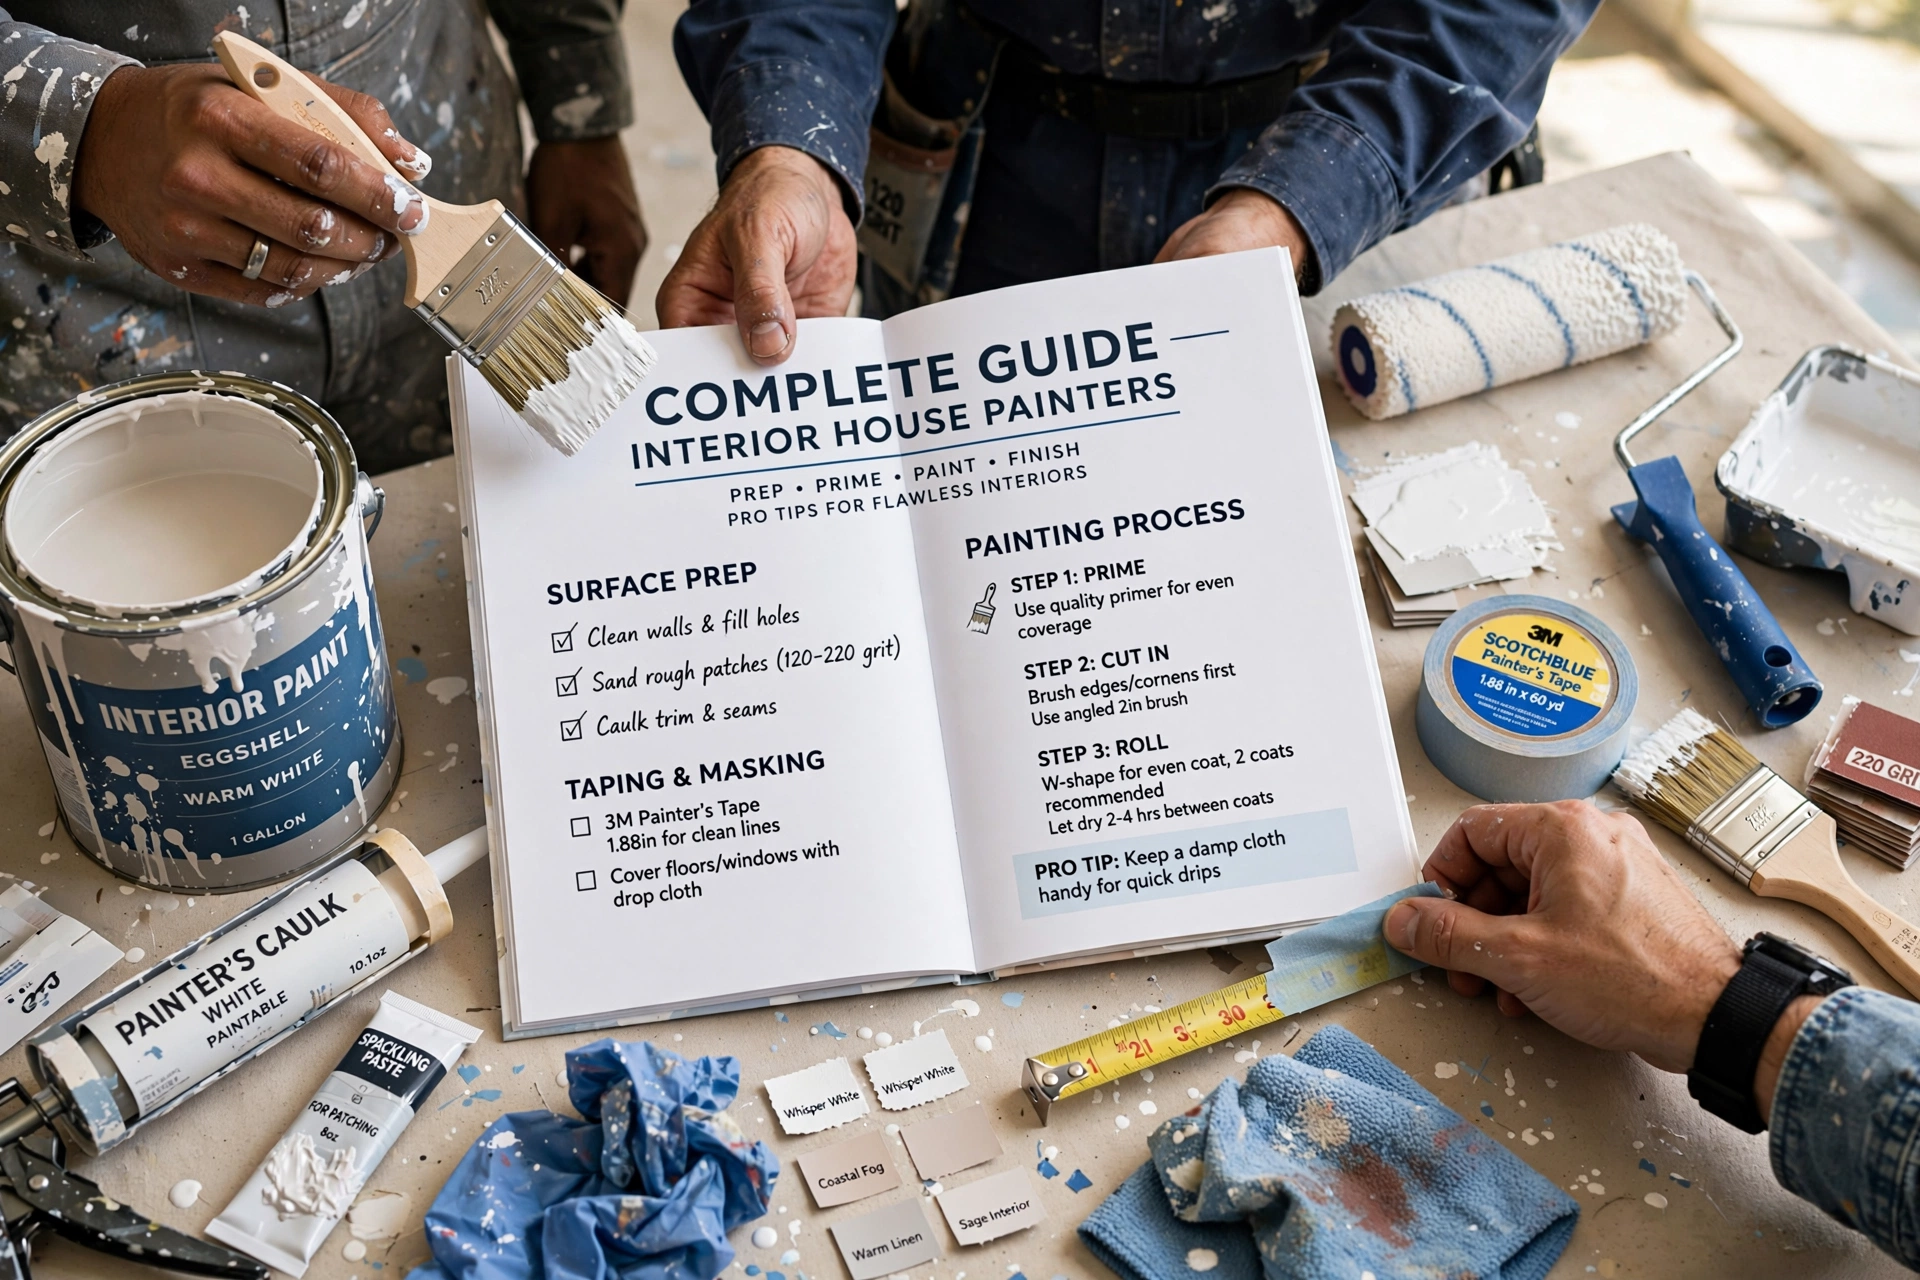
Understanding interior house painters requires recognizing that the "painting" part is actually the final 20% of the job. The first 80% is preparation. This includes scraping loose flakes, filling nail holes with high-grade spackle, sanding surfaces to create a "tooth" for the paint to grip, and applying painter's tape to ensure razor-sharp lines. If a contractor tells you they can "just paint over" an old, glossy surface without sanding, they are ignoring basic physics.
According to the Painting Contractors Association (PCA), the failure of a paint film is most commonly attributed to poor surface preparation or the application of incompatible coatings. When a professional evaluates a room, they aren't just looking at the color; they are checking for moisture levels in the walls and identifying if previous layers were oil-based, which would require a specific bonding primer before a modern water-based latex paint can be applied.
Now, here's where it gets interesting: the choice of paint sheen is not just about looks; it is about utility. A flat finish hides imperfections but is nearly impossible to clean, while a semi-gloss is durable but highlights every bump in the drywall. A master painter will guide you through these choices based on the room's traffic patterns and light exposure.
Why Choosing the Right Professional Impacts Your Home's Value
The difference between a DIY job and a professional application is measurable in both equity and longevity. Low-quality paint jobs create "visual noise"—streaks, lap marks, and bleeding—that can actually decrease the perceived value of a home during a walkthrough.
Data from the real estate industry consistently shows that a fresh, neutral interior paint job is one of the highest-ROI home improvements a homeowner can make. However, this only holds true if the execution is seamless. A poorly executed job often requires "corrective painting," which involves sanding down the mistakes and starting over, effectively doubling the cost of the original project.
Beyond the aesthetics, there is a significant safety component. In many older homes in the Bay Area, particularly in San Francisco and Oakland, there is a high prevalence of lead-based paint. According to the Environmental Protection Agency (EPA), failure to follow RRP (Renovation, Repair, and Painting) rules when dealing with lead paint can lead to severe health risks and heavy federal fines. A licensed professional is trained in lead-safe work practices, ensuring that toxins aren't spread through the home during the sanding process.
Furthermore, the use of Low-VOC (Volatile Organic Compounds) paints has become a standard for health and environmental compliance in California. The California Contractors State License Board (CSLB) regulates the licensing of contractors to ensure they have the necessary training to handle these materials safely. When you hire a licensed firm like World Pro Painting, you are paying for the insurance and certification that protects your family and your investment.
How to Implement a Professional Interior Painting Project Step-by-Step
To get the best results, you should follow a structured workflow. If you are coordinating with Multi-Family Painters Brookvale - Fremont, CA or a residential team, ensure these steps are documented in your contract.
Step 1: The Surface Audit
The painter must walk through every room and identify "problem areas." This includes water stains, cracks in the crown molding, and areas of peeling paint. A professional will not give a final quote until they have seen the walls in natural light.
Step 2: Site Protection and Masking
This is where many cheap contractors cut corners. Every piece of furniture should be moved to the center of the room and covered with plastic sheeting. Floors must be protected with heavy-duty drop cloths—not thin plastic, which slides and traps moisture.
Step 3: Mechanical Preparation
This involves the "dirty work." Walls are washed to remove grease, holes are patched, and surfaces are sanded. In my experience, the most overlooked part of this stage is the "vacuum and tack-cloth" phase. If dust is left on the wall, the paint will adhere to the dust rather than the wall, leading to a gritty texture.
Step 4: Priming and Undercoating
Priming is not always necessary, but it is essential for new drywall, stained surfaces, or when transitioning from a dark color to a light one. A high-quality primer from Sherwin-Williams or Benjamin Moore seals the surface and ensures the topcoat color is uniform.
Step 5: The Topcoat Application
The paint is applied using a "cut-and-roll" method. Professionals cut the edges with a brush first and then roll the large areas to avoid "picture framing" (visible lines around the edges). Two coats are the gold standard; a single coat rarely provides the necessary opacity and durability.
💡
Key Takeaway
The secret to a professional finish is not the paint itself, but the rigorous adherence to the preparation sequence—specifically the sanding and priming stages—which prevents future peeling.

Comparing Painting Approaches: DIY vs. Budget vs. Professional
When deciding how to proceed, homeowners often struggle to see why the price variance is so high. It usually comes down to the tools used and the hours spent on preparation.
| Feature | DIY Approach | Budget/Unlicensed Contractor | World Pro Painting Approach |
|---|---|---|---|
| Prep Work | Minimal (usually just wiping) | Basic (spot patching only) | Comprehensive (Sanding, Caulking, Priming) |
| Materials | Entry-level consumer paint | Lowest cost bulk paint | Premium Low-VOC (Sherwin-Williams/Benjamin Moore) |
| Equipment | Standard rollers/brushes | Basic tools, often worn | Professional grade sprayers and high-nap rollers |
| Protection | Thin plastic sheets | Basic drop cloths | Full room masking and furniture shielding |
| Guarantee | None | Verbal promise | 6-Year Guarantee & CSLB License |
| Best For | Small accent walls | Very low-budget rentals | Long-term home value and durability |
That said, choosing the budget option often results in a "hidden tax." You may save 30% upfront, but you will likely spend 100% more in three years when the paint begins to flake and you have to pay a professional to scrape off the bad work before restarting.
Common Misconceptions About Interior Painting
Most guides get this wrong by suggesting that "more paint equals better quality." In reality, applying too many coats of paint can lead to "sagging" or "curtaining," where the paint begins to run down the wall because it cannot bond to the previous layer.
Myth 1: "Primer is just watered-down paint."
This is a dangerous misconception. Primer is a chemically distinct product designed to seal porous surfaces and create a chemical bond. Using "paint + primer" in one can is convenient for a quick refresh, but it is not a substitute for a dedicated bonding primer on a damaged substrate.
Myth 2: "All white paint is the same."
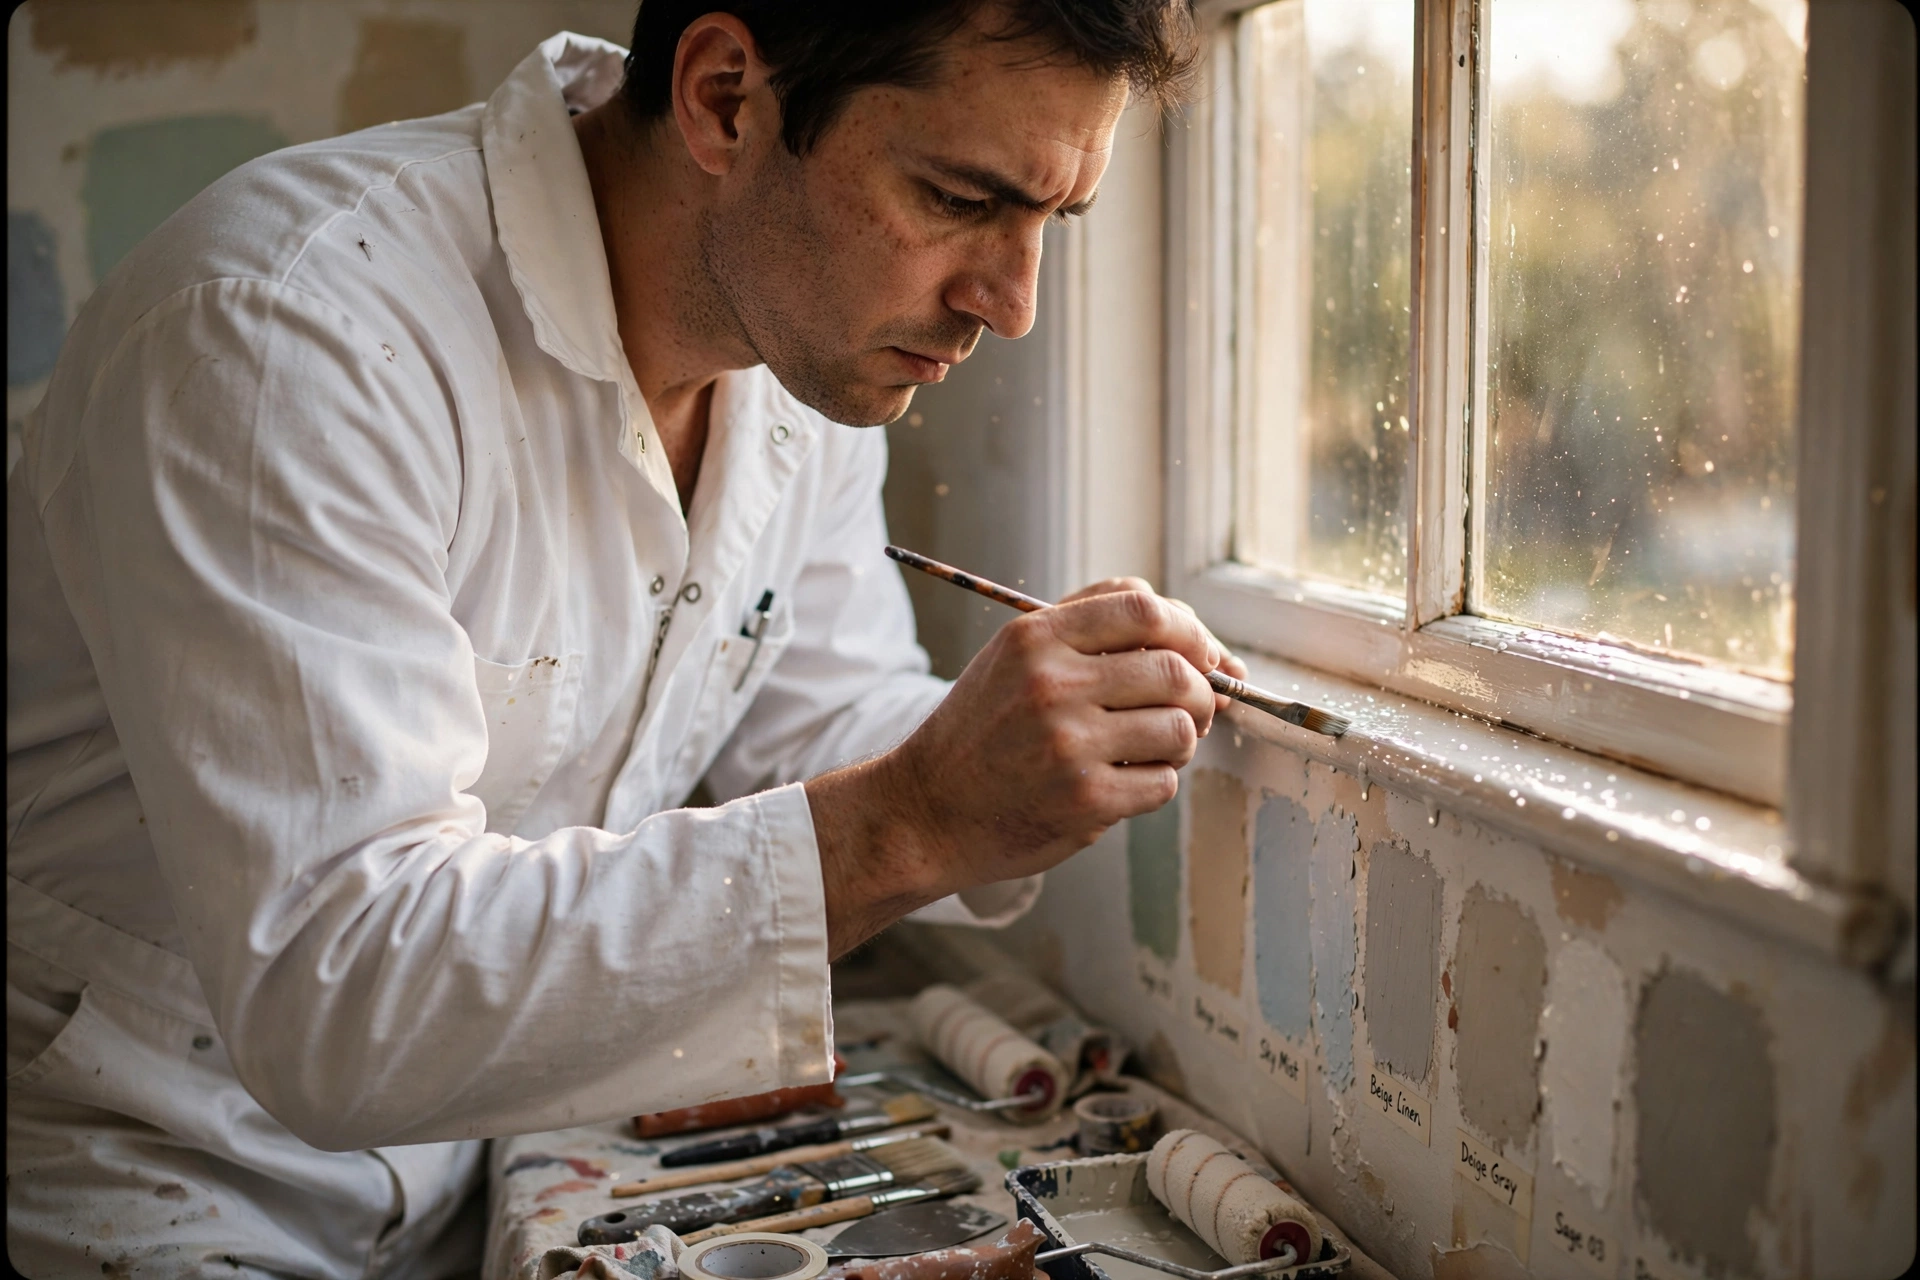
In the Bay Area's varied light—from the foggy coast of San Francisco to the bright sun of the Tri-Valley—the "undertone" of white paint changes everything. A "cool white" can look blue or grey in some rooms, while a "warm white" can look yellow. A professional painter will help you test samples in different lighting before committing to a full house.
Myth 3: "Sanding is only for old houses."
Even new construction drywall has "seams" and "imperfections" from the taping process. If you don't sand these areas, the paint will highlight every ridge. If you're coordinating larger projects, such as Commercial Painting Cabrillo - Fremont, CA 2026, you'll find that industrial-grade sanding is the only way to achieve a "Level 5" finish.
Frequently Asked Questions
How do I know if my interior painter is actually preparing the walls correctly?
You should look for physical evidence of preparation. First, check if the painter is using a vacuum or tack-cloth to remove dust after sanding; if they just blow the dust away, it will end up in the paint. Second, look at the trim and baseboards. There should be a clean, gap-free line of caulk between the wall and the trim. If you see gaps, they skipped the caulking phase. Finally, ask to see the primer they are using. If they are applying a topcoat directly over a glossy old paint without a sanding or priming step, the job will likely fail within a year.
Why is the cost of interior painting so different between contractors?
The price variance is almost always found in the "labor hours for preparation." A budget contractor might spend two hours prepping a room and eight hours painting. A professional firm like World Pro Painting will spend eight hours prepping and four hours painting. We invest more time in the invisible work—scraping, sanding, and masking—because that is what determines the lifespan of the paint. Additionally, licensed contractors carry workers' compensation and liability insurance, which adds to the cost but protects the homeowner from catastrophic financial risk if an accident occurs on-site.
Should I choose a flat, eggshell, or satin finish for my living room?
For most living rooms, an eggshell or satin finish is the best choice. Flat paint is excellent for ceilings because it hides imperfections and doesn't reflect light, but it absorbs stains and cannot be scrubbed. Eggshell provides a very slight glow and is "wipeable," making it ideal for low-to-medium traffic areas. Satin is more durable and moisture-resistant, which is why we recommend it for kitchens, bathrooms, and hallways. The decision should be based on how often the wall will be touched; the more contact a wall has with people, the higher the sheen should be.
How long does it actually take for interior paint to fully cure?
There is a critical difference between "dry" and "cure." Most modern latex paints are dry to the touch in a few hours, but they do not fully cure for 14 to 30 days. During the curing process, the paint is still releasing solvents and hardening. If you lean heavy furniture against a "dry" wall too soon, you will get "blocking," where the furniture sticks to the paint and peels it off. I always advise clients to wait at least two weeks before hanging heavy mirrors or pushing wardrobes tight against a newly painted wall.
Is it necessary to move all the furniture out of the room?
While it isn't strictly necessary to empty the house, moving furniture to the center of the room is essential for a professional finish. This allows the painters to work efficiently and ensures that no paint splatters on your upholstery. If a contractor tells you they "don't need to move anything," they are likely planning to paint around your furniture, which leads to missed spots and "holidays" (unpainted gaps) that you'll only notice after they leave. We use heavy-duty plastic sheeting to create a protective cocoon around your belongings.
Final Thoughts on Understanding Interior House Painters
Successfully navigating the process of understanding interior house painters comes down to a simple realization: you are not paying for paint on a wall; you are paying for the meticulous preparation that happens before the brush even touches the surface. By prioritizing licensing, demanding a clear preparation protocol, and choosing high-performance materials, you ensure that your home remains an asset rather than a maintenance burden.
Whether you are looking for residential updates or coordinating specialized services like Exterior Painting in Birch Grove - Newark, CA (2026), the principles of quality remain the same. Don't settle for a "quick coat" when a professional system can provide a decade of beauty.
If you are ready to transform your space with a team that values precision over speed, contact World Pro Painting for a free on-site estimate. We bring CSLB-certified expertise and a 6-year guarantee to every project across the Bay Area.
Visit worldpropainting.com to schedule your consultation today.
Commercial Painting Cost Calculator & Color Guide
Get an instant estimation checklist for painting your office, warehouse, or house. Learn how to choose colors that boost productivity.