If you have already mastered the basics of exterior painting, you know that prep work and proper technique separate a three-year finish from a fifteen-year one. This exterior painting best practices part 3 dives into advanced surface preparation, high-performance material pairing, and application methods that professional painters use to deliver premium results. For a foundational overview, be sure to check out our comprehensive guide on exterior painting best practices part 3 and see how each layer of knowledge builds on the previous.

What is Advanced Exterior Painting?
📚
Definition
Advanced exterior painting refers to the systematic approach of diagnosing substrate conditions, selecting compatible premium materials, and executing multi-step surface preparation and application techniques to achieve maximum durability and aesthetic quality.
Standard exterior painting often stops at a quick wash and a single coat of paint. In contrast, advanced exterior painting involves a thorough assessment of the existing surface—whether stucco, wood, brick, or fiber cement—and tailoring each step to address specific challenges like moisture intrusion, efflorescence, or UV degradation. This level of detail is especially critical in the California Bay Area, where microclimates range from coastal fog to inland heat. At World Pro Painting, we see the consequences of rushed work daily: peeling, blistering, and premature failure. Our 5-step preparation process—power washing, scraping, sanding, caulking, and priming—is the foundation of every lasting paint job.
Why does this matter? According to the Paint Quality Institute, over 80% of paint failures are due to poor surface preparation. Using the right primer for the substrate and ensuring proper film thickness can extend the life of a paint system by years. As the National Association of Home Builders notes, a well-maintained exterior paint job can protect building materials from rot, insect damage, and weather-related wear, ultimately preserving home value (NAHB, 2023).
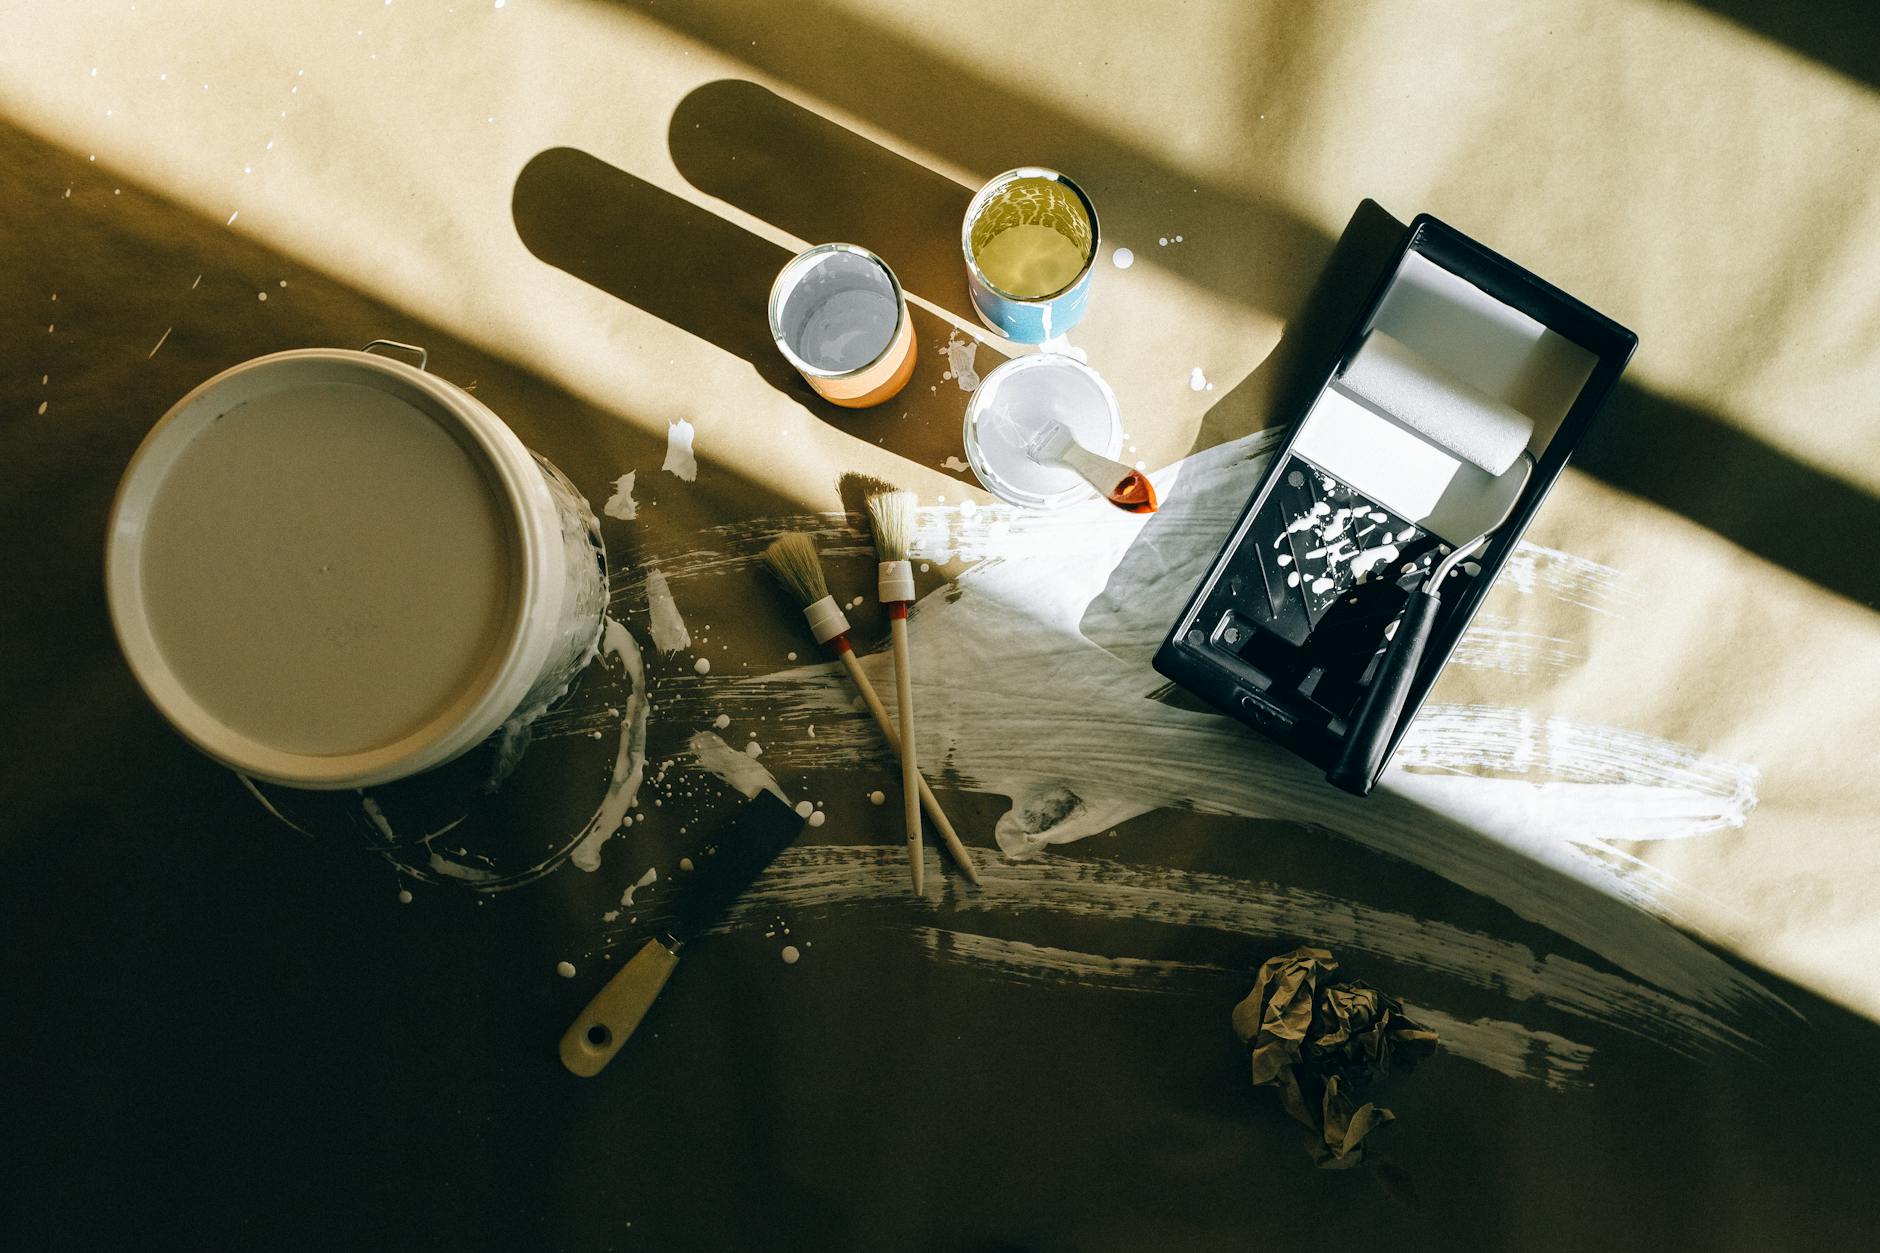
Critical Steps for Perfect Surface Preparation
Surface preparation is not a single step—it is a multi-phase process that determines adhesion and longevity. Here are the must-do steps for advanced prep:
-
Comprehensive Inspection: Look for cracks, rot, rust, mold, and loose paint. Use a moisture meter to detect hidden dampness, especially around windows and rooflines. According to industry guidelines from the Painting and Decorating Contractors of America (PDCA), moisture levels above 15% must be addressed before painting.
-
Power Washing with Care: Use low-pressure (under 2,000 psi) with a wide fan tip to avoid damaging the substrate. For mildew and algae, apply a bleach-based biowash (1:3 ratio with water) and let it dwell for 10 minutes before rinsing. Always protect electrical fixtures and landscaping.
-
Scraping and Sanding: Remove all loose paint down to a sound edge. For wood, use 80-100 grit sandpaper to create a surface profile that primer can grip. For stucco, patch cracks and high spots with a polymer-modified patching compound.
-
Caulking and Sealing: Use high-quality elastomeric caulk (e.g., Sherwin-Williams Powerhouse) around windows, doors, and trim joints. Do not skip caulking—it stops water intrusion and insect entry. Research from Building Science Corporation shows that air leakage accounts for 30% of heat loss, and sealing gaps improves energy efficiency (BSC, 2022).
-
Priming: Always prime bare wood, metal, and masonry. Use a stain-blocking primer for areas with tannin bleed (redwood, cedar) or water stains. For high-moisture environments, a latex bonding primer on masonry enhances adhesion.
Choosing the Right Materials for Bay Area Climates
The Bay Area's microclimates demand smart material selection. Here's what the pros recommend:
-
Paint Sheen and Durability: For coastal areas with persistent fog (e.g., Pacifica, Half Moon Bay), use a 100% acrylic latex paint with a satin or semi-gloss finish—these shed moisture better than flat paints. For inland valleys like Livermore, a high-heat resistant paint with UV protection prevents fading. Benjamin Moore's Aura Exterior and Sherwin-Williams Duration are top choices, both offering extended warranties.
-
Primer Types: Bonding primer (e.g., Stix) for slick surfaces like tile or glossy paint; masonry primer for stucco to prevent alkali burn; and oil-based primer for wood that bleeds tannins.
-
Caulks and Sealants: Use silicone-modified latex for flexibility in expansion joints, and butyl rubber for metal-to-wood junctions. A study by the University of Florida found that properly sealed joints extend paint life by 40% over unsealed ones.
Advanced Application Techniques
Even with perfect prep and materials, poor application ruins results. Here are pro techniques:
-
Back-brushing and Back-rolling: After spraying paint, back-brush or back-roll immediately to ensure full coverage and penetration into texture. This eliminates holidays and promotes adhesion. The PDCA recommends back-rolling on all textured surfaces like stucco.
-
Spraying with Precision: Use an airless sprayer with the correct tip (e.g., 515 for latex) and maintain a 12-inch distance. Keep the gun perpendicular to the surface and use overlapping passes by 50%. This produces an even film thickness of 4-6 mils, which is optimal for durability.
-
Temperature and Humidity: Paint only when temperature is above 50°F and humidity below 70% for latex paints. For oil-based, temperature above 40°F is acceptable. Avoid painting in direct sun on hot days—it causes flashing. The Manufacturer's technical data sheet must be followed.
💡
Key Takeaway
The application technique is as important as the paint itself. Consistent film thickness and proper timing between coats are non-negotiable for a warranty-quality job.
Common Mistakes and How to Avoid Them
Even experienced painters make errors. Here are the top five:
-
Skipping the Primer: On bare wood or new stucco, primer is not optional. It seals the substrate, promotes adhesion, and ensures uniform paint absorption.
-
Inadequate Drying Time: Paint needs to fully cure before a second coat or exposure to weather. In cool, damp conditions, wait 24-48 hours between coats. Rushing leads to wrinkling and peeling.
-
Applying in Direct Sunlight: Paint dries too fast, causing lap marks and poor flow. Work in the shade or adjust schedule to avoid midday heat.
-
Using Low-Quality Paint: Discount paints have fewer binders and solids, resulting in thinner films and shorter lifespans. Invest in premium brands like Sherwin-Williams or Benjamin Moore.
-
Neglecting Caulking Around Windows: Water intrusion behind paint causes bubbling and rot. Always caulk and inspect for gaps.
Cost and Value Considerations
While we never quote specific prices without an on-site evaluation, it is important to understand the value of a professional exterior paint job. The investment covers labor, premium materials, and the 5-step prep that minimizes future maintenance. A quality paint job can last 10-15 years, whereas a cheap one may fail in 3-5, costing more in the long run. For a transparent estimate with zero hidden fees, contact World Pro Painting for a free on-site evaluation.
Real-World Examples
Case Study 1: Fremont Home with Severe Peeling (Alameda County)
A 1980s stucco home in Fremont had peeling paint on south-facing walls due to sun exposure and previous poor prep. World Pro Painting performed power washing, removed loose paint, patched cracks with a polymer-modified compound, and primed with an alkali-resistant masonry primer. Two coats of Sherwin-Williams Duration were applied. Five years later, the paint shows no signs of failure, and the homeowner notes that the annual blistering has ceased.
Case Study 2: HOA in San Ramon (Contra Costa County)
A multi-family complex needed painting across 12 buildings. The HOA board selected World Pro Painting for our strict timeline adherence and minimal disruption. Our team used low-dust sanding techniques and scheduled work between 8 AM and 5 PM to respect residents. The project finished on schedule, and the board praised the daily cleanup and uniformed crews.
Frequently Asked Questions
How long does an exterior paint job typically last?
With proper surface preparation and premium materials, an exterior paint job using 100% acrylic latex can last 10-15 years. Factors such as sun exposure, humidity, and the condition of underlying surfaces affect longevity. In Bay Area microclimates, homes near the coast may need repainting sooner due to salt and moisture, while inland homes with high UV exposure may fade faster. Regular inspections and timely touch-ups can extend the life. World Pro Painting's 6-Year Guarantee backs our workmanship.
Should I paint my exterior in summer or winter?
The best time for exterior painting in the Bay Area is late spring through early fall (April to October), when temperatures are moderate and rainfall is minimal. Summer heat can cause fast drying, leading to lap marks; if painting in summer, work in the shade or early morning. Avoid painting when temperatures drop below 50°F at night, as this affects curing. In winter, only repaint if you have a dry, warm window—usually not recommended.
What is the best type of paint for stucco?
100% acrylic latex paint is best for stucco because it allows the surface to breathe and prevents trapped moisture that can cause delamination. Look for paint with elastomeric properties if the stucco has hairline cracks; these paints flex with the substrate. Avoid flat sheens because they can trap dirt and mildew; a satin or matte finish works well. Always use a masonry primer on new stucco to prevent alkali burn.
How important is power washing before painting?
Critical. Power washing removes dirt, mildew, cobwebs, and loose paint, allowing the new coating to adhere properly. Without washing, contaminants can cause poor adhesion and premature failure. Use low pressure (1,500-2,000 psi) with a fan tip to avoid damaging siding, windows, or caulking. Allow the surface to dry for at least 24 hours (or per paint manufacturer instructions) before painting. In humid conditions, allow longer.
Do I need to prime bare wood before painting?
Absolutely. Bare wood (especially redwood, cedar, and pine) contains tannins and resins that can bleed through paint, causing stains. A high-quality stain-blocking primer (oil-based or shellac) seals the wood and provides a uniform surface for the topcoat. Skipping primer on bare wood is one of the most common causes of paint failure, leading to peeling and discoloration within a year.
Recommended Readings
To deepen your understanding of these topics, we recommend reading the following articles:
- Cabinet Refinishing & Painting
- Cabinet Refinishing Experts
- California Bay Area Painting
- Commercial Painting Contractors
Conclusion
Exterior painting best practices part 3 emphasizes that professional-level results come from meticulous preparation, material selection, and technique. Whether you are a homeowner or property manager, investing in proper surface prep and premium paints protects your property for years. For the full picture, revisit our complete guide on exterior painting best practices part 3. Ready to give your home a flawless finish that lasts? Contact World Pro Painting today for a free, no-obligation estimate. We serve 42 cities across the Bay Area, including Fremont, San Ramon, and Pleasanton. Visit our website at World Pro Painting to schedule your free on-site estimate and experience the difference of our 6-Year Guarantee and meticulous craftsmanship.
Commercial Painting Cost Calculator & Color Guide
Get an instant estimation checklist for painting your office, warehouse, or house. Learn how to choose colors that boost productivity.