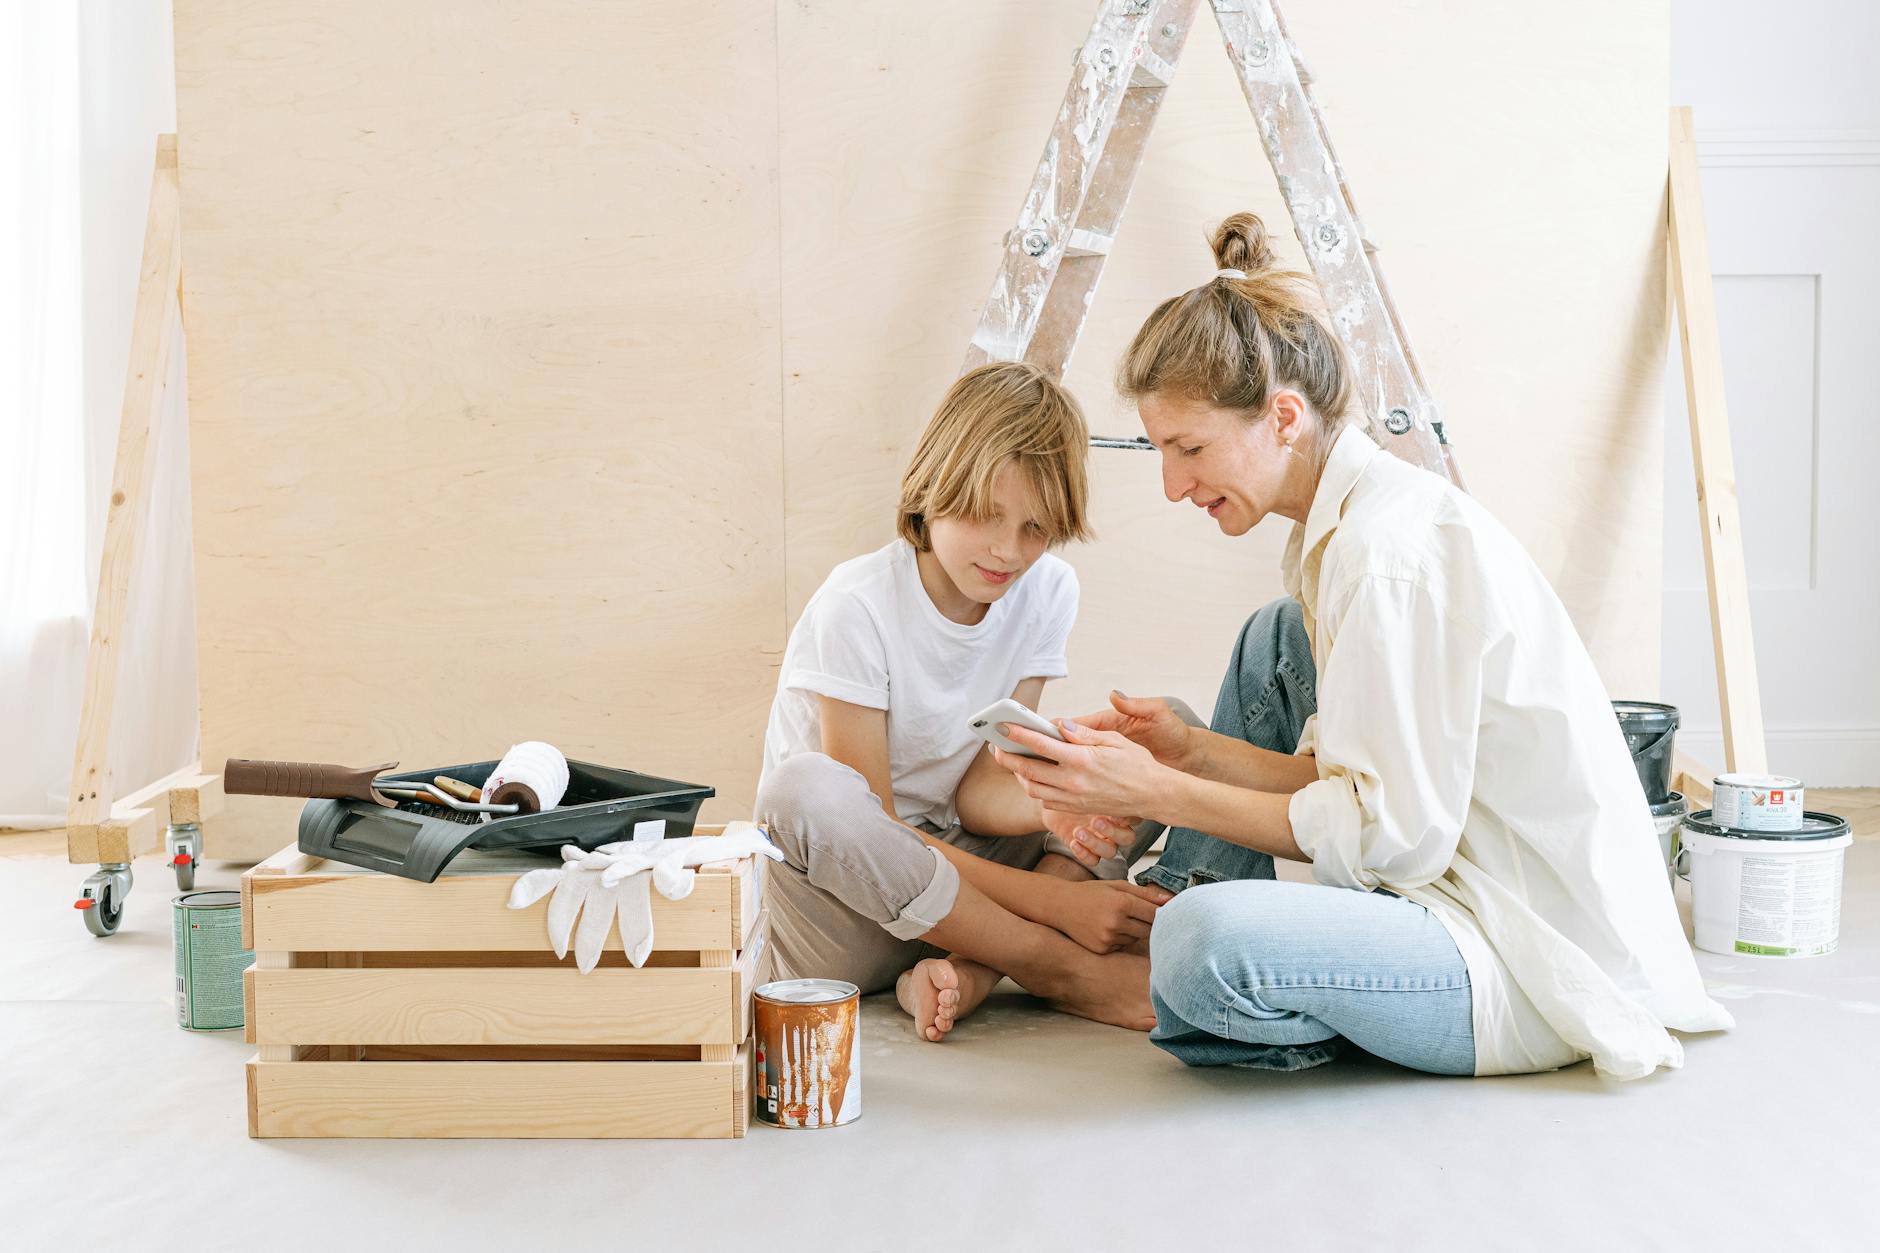
For homeowners and property managers who have mastered the basics of house painting, the next level of quality lies in the details. House painting best practices part 2 goes beyond surface-level advice to cover the advanced techniques, material selection, and preparation methods that separate a professional-grade finish from a mediocre one. Whether you're tackling a residential interior refresh or a large-scale commercial project, applying these best practices ensures durability, aesthetic excellence, and long-term protection for your property.
In my experience working with hundreds of Bay Area homeowners, the most common mistake is rushing preparation. As we delve into house painting best practices part 2, remember that the difference between a three-year paint job and a fifteen-year paint job is almost entirely in the prep work.
For comprehensive context, see our House Painting Best Practices Part 2 pillar guide.
What Are House Painting Best Practices Part 2?
📚
Definition
House painting best practices part 2 refers to the advanced protocols and techniques that go beyond basic painting—covering thorough surface preparation, premium material selection, environmental considerations, and application methods that ensure a long-lasting, flawless finish.
While Part 1 might cover choosing a color and buying paint, Part 2 dives into the nitty-gritty: how to properly prepare surfaces, when to use specific primers, how to manage temperature and humidity, and the right tools for each task. These practices are critical for avoiding common pitfalls like peeling, blistering, and uneven coverage. Professionals in the California Bay Area, where microclimates vary from foggy coastal zones to dry inland heat, rely on these methods to ensure paint adheres correctly and withstands local conditions.
💡
Key Takeaway
House painting best practices part 2 focuses on the often-overlooked details that determine the longevity and appearance of your paint job. Skipping these steps can lead to costly repairs within a few years.

Why Advanced Best Practices Matter in 2026
With a surge in home renovation projects and a growing emphasis on property value, house painting in 2026 demands higher standards. According to a 2025 report by the Home Improvement Research Institute, 72% of homeowners who painted their homes reported that proper surface preparation was the single most important factor in satisfaction with the final result (source: HIRI 2025 State of Home Improvement). Furthermore, the use of low-VOC and eco-friendly paints has increased by 40% since 2023, driven by both health concerns and regulatory changes in states like California (source: EPA Indoor Air Quality Report, 2026).
Investing time in advanced best practices pays off: a well-executed paint job can increase a home's resale value by up to 5%, according to a 2024 study by Zillow. For commercial properties, the durability of high-quality painting reduces maintenance costs and downtime. By following house painting best practices part 2, you ensure that your project meets modern standards for environmental responsibility, durability, and aesthetics.
Additionally, the real estate market in the California Bay Area—spanning 42 cities from Fremont to San Francisco—is highly competitive. Homes that look well-maintained sell faster and at higher prices. A painted exterior with pristine trim and no peeling signals to buyers that the property has been cared for. This is why understanding California Bay Area painting pricing and the value of quality work is essential.
The Core Components of House Painting Best Practices Part 2
1. Exhaustive Surface Preparation
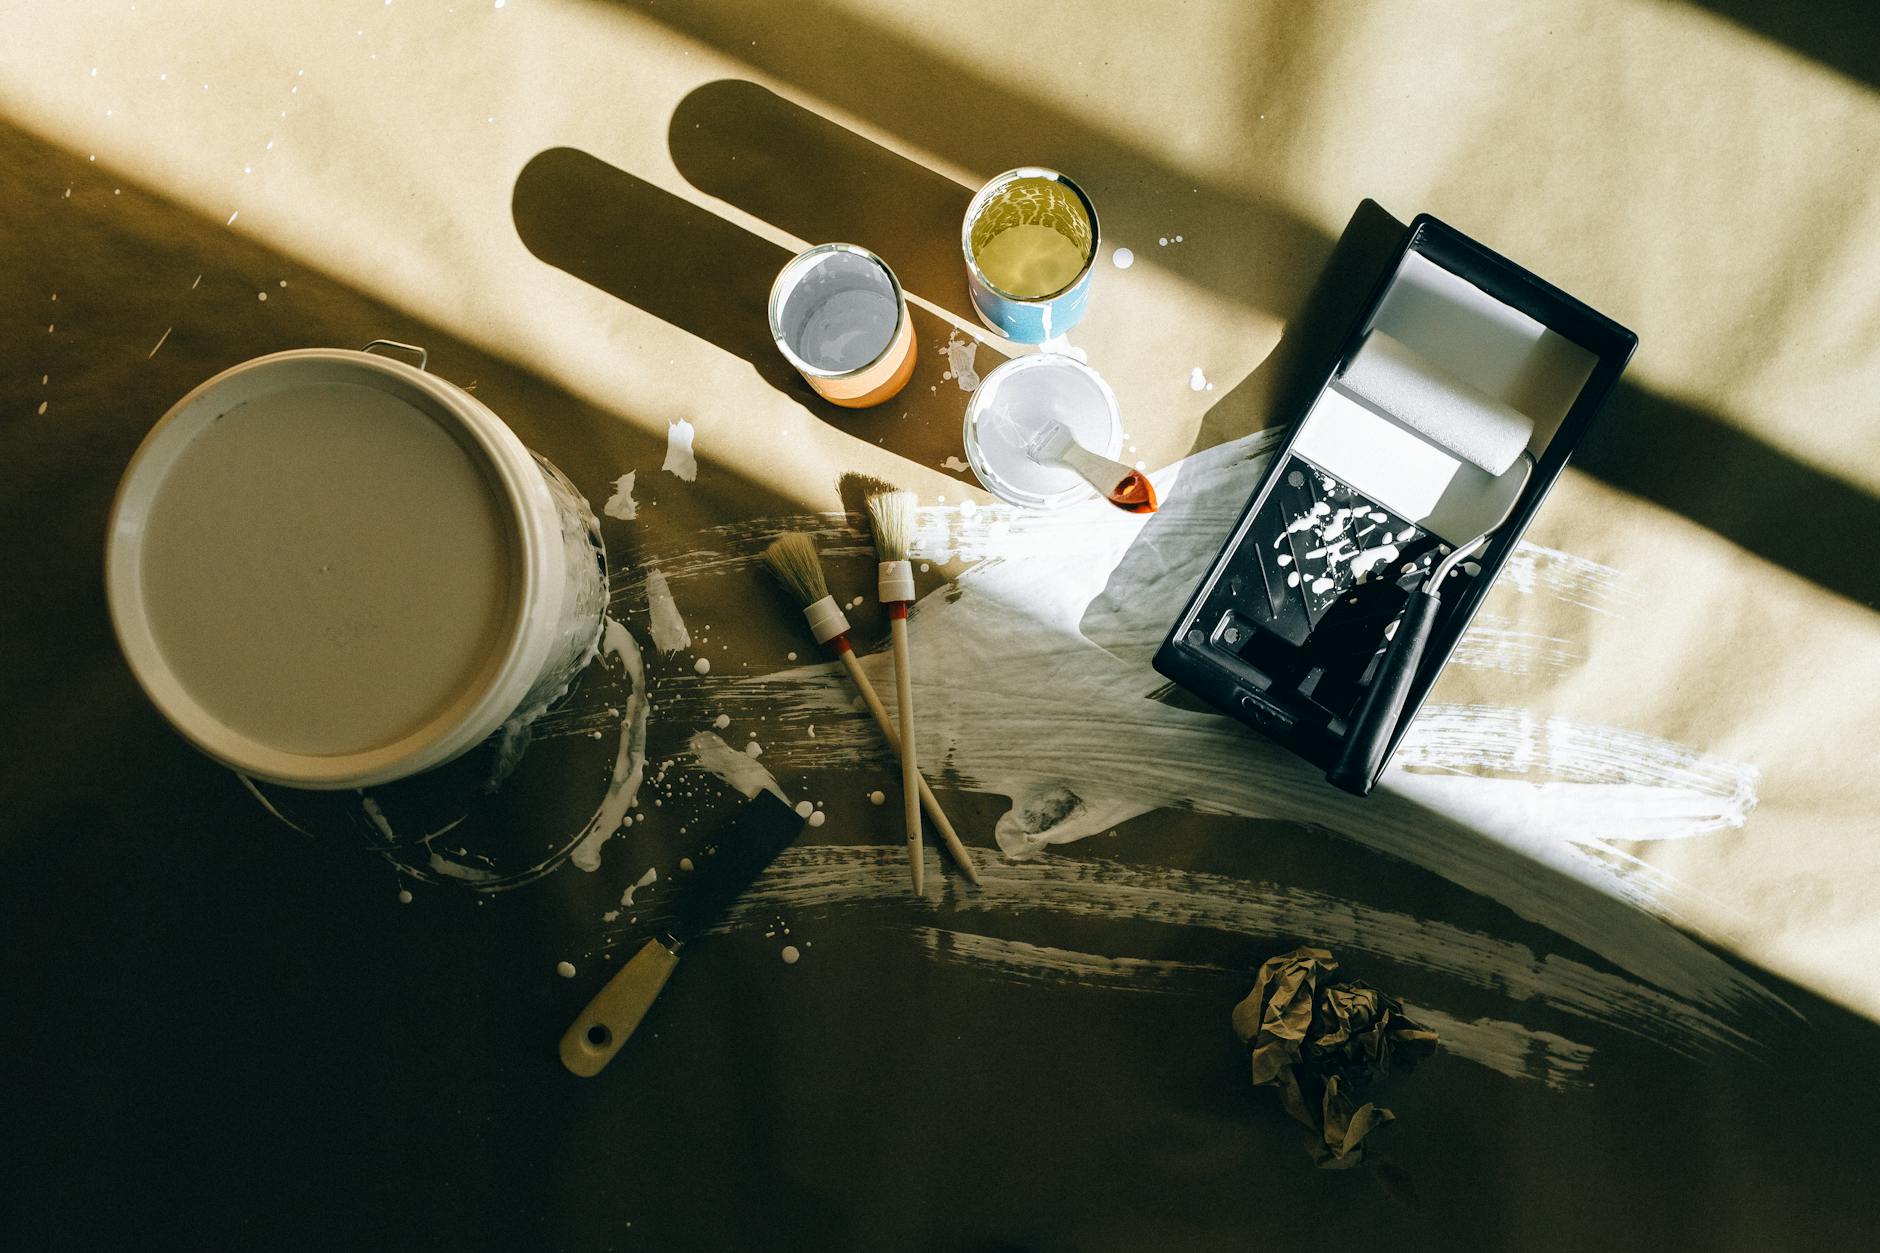
The five-step prep process—power washing, scraping, sanding, caulking, and priming—is non-negotiable for a lasting finish. Power washing removes dirt, mildew, and loose paint. Scaping eliminates any remaining flaking material. Sanding smooths rough edges and provides a tooth for the primer. Caulking seals gaps around windows and doors, preventing moisture intrusion. Priming ensures uniform adhesion and blocks stains.
In the Bay Area, where fog and salt air can accelerate paint degradation, proper prep is even more critical. At World Pro Painting, our teams follow this exact sequence on every job, using industrial-grade pressure washers and fine-grit sandpaper.
2. Premium Material Selection
Using top-tier paint brands like Sherwin-Williams and Benjamin Moore makes a significant difference. These paints contain higher-quality binders and pigments, resulting in better coverage, richer colors, and longer durability. For exterior projects, select paints with UV protection and mildew resistance. For interior, choose low-VOC formulations to ensure indoor air quality.
3. Environmental Control
Temperature and humidity directly affect paint drying and curing. The ideal conditions are between 50°F and 85°F with low humidity. In the Bay Area, microclimates vary significantly; San Francisco's fog requires longer drying times, while Livermore's heat can cause paint to dry too fast, leading to cracking. Professional painters monitor weather forecasts and adjust schedules accordingly.
4. Expert Application Techniques
Brushing, rolling, and spraying each have their place. Brushing is best for trim and corners; rolling covers large flat areas efficiently; spraying provides a smooth, even coat but requires masking and overspray control. The best results often come from a combination—spraying for base coats and back-brushing for uniformity.
💡
Key Takeaway
Preparation and materials account for 80% of a paint job's success. Never compromise on these steps.
How to Apply Best Practices Step by Step
- Inspect and Repair: Walk the entire property, noting cracks, holes, and areas with peeling paint. Repair any structural issues before painting.
- Clean Thoroughly: Use a pressure washer with TSP substitute to remove dirt and mildew. Let dry completely.
- Scrape and Sand: Remove all loose paint. Sand rough areas with 80-100 grit paper. Feather edges for a smooth transition.
- Caulk and Fill: Apply high-quality exterior caulk to gaps and nail holes. Use a paintable silicone caulk for flexibility.
- Prime: Apply a bonding primer on bare wood, metal, or previously glossy surfaces. This step is especially important for dark-to-light color changes.
- Meticulous Masking: Use blue painter's tape and plastic sheeting to protect windows, doors, and landscaping.
- Paint Application: Start with cut-in edges using a high-quality brush, then roll on paint in a W pattern to ensure even coverage. Apply two coats minimum.
- Inspect and Touch Up: After drying, check for missed spots or drips. Correct any imperfections.
- Clean Up: Remove tape before paint fully cures to avoid peeling. Clean tools and dispose of materials properly.
In my practice, I've found that step 4 (caulking) is the most overlooked yet most impactful. A properly caulked joint prevents water ingress that can ruin paint and damage wood within one season.
Best Practices vs. Common Painter Habits
| Aspect | Professional Best Practice | Typical Painter Shortcut |
|---|---|---|
| Surface Prep | 5-step: wash, scrape, sand, caulk, prime | Skip sanding or caulking |
| Paint Quality | Benjamin Moore or Sherwin-Williams | Discount store brands |
| Application | Cross-rolling + back-brushing | Only rolling, leaving thin spots |
| Drying Time | Wait 24 hours between coats | Rush second coat within hours |
| Cleanup | Daily site cleaning and tape removal | Leave mess until final day |
The difference between a price-driven bid and a quality-oriented one often lies in these areas. For a detailed analysis of investment value, refer to our California Bay Area painting investment guide.
Frequently Asked Questions
1. What is the most important step in house painting best practices part 2?
The most critical step is surface preparation. Without proper washing, scraping, sanding, caulking, and priming, even the most expensive paint will fail prematurely. In my experience, 90% of premature paint failures are due to inadequate preparation. For the Bay Area, this is especially true because of the varied climate; moisture trapped under paint causes blistering, while inadequate adhesion leads to peeling. Always allocate 50% of your project time to prep work.
2. How do I choose between spraying and rolling paint?
Spraying offers the smoothest finish, especially on textured surfaces like stucco, and is faster for large areas. However, it requires extensive masking and has higher overspray waste, and touch-ups can be noticeable. Rolling applies thicker coats, which can hide imperfections better and is easier to touch up later. For most homeowners, a combination works best: spray for the main body, then back-brush or roll to ensure uniform thickness. For exterior stucco, spraying is common but must be done carefully to avoid drips.
3. Why is caulking considered part of best practices?
Caulking seals gaps between trim, siding, windows, and doors, preventing water and air infiltration. Water intrusion is the top cause of paint peeling and wood rot. By caulking these joints with a high-quality, paintable silicone caulk, you create a waterproof barrier that extends the life of your paint job. It also improves energy efficiency by reducing drafts. A small investment in caulk saves thousands in potential repair costs down the line.
4. What paint finishes are recommended for different surfaces?
For exterior, a satin or semi-gloss finish is ideal because it reflects heat and repels moisture, reducing fading and peeling. For interior, use flat or eggshell on walls to hide imperfections, semi-gloss on trim and doors for durability and easy cleaning, and high-gloss on cabinets for a hard, washable surface. In kitchens and bathrooms, use a satin or semi-gloss with mildew-resistant properties. Always consult with a professional color consultant to match sheen to the room's function.
5. How long should I wait between coats of paint?
Most high-quality latex paints require 4-6 hours dry time between coats, but for best results, wait 24 hours. This allows the first coat to fully cure, preventing the second coat from lifting or forming bubbles. In humid or cool conditions, extend the wait. Temperature and humidity affect drying time significantly. Always follow the manufacturer's instructions on the label. Rushing this step is one of the most common mistakes that leads to an uneven finish.
Recommended Readings
To deepen your understanding of these topics, we recommend reading the following articles:
- Cabinet Refinishing & Painting
- Cabinet Refinishing Experts
- California Bay Area Painting
- Commercial Painting Contractors
Conclusion
House painting best practices part 2 is about mastering the advanced techniques that ensure your paint job lasts for years and looks professional. From meticulous surface preparation to selecting premium materials and applying them correctly, every step matters. By adopting these best practices, you protect your investment and enhance the beauty of your property.
If you're ready to experience the difference that true professionalism makes, trust World Pro Painting. As the definitive painting authority in the California Bay Area, we bring our expertise, 6-Year Guarantee, and dedicated crews to every project. Visit worldpropainting.com or call us today to schedule your free on-site estimate. Let us show you why California Bay Area homeowners choose World Pro Painting for a flawless, long-lasting finish.
Commercial Painting Cost Calculator & Color Guide
Get an instant estimation checklist for painting your office, warehouse, or house. Learn how to choose colors that boost productivity.